Cakes, Desserts, Recipes

Lime Yogurt Cake with Raspberry Sauce

I found this recipe back in April and have been drooling over it ever since. However, I never had an occasion to make it. So I found one.

Lime Yogurt Cake with Raspberry Sauce
love these two together! color + flavor 🙂

The occasion? Sunday afternoon. 🙂

Lime Yogurt Cake with Raspberry Sauce
together, they make this!

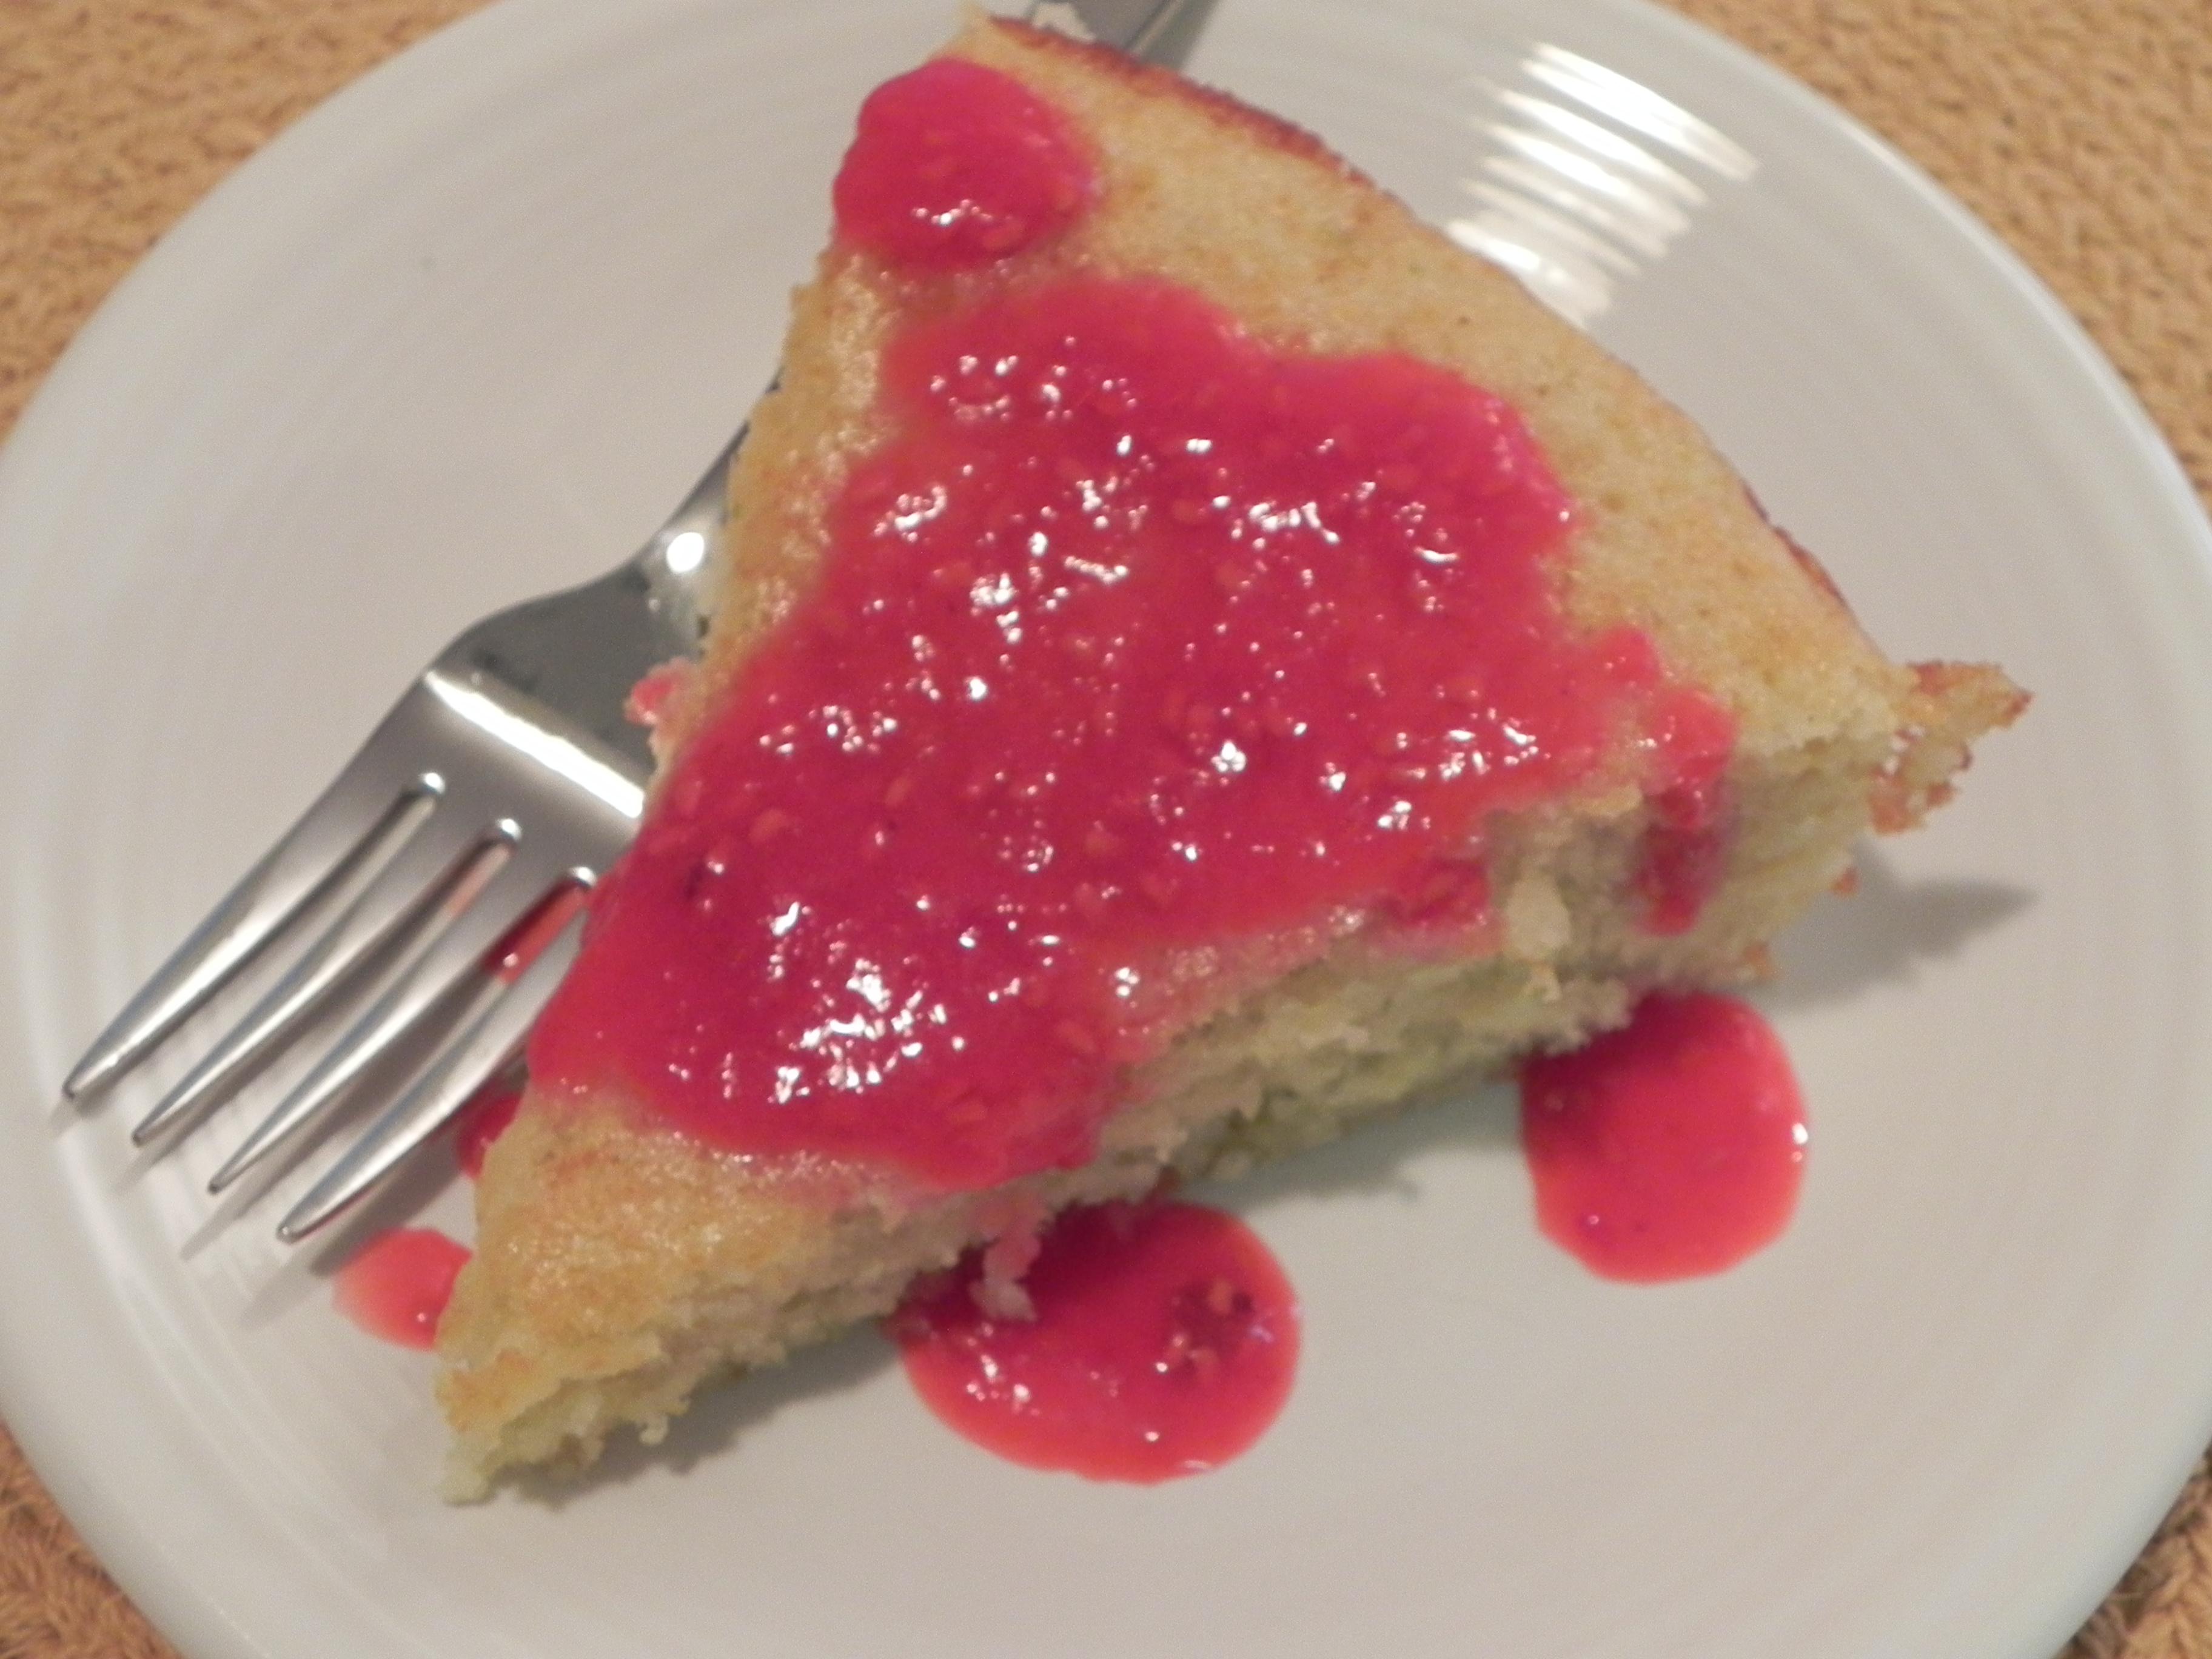
I hardly made any changes from the original recipe, with the main change being a swap from blackberries to raspberries for the sauce. Raspberries happened to be on sale and looked pretty, plus my husband had mentioned a hankering for them so I decided to go for it. And do not regret it one bit. Be sure to pop over to Smitten Kitchen to read the original recipe [even that one was adapted], because she gives some great tips and tricks to make this cake absolutely divine. The cake isn’t rich. Instead, it’s light and almost buttery in your mouth, which is perfect for a hot summer day. The tang of the lime and plain yogurt coupled with the sweetness of the berries is a fabulous contrast, and leaves you wanting more. And more. And more. I just had to have seconds. 🙂

Lime Yogurt Cake with Raspberry Sauce

  • Servings: 8
  • Print

from Smitten Kitchen

Ingredients:

  • 1 cup plain unsweetened yogurt <— I used Dannon nonfat because it was all I could find, however, whole milk or 2% Greek is recommended in the original.
  • 1/3 cup coconut oil  <— vegetable or olive oil is recommended, but I loved the tropical flavor of coconut oil
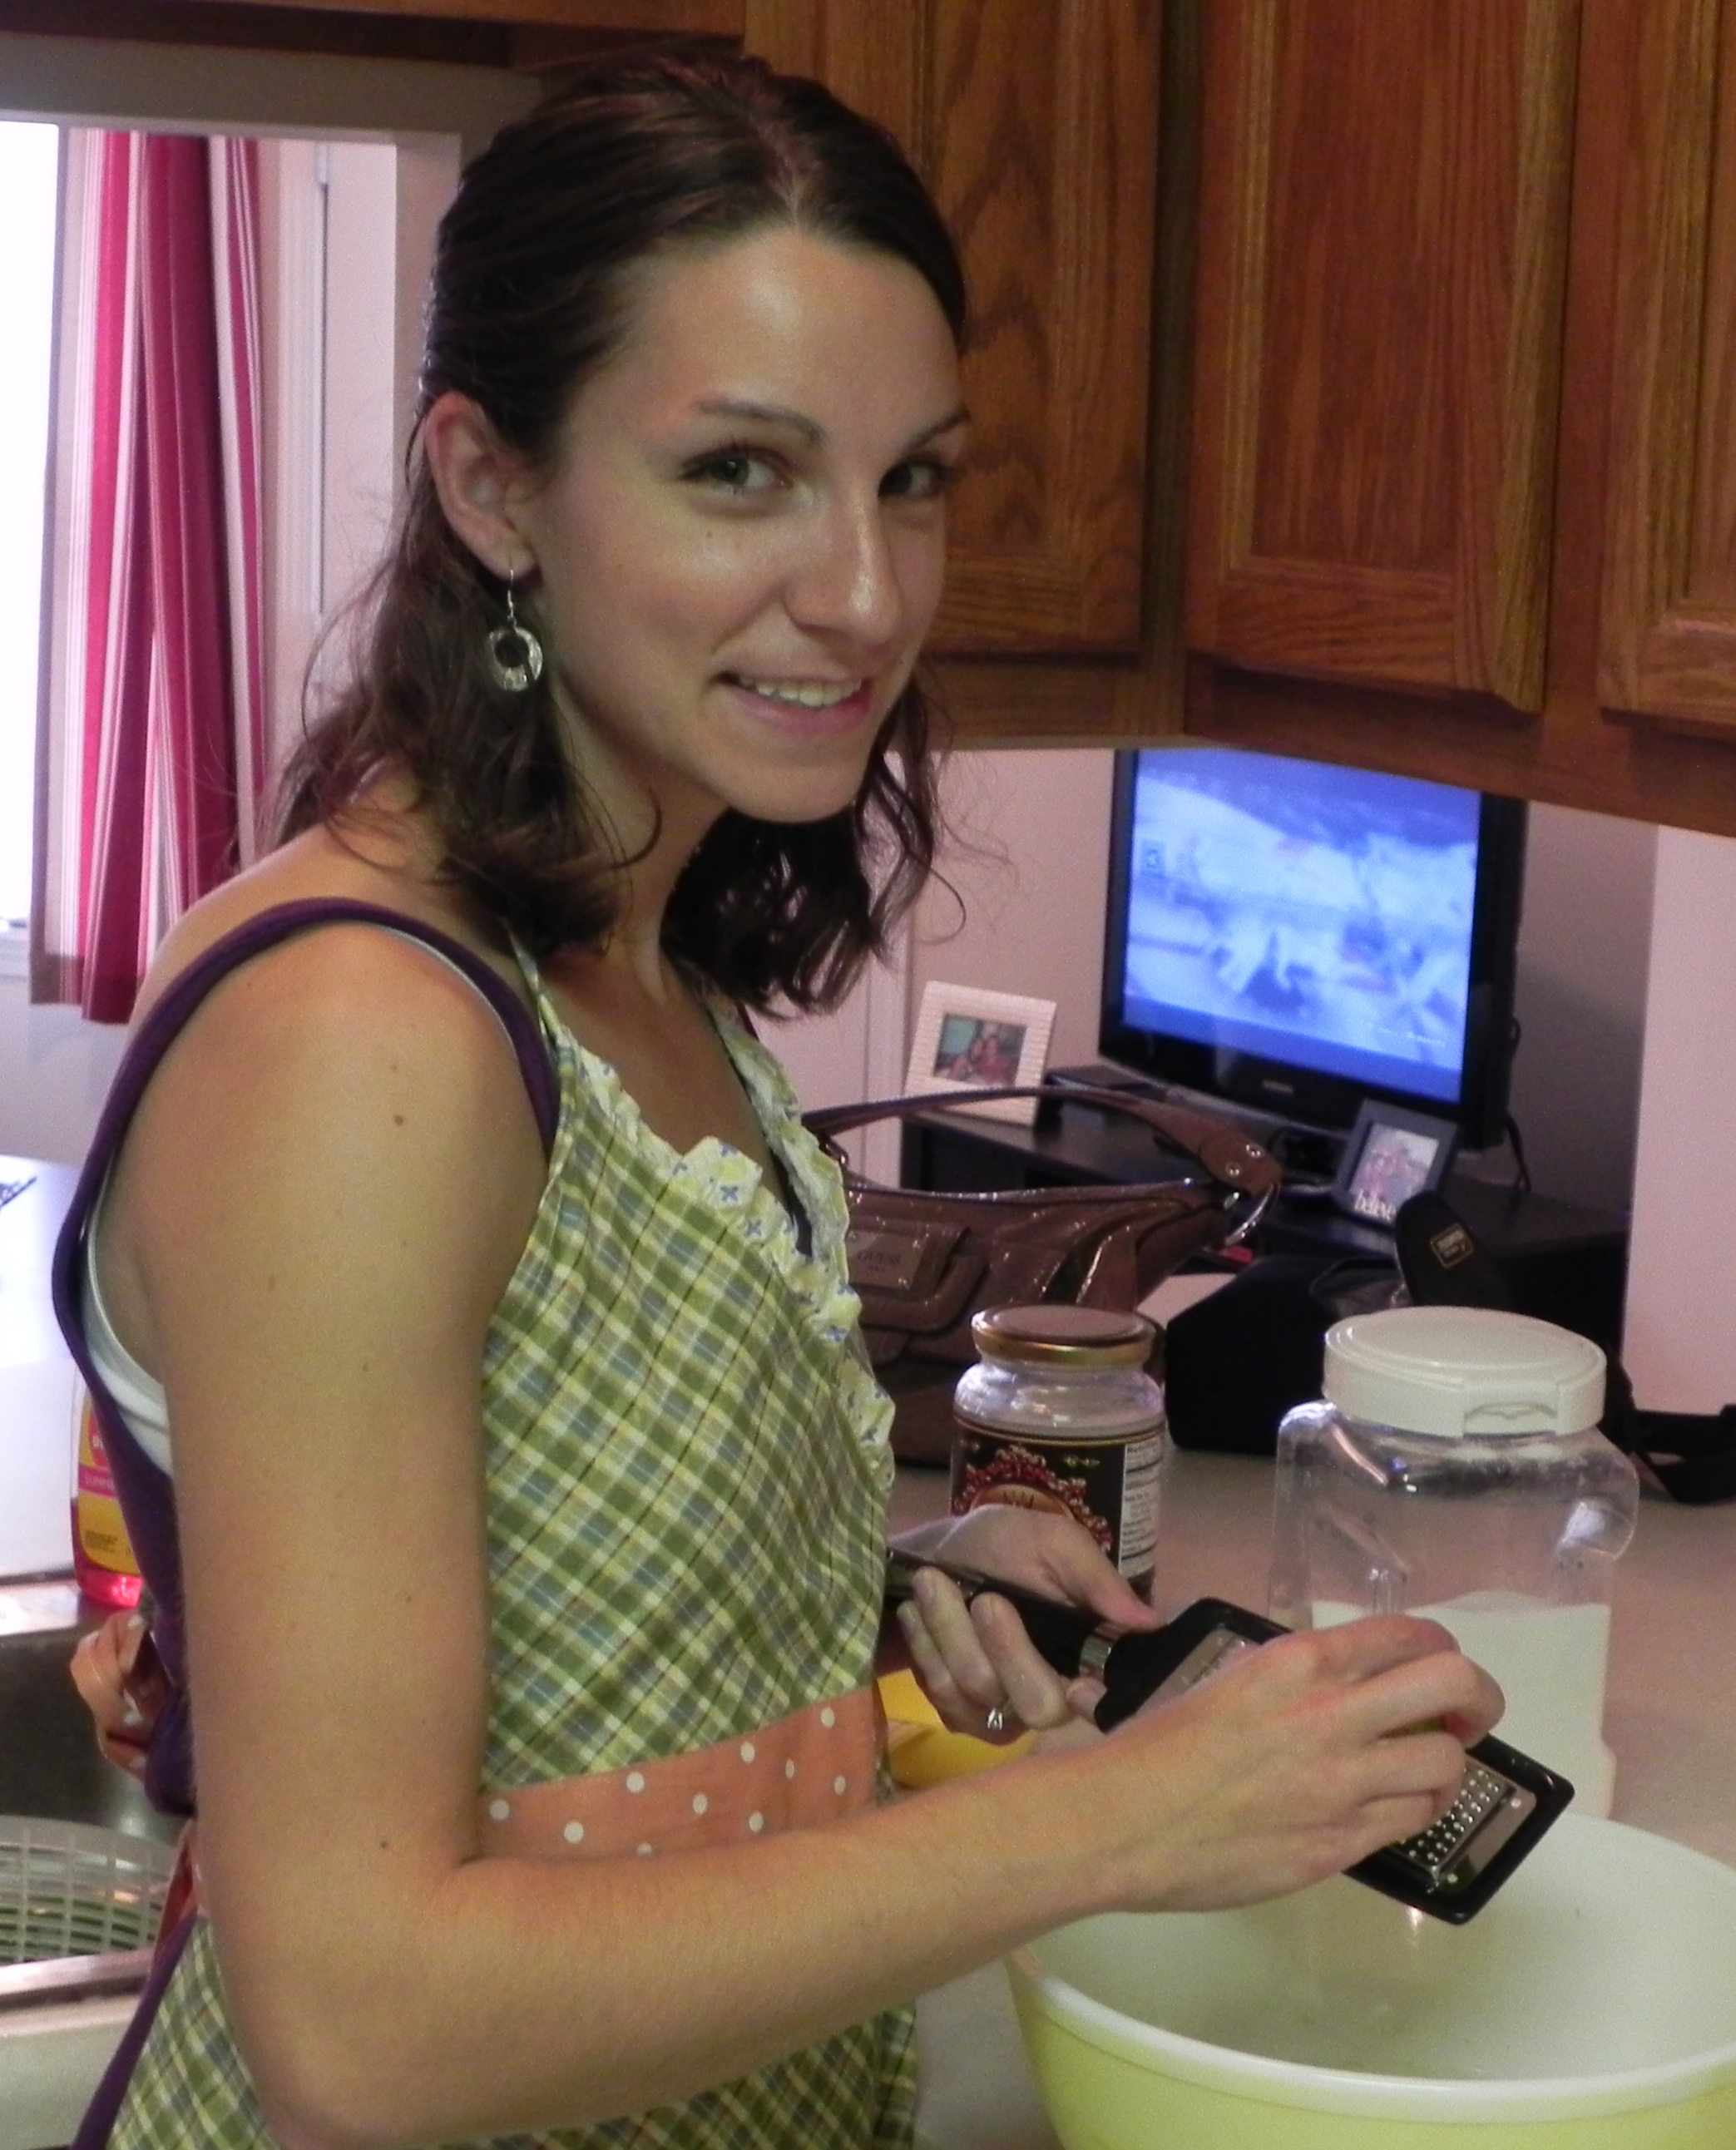
  • zest of one lime
  • 1/4 cup + 1 tablespoon lime juice, divided [approximately 1 1/2 – 2/3 limes]
  • 2 eggs
  • 1 2/3 cups all-purpose flour
  • 1 1/2 teaspoons baking powder
  • 1/2 teaspoon baking soda
  • 6 ounces fresh raspberries
  • 1/4 cup water
  • 3 tablespoons sugar
  • cooking spray

Directions:

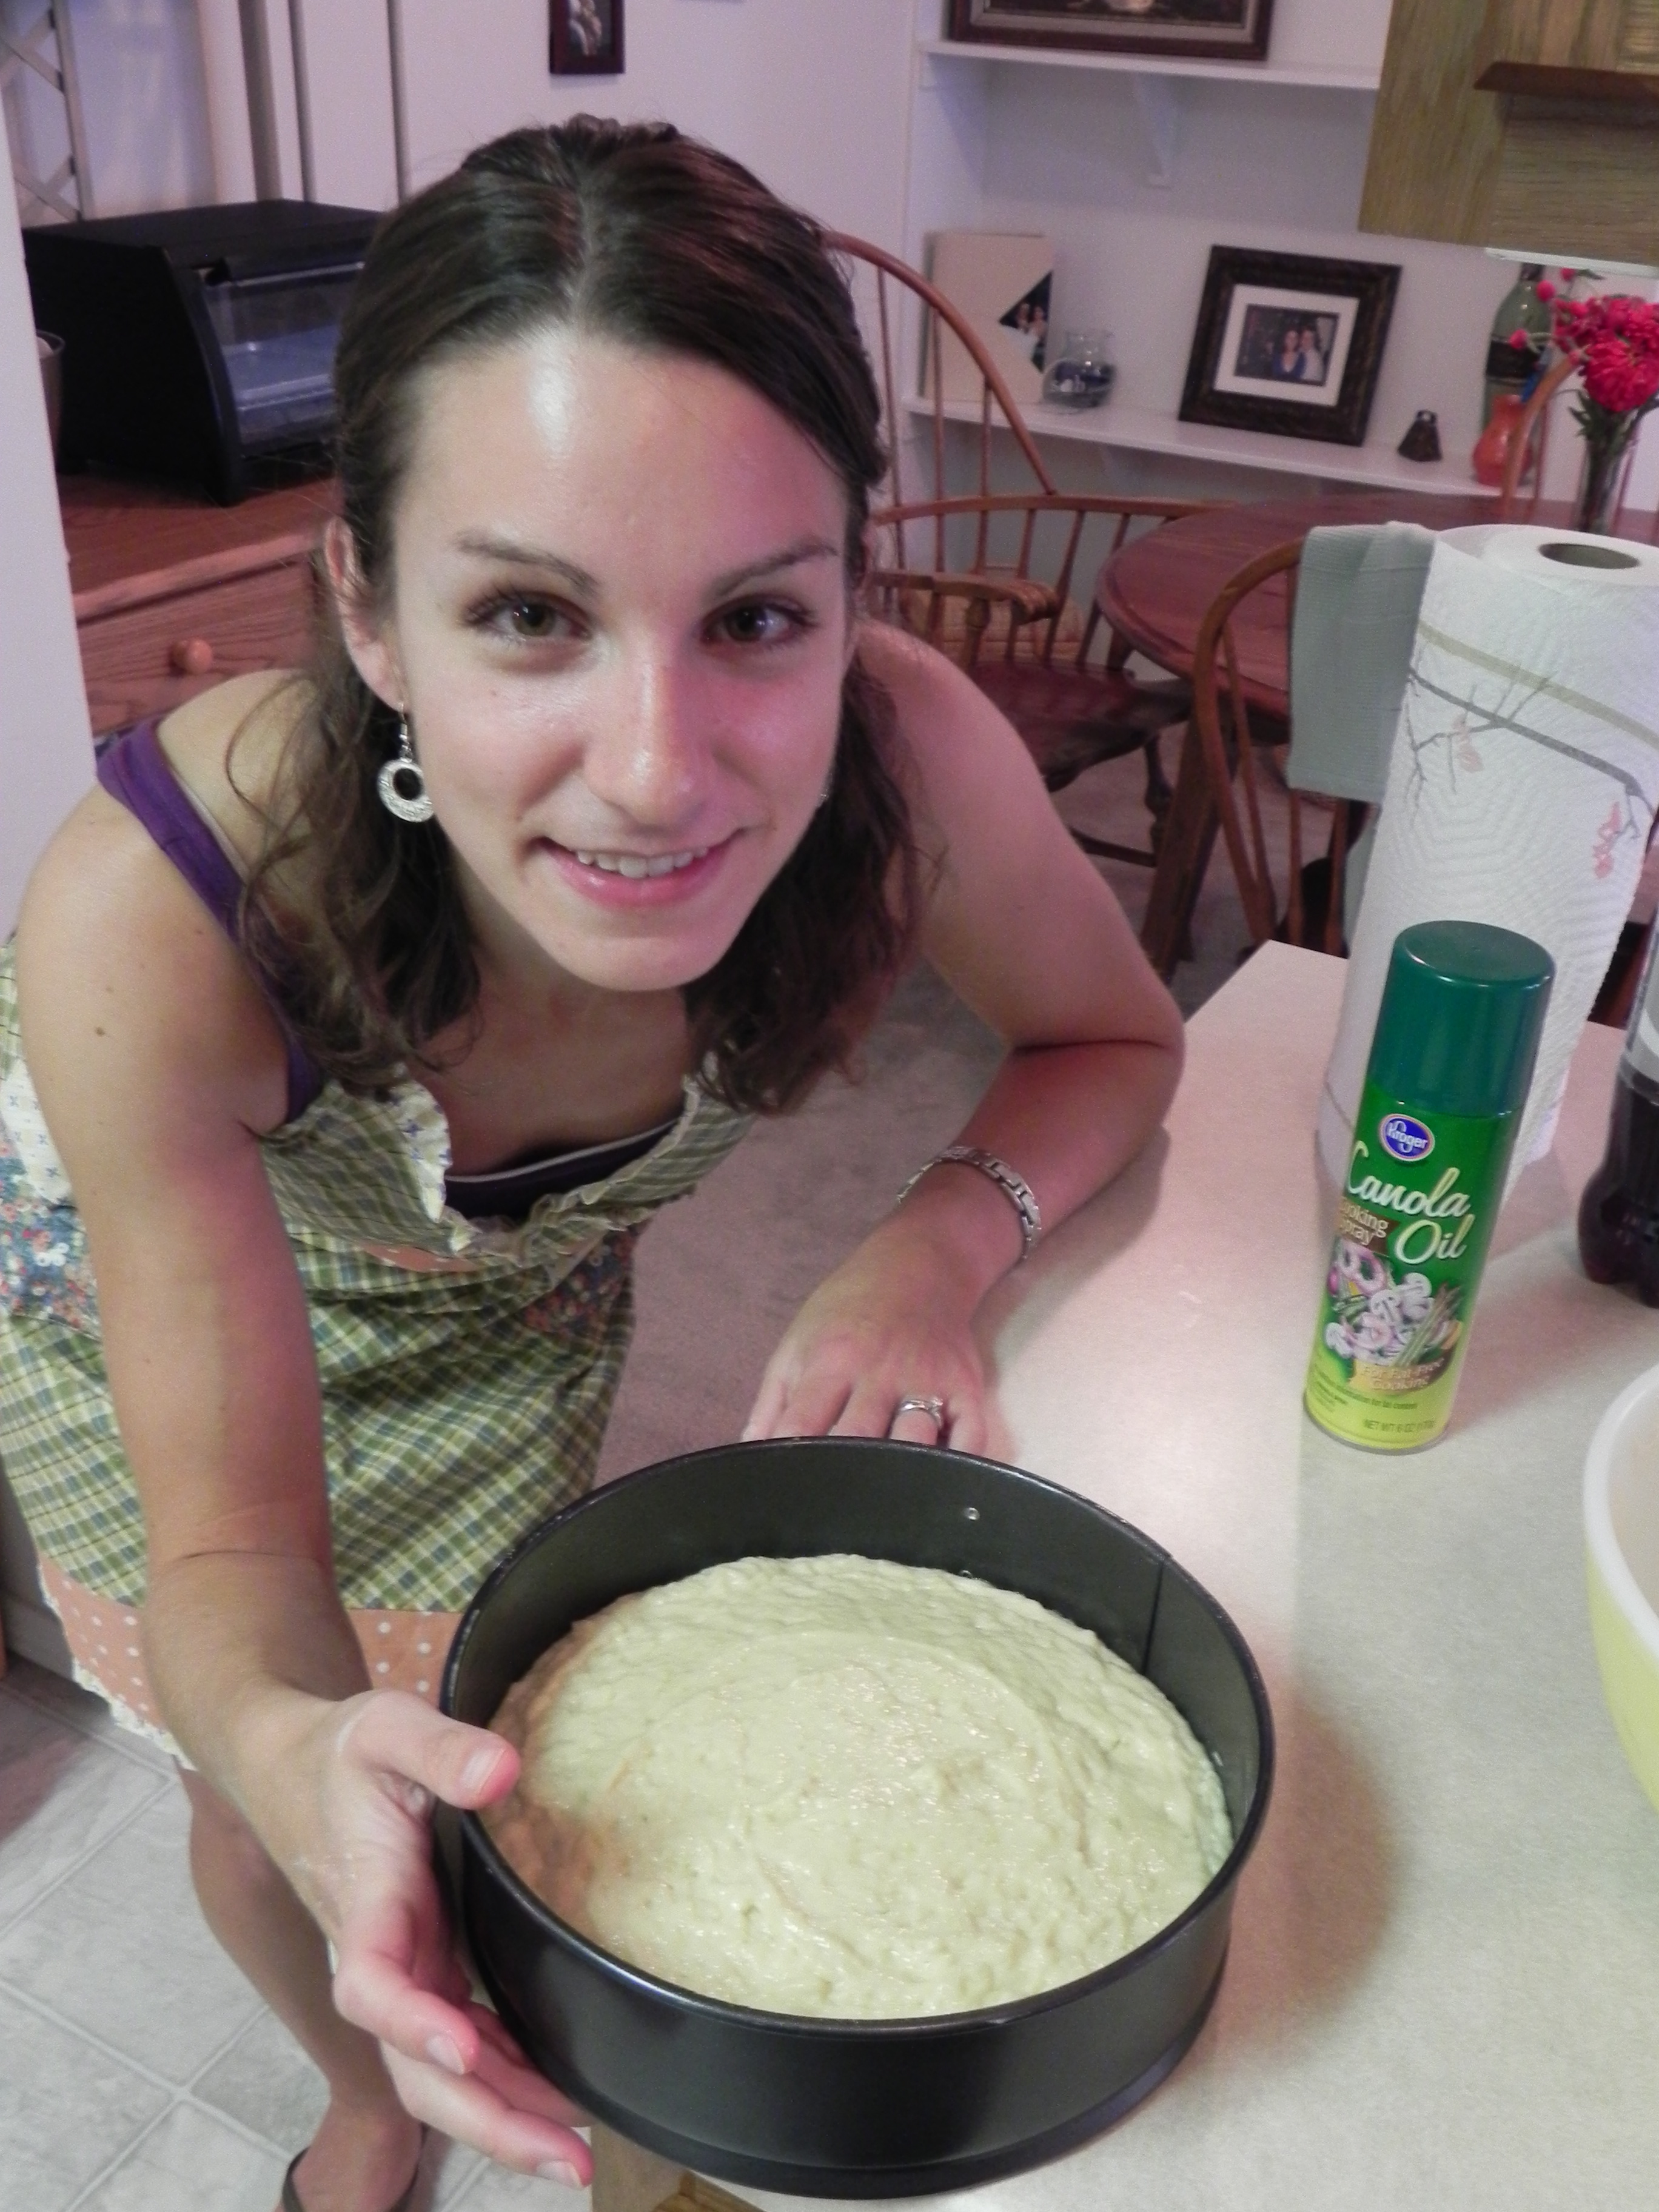
Preheat the oven to 350 degrees. Use cooking spray to grease a 9″ springform pan. In a large mixing bowl, stir together the yogurt, oil, sugar, lime zest, and lime juice.

In a second smaller bowl, combine flour, baking powder, and baking soda. Set aside. Add eggs, one at a time, to the yogurt mixture, whisking well in between. Then, sift the flour mixture into the batter. This will make the batter so light and fluffy! Stir gently with a wooden spoon until combined.

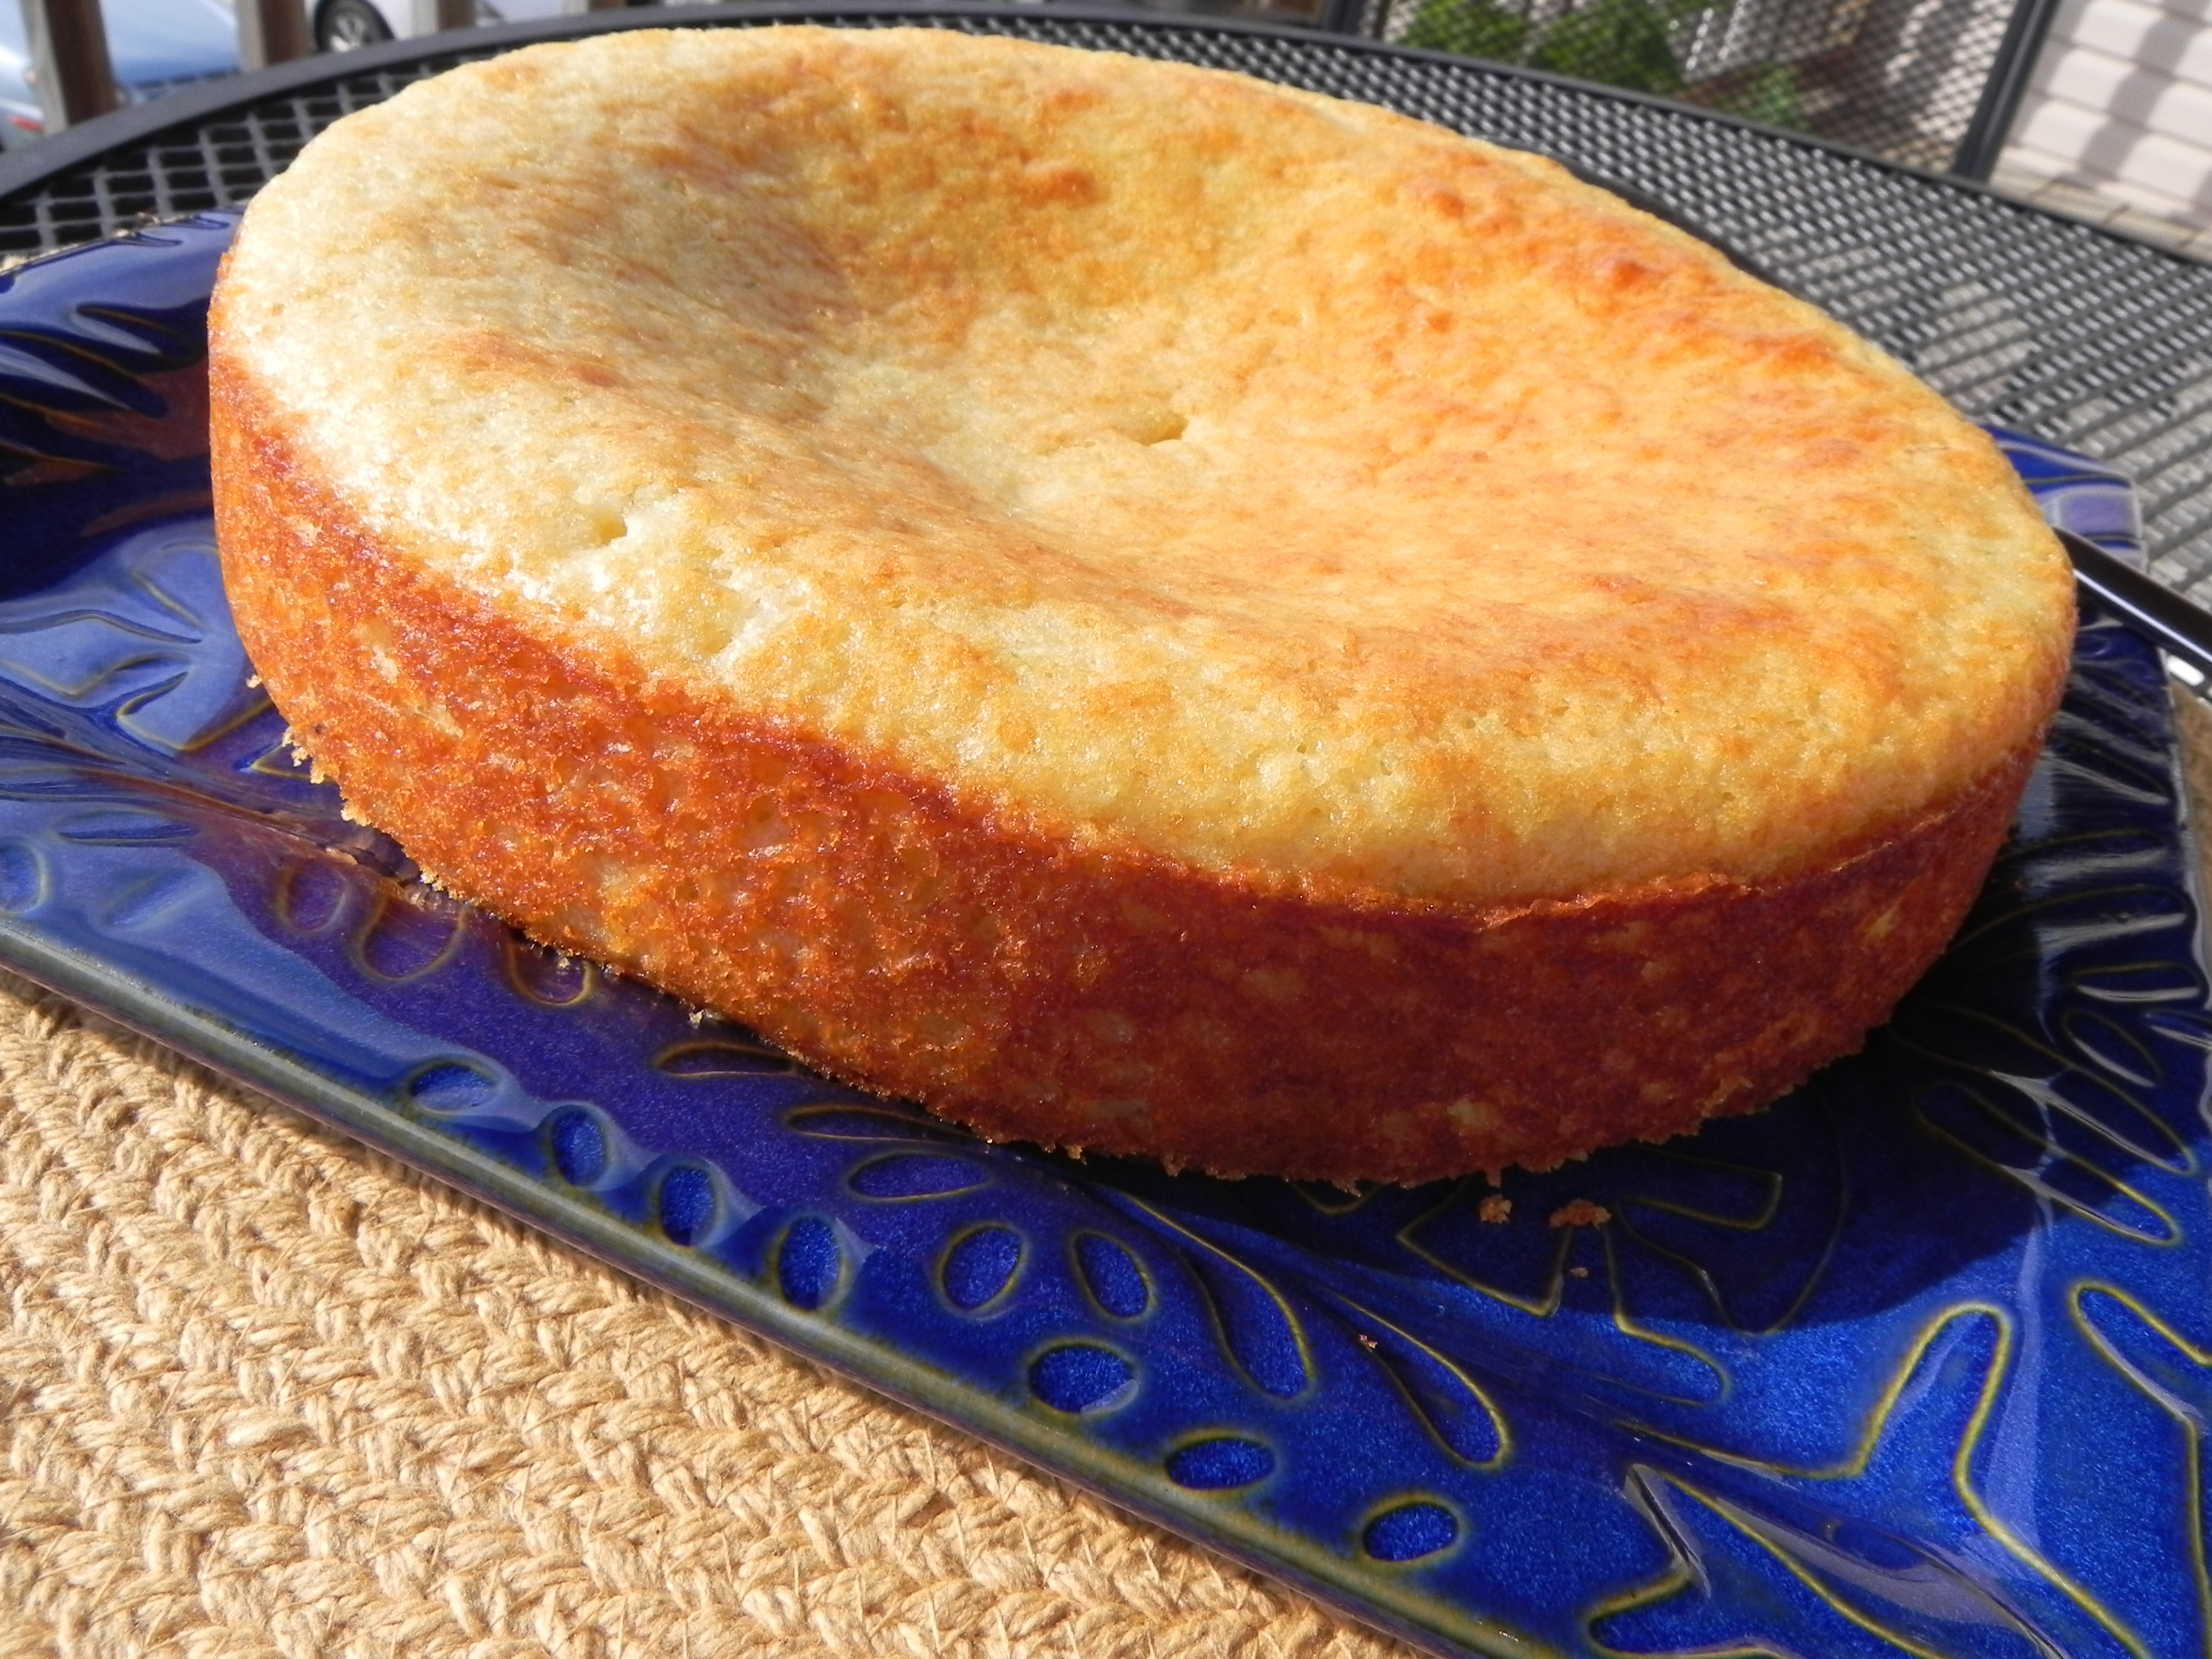
Pour batter into pan and bake for about 30-40 minutes, or until golden brown and a toothpick inserted in the middle comes out clean. [Recommended time was 35-40 minutes; mine was done in 32.] Cool in pan on cooling rack for 10 minutes, then remove side of springform pan and cool until serving.

Meanwhile, make the sauce. In a food processor, combine raspberries, water, sugar, and 1 tablespoon lime juice. Purée until smooth. Drizzle over cake before serving [if you will be eating the whole cake in one sitting… not you yourself, but the collective you! :)], or drizzle over individual pieces.

Notes:

So my cake fell in the center. See? I’m not entirely sure the cause of this, but it may be due to the coconut oil, the heat [110 heat index, anyone?!], my wonderful *sarcastic* apartment oven, etc. It definitely was cooked all the way through and my ingredients are not old. Any other ideas? It still tasted great though.

Lime Yogurt Cake with Raspberry Sauce

Lime Yogurt Cake with Raspberry Sauce
zest zest zest away!

Lime Yogurt Cake with Raspberry Sauce

Cakes, Desserts, Recipes

Butterscotch and Chocolate Yellow Cake

Who doesn’t love a homemade birthday cake? Certainly not anyone I know! 🙂 This is a recent occurrence though. When I was growing up, I wasn’t the biggest fan of cake. True story. I would eat a piece at birthday parties and dinner, but I would never request it as a dessert of choice. Some years I asked for a “cake” of cheesecake instead. In fact, 9 times out of 10 I would rather eat fruit than chocolate. However, as I’ve gotten older, my tastes have changed. I still looooove fruit [and am LOVING the summer berries right now!], but I do enjoy cake and other chocolate-ly sweets too! In fact, here I am on my last birthday:

Sarah eating cake.Wowsers. What a flattering photo! 😉 Anywhoooo, now that I like cake, I’m always on the lookout for cake recipes. Mixes in a box are good, but the real good stuff is always homemade [with the exception of brownies. The best brownies I’ve ever had are from a box. Anyone care to remedy that? Just let me know!]. The following recipe is one I made a few months ago for husband’s birthday. It was fairly simple to make and the cake was divine–a delicious mix of buttery yellow cake and sweet chocolate and butterscotch chips, almost like a cookie in cake form. Yum! The frosting was good too, but I might have had better results if my cream cheese hadn’t been funky. Yeah… ugh. This cake was inhaled… so don’t say you weren’t warned. Without further ado…

Ben with his cake.

Butterscotch & Chocolate Yellow Cake

  • Servings: 12-14
  • Print

adapted from OddMom

Ingredients:

  • 2 1/2 cups flour
  • 2 1/2 teaspoons baking powder
  • 3/4 cup butter, softened [if using unsalted butter, add 1/2 teaspoon salt; otherwise, omit salt]
  • 1 3/4 cups sugar
  • 3 large eggs
  • 1 1/4 cups milk
  • 1 cup semi-sweet chocolate chips, plus more for garnishing
  • 1 cup butterscotch chips, plus more for garnishing
  • cooking spray

Directions:

Preheat oven to 375 degrees. In a small bowl, gently combine the flour and baking powder. In the bowl of an electric mixer, beat the butter and sugar on medium speed until fluffy, about 2-3 minutes. Add the eggs one by one, thoroughly mixing each in individually. In a liquid measuring cup, add the vanilla tothe milk and whisk until combined. Add half of the milk into the butter mixture, and then add half of the flour mixture. Mix well, and repeat. Using a spatula, fold in the butterscotch and chocolate chips.

Grease and flour [generously, so the cake doesn’t stick–keep a pastry brush on hand to remove flour from a cooled cake prior to frosting it] 2 9″ round cake pans. Using a greased measuring cup, fill the 2 cake pans evenly. One thing I like to do is alternate the pan I am filling up [1 cup of batter in pan A, 1 cup in pan B, etc.] to help ensure that the layers will be equal and not uneven. Cake surgery is not my forté!

Bake for approximately 25 minutes, or until a toothpick inserted in the center comes out clean. Cake should be golden and springy in the middle. Allow to cool in the pans for about 7 minutes, and then carefully remove to cool completely on wire racks.

While the cake is cooling, prepare the ingredients for the frosting.

Frosting

  • 8 ounces 1/3 less Fat “Neufchâtel” cream cheese [husband loves to say “Neufchâtel!”], softened
  • 1/2 cup butter, softened
  • 2 cups confectioners sugar
  • 1/2 cup cocoa

In the bowl of an electric mixer or food processor, beat the cream cheese and butter until fluffy. In a separate bowl, mix the sugar and cocoa and then add in 1/3 cup increments to the butter and cream cheese, beating until creamy.

After cake is cooled, place one layer of the cake on a cake stand or serving platter or plate. Frost the top only, then place the second layer on top of the frosting, forming a cake sandwich. Continue to frost the cake, working from top to bottom until cake is frosted. Garnish with butterscotch and chocolate chips on top.

Serve to a hungry birthday husband [or wife or friend or mom or dad or sister or brother or cat… just kiddin’!], and be the hero of the night!

And if you have to transport the cake across town, then rig up a super cool contraption using blankets, a seatbelt, and a Captain Morgan box in your car to protect the yummyness!

Cake in the car

Or use something practical, like oh, a cake carrier. I’d like one… [hint hint!]

Cake carrier

Okay, off to dream of cake…and cake carriers…