Bars, Desserts, Recipes

Creamy Lemon Squares

Martha Stewart. Brings to mind different opinions for different folks. I won’t even go into that debate here. That being said… the recipe.

I read accounts of this particular version of lemon squares here and here and here. I’m sure it’s elsewhere too.

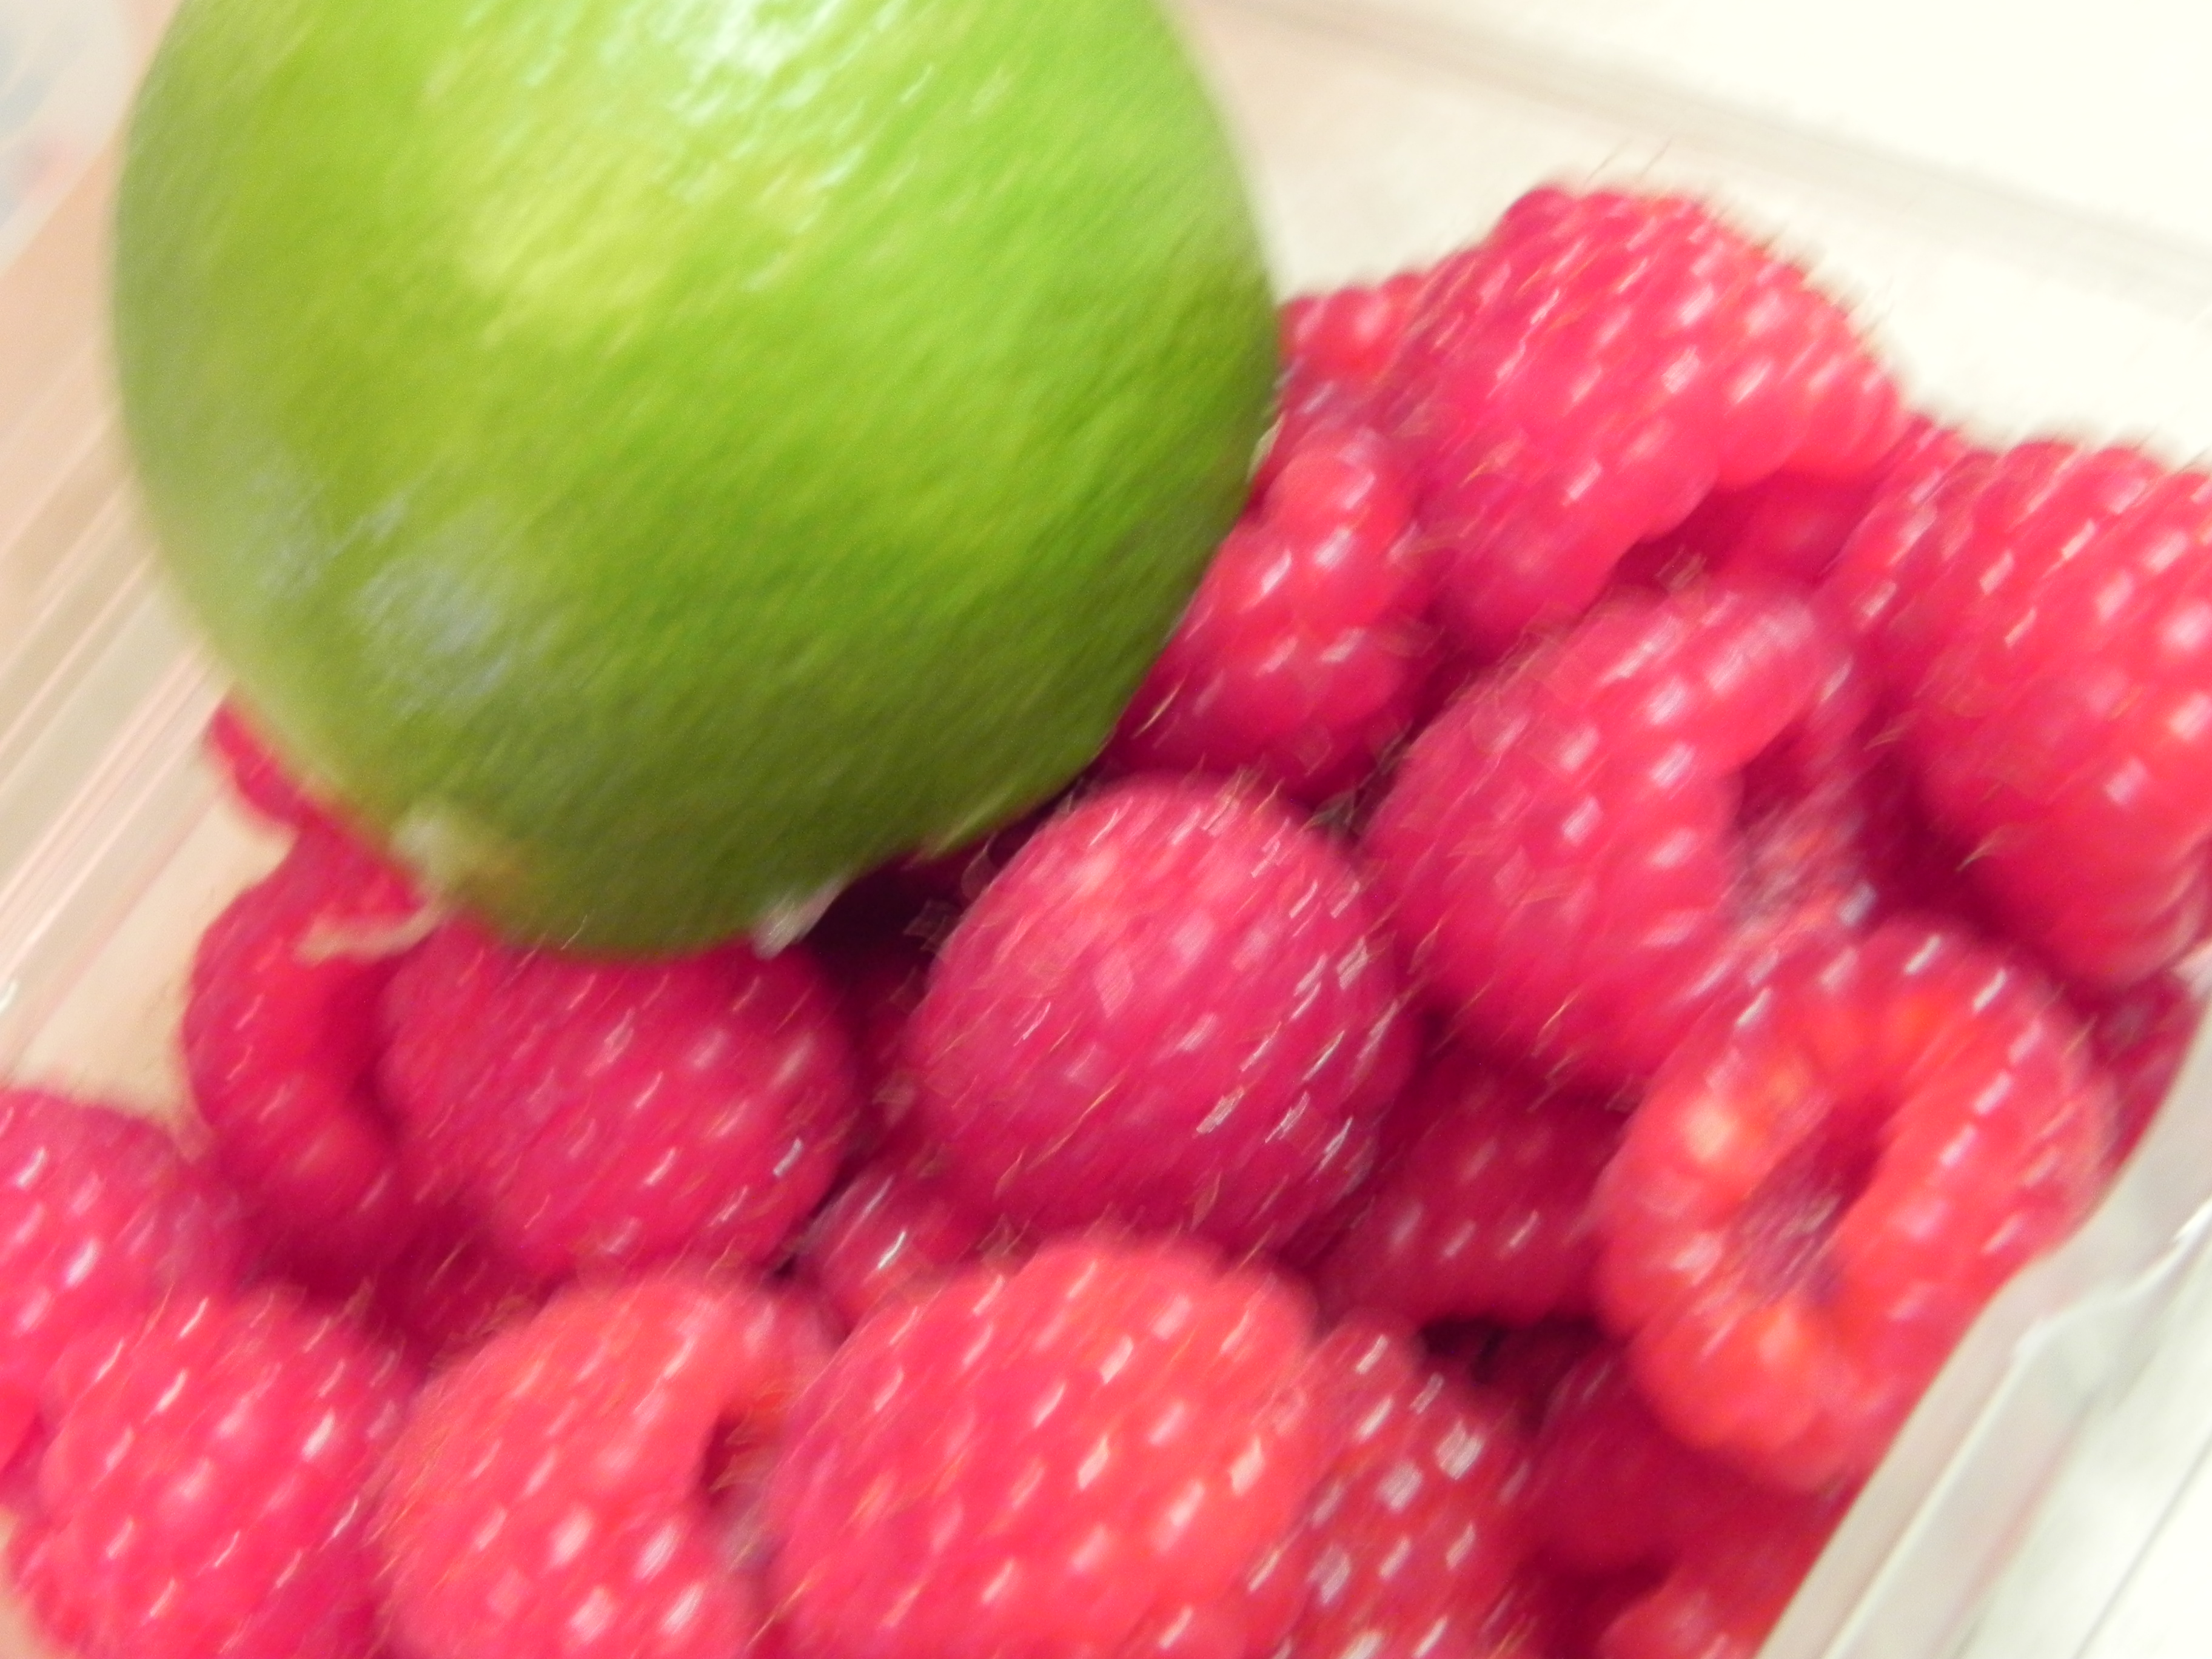
I was initially drawn to this recipe because it looks like an absolutely amazing way to eat a lemon. I love lemons but don’t make homemade lemonade because I don’t have a juicer and think it’d be hard to squeeze all those lemons by hand. I don’t want to always use lemon as a chicken marinade (even though it can be really tasty). And I don’t really think to make it as a dessert very often because I love peanut butter and chocolate and berries way too much. Not all together. Just different combination of those yummy morsels.

I’m rambling. I’m sorry. It’s late and now I’m thinking of peanut butter. Mmmmm peanut butter. A spoonful might be necessary now.

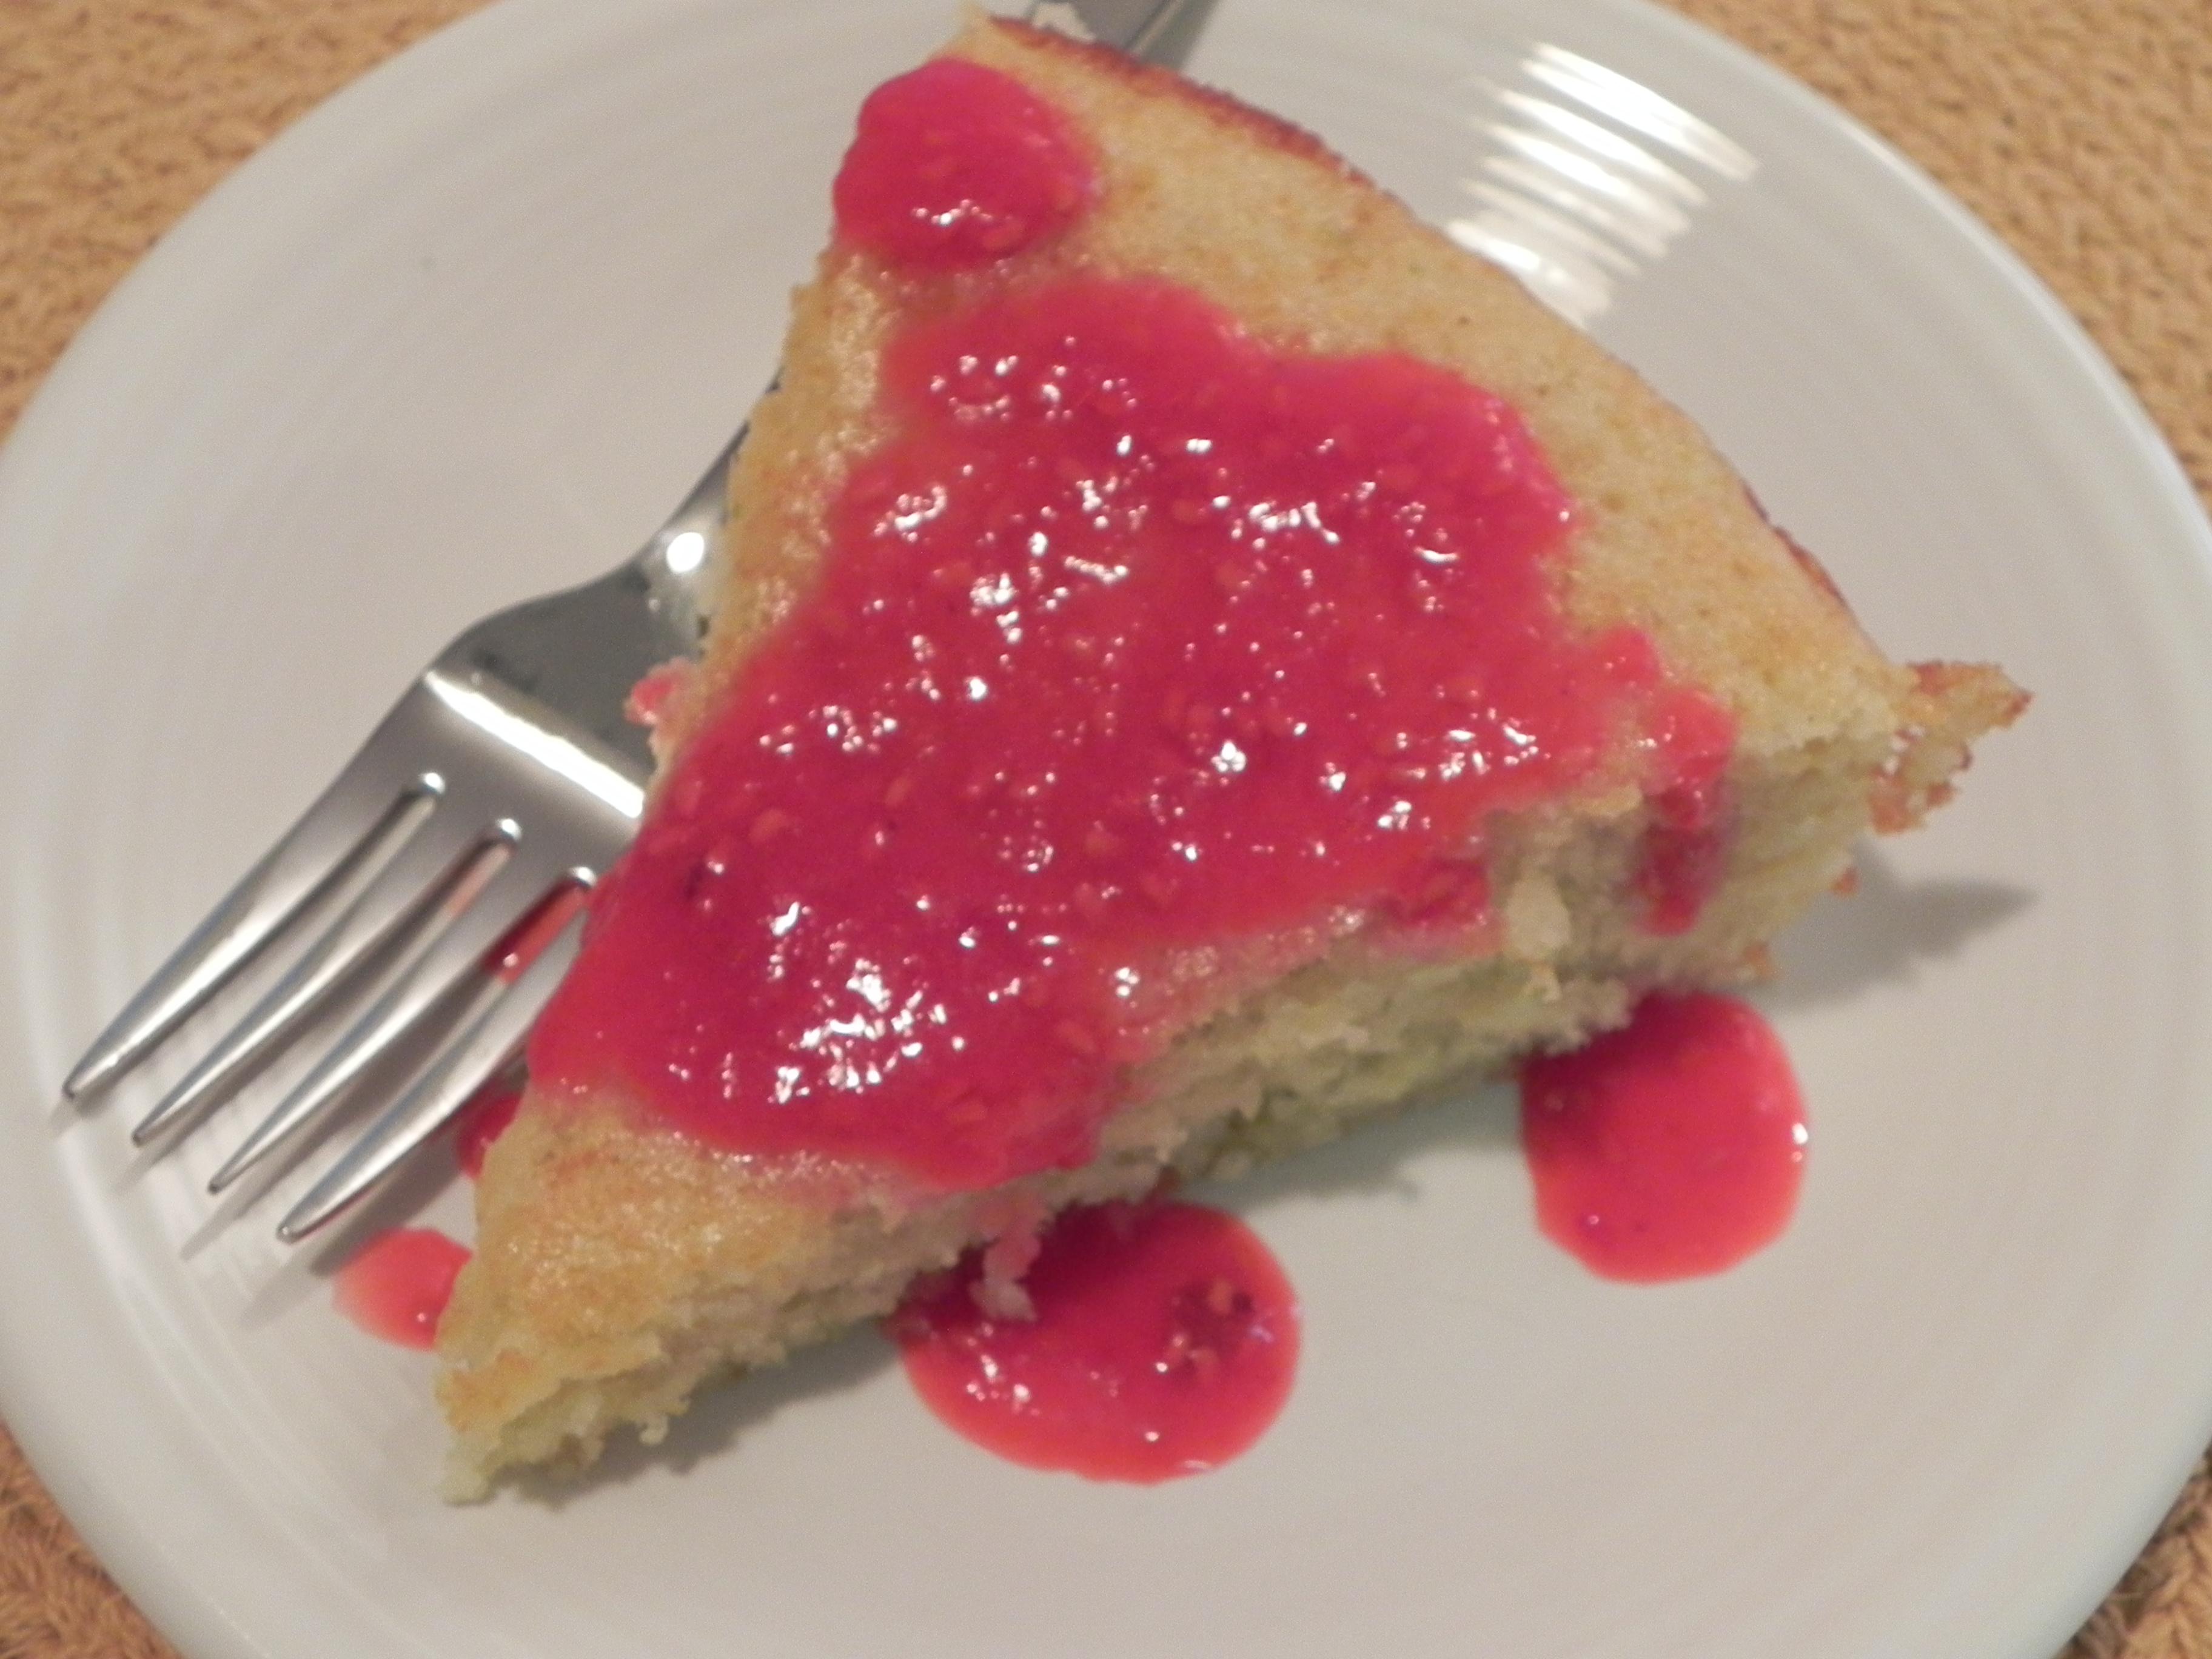
Okay, back to the lemon squares. These are a refreshing treat on a hot summer day. Best cold out of the fridge, I would recommend these lemon bars for an everyday treat or a fancy dinner party dessert. They can be dressed up with some powdered sugar or a sprinkling of fresh berries… the possibilities are endless!

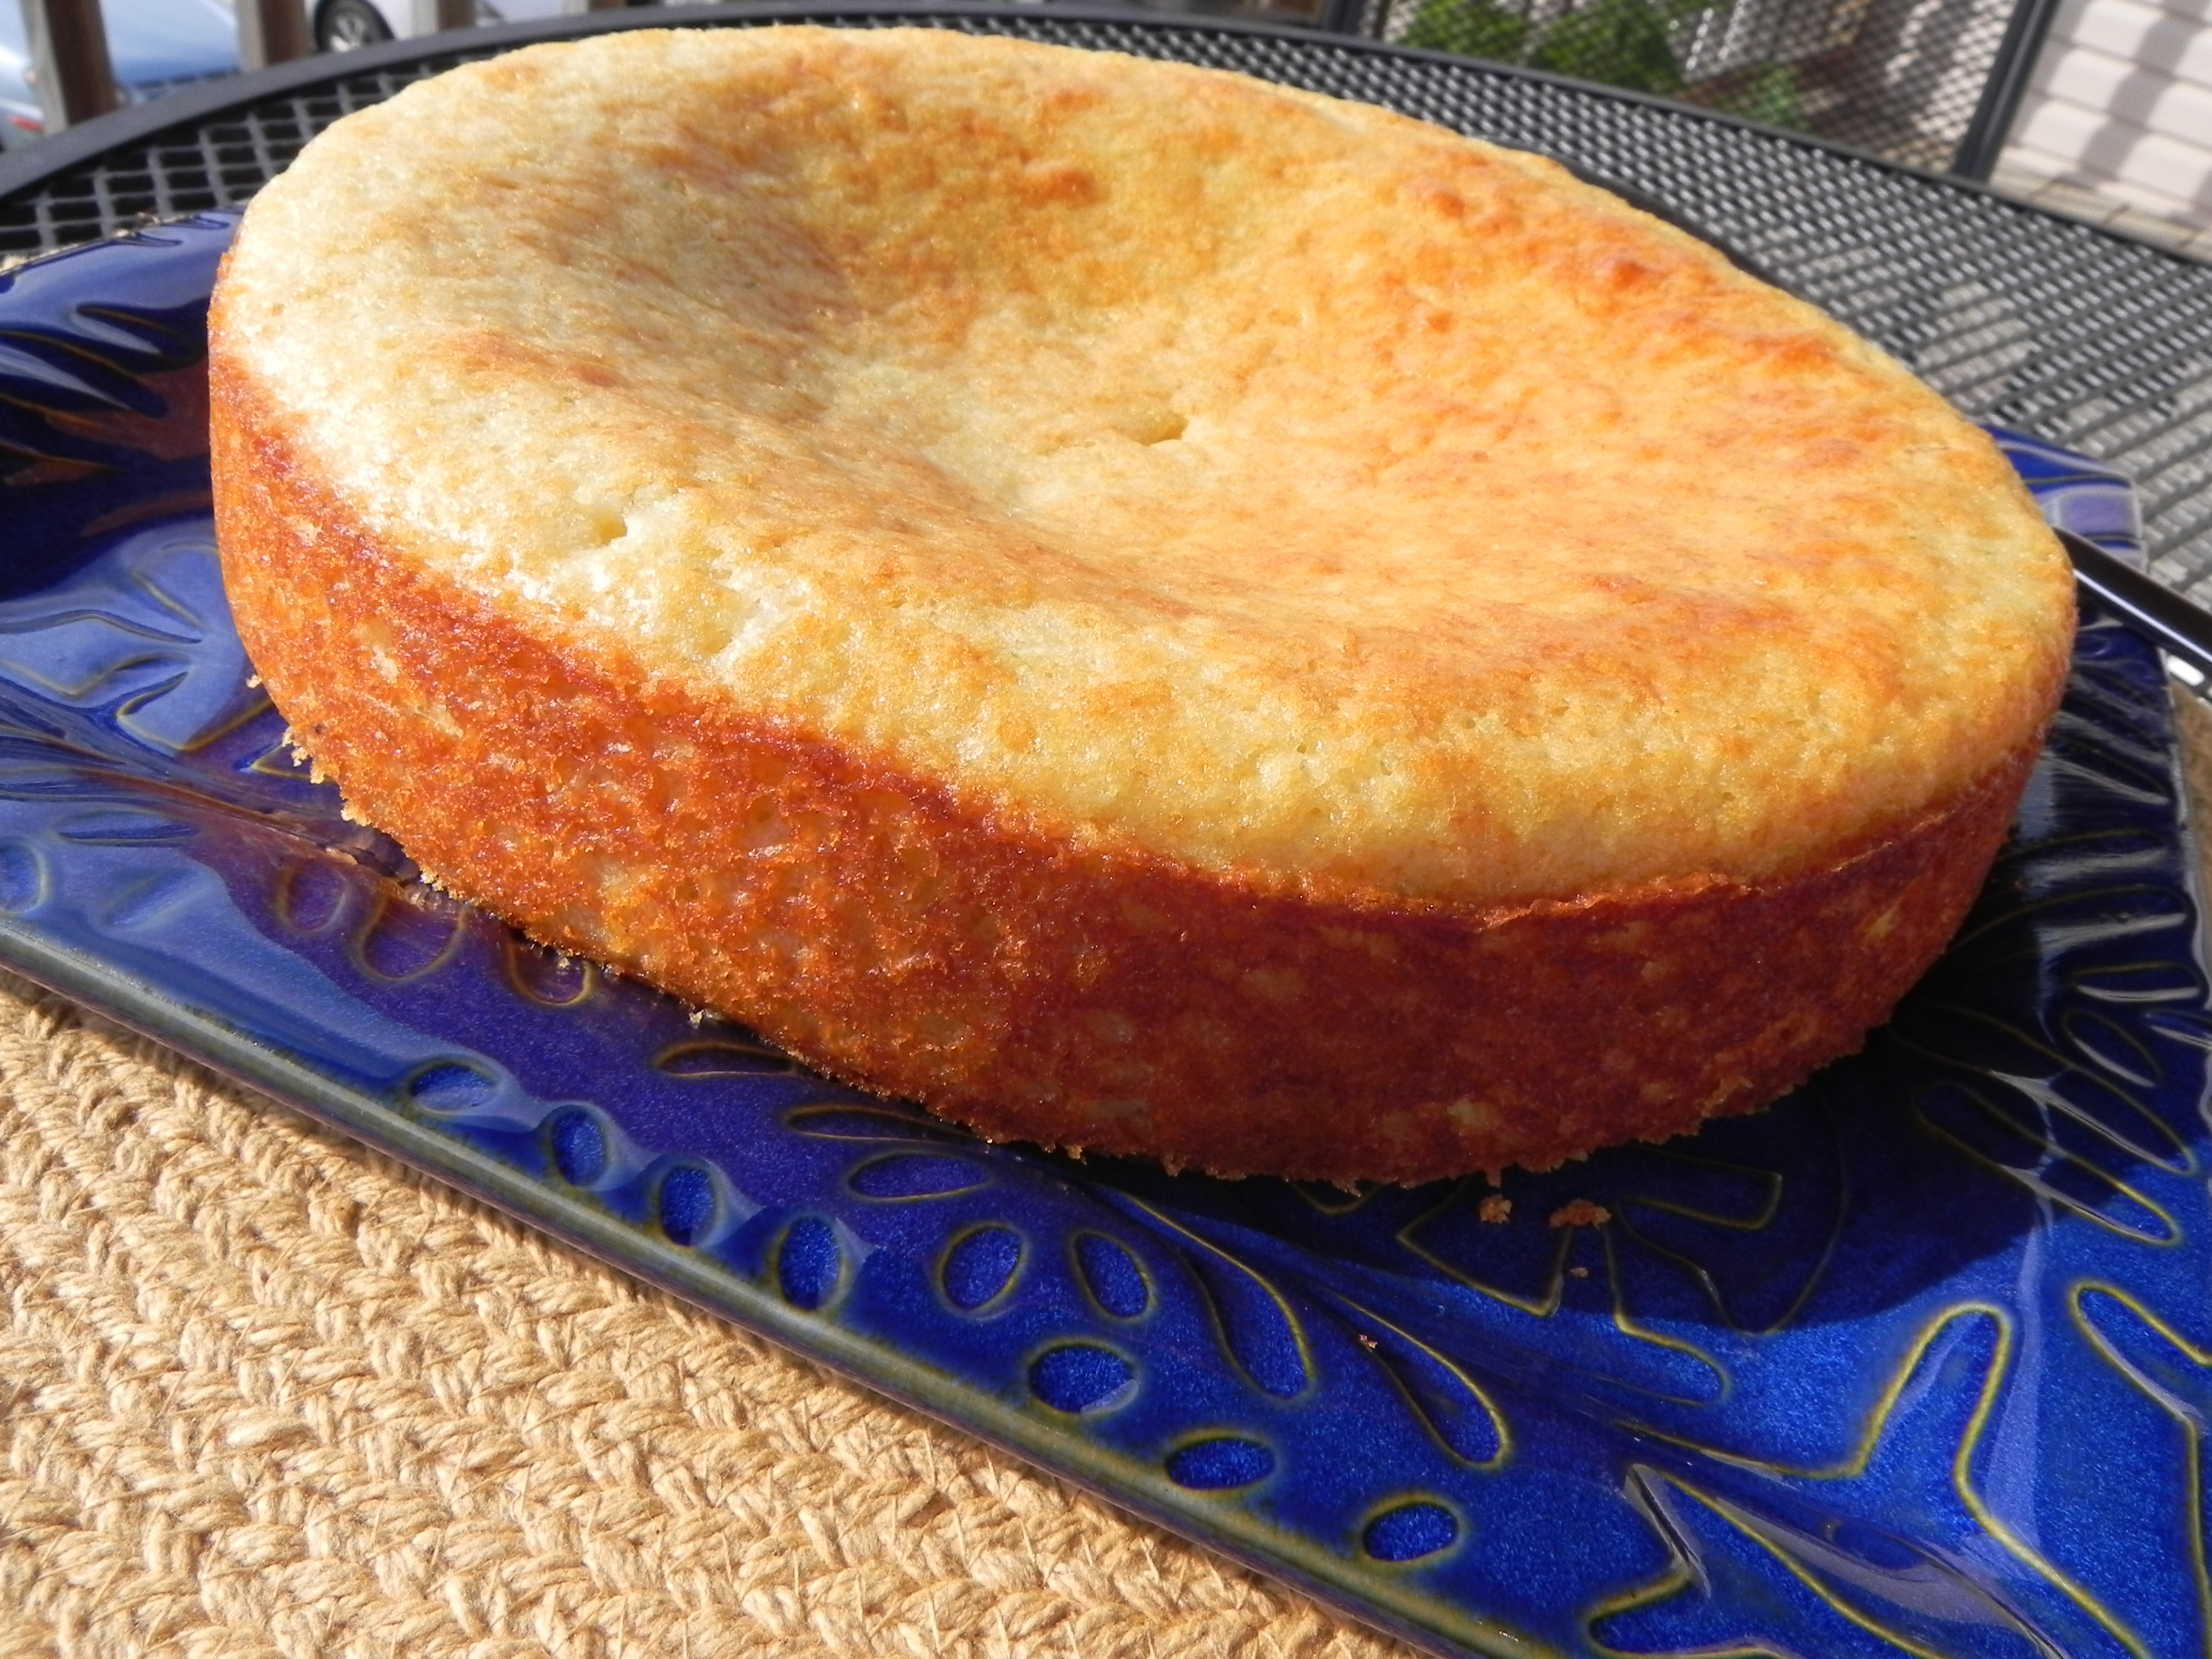
A word to the wise though… use parchment paper. I didn’t, and regretted it. Horribly, horribly regretted it. I didn’t take a picture of the aftermath of the pan or the broken lemon squares. It was sad. Really sad. At least they were tasty… very tasty!

Creamy Lemon Squares | thepajamachef.com
The prettiest ones of the bunch.

Another redeeming quality of these bars were that they were gooey. And I cannot resist a gooey dessert… yumalicious!

Creamy Lemon Squares | thepajamachef.com
Gooooooo!

Without further ado…

Creamy Lemon Square

  • Servings: 12
  • Print

by Martha Stewart

Ingredients:

  • 1/2 cup butter, softened [or 1/2 cup unsalted butter + 1/4 teaspoon salt]
  • 1/2 cup powdered sugar, plus more for dusting [or dumping like I did]
  • 1 cup all-purpose flour
  • 4 large egg yolks
  • 14 ounces lowfat sweetened condensed milk
  • 3/4 cup fresh lemon juice, from about 3 lemons [some bloggers suggest 4; I made it with 3… depends on the size of your lemons]
  • cooking spray

Directions:

Preheat oven to 350 degrees. Spray an 8″x8″ baking pan with cooking spray, line with parchment paper (leaving an overhang on two sides), and spray paper. [PLEASE DO THIS. Or you will be sad.]

For the crust, combine butter and sugar in an electric mixer until fully combined and fluffy. Add flour, about 1/3 of a cup at a time, and mix until incorporated in the butter. Spoon dough into the prepared pan, pressing along the sides and bottom of the pan. Use a fork to prick all over so your crust doesn’t bubble up. Bake until golden yet still soft to the touch, about 15-20 minutes.

Now onto the lemony goodness… aka the reason to make this recipe.

Add yolks, milk, and lemon juice to a large bowl. Whisk until combined. [Hint: teach husband to separate eggs and serve him the whites for breakyfasty the next day. Yes, I did just say breakyfasty. I’m not sure why. Husband is also a good whisker too.]

Pour filling over hot crust in pan. Ooh and ahh over how good the butter and sugar and lemon smells.

Return lemon squares to oven and bake until filling is set. Martha recommends 25-30 minutes, mine was set in about 22. My advice? Watch it very closely after about 19 minutes… that’s when mine started to brown around the edges.

Cool completely in pan, then refrigerate until firm, about 2 hours. I let mine refrigerate overnight, and Martha sez you can keep it in there for up to 3 days. 3 days?!? Geeze, I don’t think an uncut dessert would last that long here.

Before eating and enjoying, remove cake from pan, cut, and sprinkle with powdered sugar. Yum.

I’m not sure why I’m so weird now, but I am… and don’t forget… use parchment paper! It will make your life so much better. The end.

Cakes, Desserts, Recipes

Lime Yogurt Cake with Raspberry Sauce

I found this recipe back in April and have been drooling over it ever since. However, I never had an occasion to make it. So I found one.

Lime Yogurt Cake with Raspberry Sauce
love these two together! color + flavor 🙂

The occasion? Sunday afternoon. 🙂

Lime Yogurt Cake with Raspberry Sauce
together, they make this!

I hardly made any changes from the original recipe, with the main change being a swap from blackberries to raspberries for the sauce. Raspberries happened to be on sale and looked pretty, plus my husband had mentioned a hankering for them so I decided to go for it. And do not regret it one bit. Be sure to pop over to Smitten Kitchen to read the original recipe [even that one was adapted], because she gives some great tips and tricks to make this cake absolutely divine. The cake isn’t rich. Instead, it’s light and almost buttery in your mouth, which is perfect for a hot summer day. The tang of the lime and plain yogurt coupled with the sweetness of the berries is a fabulous contrast, and leaves you wanting more. And more. And more. I just had to have seconds. 🙂

Lime Yogurt Cake with Raspberry Sauce

  • Servings: 8
  • Print

from Smitten Kitchen

Ingredients:

  • 1 cup plain unsweetened yogurt <— I used Dannon nonfat because it was all I could find, however, whole milk or 2% Greek is recommended in the original.
  • 1/3 cup coconut oil  <— vegetable or olive oil is recommended, but I loved the tropical flavor of coconut oil
  • zest of one lime
  • 1/4 cup + 1 tablespoon lime juice, divided [approximately 1 1/2 – 2/3 limes]
  • 2 eggs
  • 1 2/3 cups all-purpose flour
  • 1 1/2 teaspoons baking powder
  • 1/2 teaspoon baking soda
  • 6 ounces fresh raspberries
  • 1/4 cup water
  • 3 tablespoons sugar
  • cooking spray

Directions:

Preheat the oven to 350 degrees. Use cooking spray to grease a 9″ springform pan. In a large mixing bowl, stir together the yogurt, oil, sugar, lime zest, and lime juice.

In a second smaller bowl, combine flour, baking powder, and baking soda. Set aside. Add eggs, one at a time, to the yogurt mixture, whisking well in between. Then, sift the flour mixture into the batter. This will make the batter so light and fluffy! Stir gently with a wooden spoon until combined.

Pour batter into pan and bake for about 30-40 minutes, or until golden brown and a toothpick inserted in the middle comes out clean. [Recommended time was 35-40 minutes; mine was done in 32.] Cool in pan on cooling rack for 10 minutes, then remove side of springform pan and cool until serving.

Meanwhile, make the sauce. In a food processor, combine raspberries, water, sugar, and 1 tablespoon lime juice. Purée until smooth. Drizzle over cake before serving [if you will be eating the whole cake in one sitting… not you yourself, but the collective you! :)], or drizzle over individual pieces.

Notes:

So my cake fell in the center. See? I’m not entirely sure the cause of this, but it may be due to the coconut oil, the heat [110 heat index, anyone?!], my wonderful *sarcastic* apartment oven, etc. It definitely was cooked all the way through and my ingredients are not old. Any other ideas? It still tasted great though.

Lime Yogurt Cake with Raspberry Sauce

Lime Yogurt Cake with Raspberry Sauce
zest zest zest away!

Lime Yogurt Cake with Raspberry Sauce

Bars, Desserts, Recipes

Triple Chocolate Peanut Butter Brownies

I love brownies. Absolutely love them. Typically though, I’m not the biggest fan of homemade brownies. For some reason, boxed brownies always taste better. However, this recipe has changed my mind. Totally easy, totally worth it. Hardly more effort than mixing up a batch of boxed brownies. And so much tastier…

A layer of rich chocolate + a layer of nutty peanut butter + a topping of chocolate chips = absolutely delicious!

Sweet and salty, with crisp edges and a chewy center.

A practically perfect brownie.

Triple Chocolate Peanut Butter Brownies | thepajamachef.com

And just as a side note… it is so hot and humid here in Indiana that when I stepped out on the porch to take this picture, the plate, chocolate chips, and my camera lens fogged up with condensation from the humidity. Oh. My. Goodness. Crazy. Yuck. And it was 8 pm. I will survive though, because I just ate Cheerios and brownies for dinner. Excellent choice? Yes, I do believe so!

Please make these now. You will be glad.

Triple Chocolate Peanut Butter Brownies

  • Servings: 16
  • Print

inspired by my cravings and this, this, and this
Triple Chocolate Peanut Butter Brownies | thepajamachef.com

Ingredients:

  • 2/3 cup flour
  • 1/2 cup granulated sugar
  • 1/2 cup light brown sugar, packed
  • 1/2 teaspoon baking powder
  • 1/2 cup canola oil
  • 2 eggs
  • 1 teaspoon vanilla
  • 1/2 cup chunky peanut butter, microwaved for 15-25 seconds to soften
  • 1/4 cup cocoa powder, sifted
  • 1 ounce good quality bittersweet chocolate, roughly chopped [I used Ghiradelli 60% Cacao]
  • 1/3 cup milk chocolate chips
  • cooking spray

Directions:

Preheat oven to 350 degrees. Grease 8″x8″ pan with cooking spray. Mix flour, sugars, baking powder, oil, eggs, and vanilla with a wooden spoon in a large bowl. Divide batter into two, spooning half into a medium bowl [this should be a little more than 1 cup measured]. In one bowl, add cocoa and bittersweet chocolate. Stir gently to combine. In the other bowl, whisk in peanut butter with a fork. Spoon chocolate batter into prepared pan, and then add peanut butter batter on top. This batter will be a bit thicker, so feel free to use fork to lightly swirl peanut butter batter on top of chocolate batter. Bake for 18 minutes, then sprinkle milk chocolate chips evenly over the surface of the brownies. Bake for an additional 8-12 minutes, or until toothpick inserted in the center comes out clean. Cool at least 10 minutes before cutting… if you can wait that long! 🙂

Note:

Cook longer if you are not a fan of gooey brownie center. The middle pieces were definitely not cooked all the way through. We like a combination of gooey and crispy, but not everyone does. If you do cook it longer, top with a piece of foil to prevent the top from burning. That just would make for a sad brownie.

Cakes, Desserts, Recipes

Butterscotch and Chocolate Yellow Cake

Who doesn’t love a homemade birthday cake? Certainly not anyone I know! 🙂 This is a recent occurrence though. When I was growing up, I wasn’t the biggest fan of cake. True story. I would eat a piece at birthday parties and dinner, but I would never request it as a dessert of choice. Some years I asked for a “cake” of cheesecake instead. In fact, 9 times out of 10 I would rather eat fruit than chocolate. However, as I’ve gotten older, my tastes have changed. I still looooove fruit [and am LOVING the summer berries right now!], but I do enjoy cake and other chocolate-ly sweets too! In fact, here I am on my last birthday:

Sarah eating cake.Wowsers. What a flattering photo! 😉 Anywhoooo, now that I like cake, I’m always on the lookout for cake recipes. Mixes in a box are good, but the real good stuff is always homemade [with the exception of brownies. The best brownies I’ve ever had are from a box. Anyone care to remedy that? Just let me know!]. The following recipe is one I made a few months ago for husband’s birthday. It was fairly simple to make and the cake was divine–a delicious mix of buttery yellow cake and sweet chocolate and butterscotch chips, almost like a cookie in cake form. Yum! The frosting was good too, but I might have had better results if my cream cheese hadn’t been funky. Yeah… ugh. This cake was inhaled… so don’t say you weren’t warned. Without further ado…

Ben with his cake.

Butterscotch & Chocolate Yellow Cake

  • Servings: 12-14
  • Print

adapted from OddMom

Ingredients:

  • 2 1/2 cups flour
  • 2 1/2 teaspoons baking powder
  • 3/4 cup butter, softened [if using unsalted butter, add 1/2 teaspoon salt; otherwise, omit salt]
  • 1 3/4 cups sugar
  • 3 large eggs
  • 1 1/4 cups milk
  • 1 cup semi-sweet chocolate chips, plus more for garnishing
  • 1 cup butterscotch chips, plus more for garnishing
  • cooking spray

Directions:

Preheat oven to 375 degrees. In a small bowl, gently combine the flour and baking powder. In the bowl of an electric mixer, beat the butter and sugar on medium speed until fluffy, about 2-3 minutes. Add the eggs one by one, thoroughly mixing each in individually. In a liquid measuring cup, add the vanilla tothe milk and whisk until combined. Add half of the milk into the butter mixture, and then add half of the flour mixture. Mix well, and repeat. Using a spatula, fold in the butterscotch and chocolate chips.

Grease and flour [generously, so the cake doesn’t stick–keep a pastry brush on hand to remove flour from a cooled cake prior to frosting it] 2 9″ round cake pans. Using a greased measuring cup, fill the 2 cake pans evenly. One thing I like to do is alternate the pan I am filling up [1 cup of batter in pan A, 1 cup in pan B, etc.] to help ensure that the layers will be equal and not uneven. Cake surgery is not my forté!

Bake for approximately 25 minutes, or until a toothpick inserted in the center comes out clean. Cake should be golden and springy in the middle. Allow to cool in the pans for about 7 minutes, and then carefully remove to cool completely on wire racks.

While the cake is cooling, prepare the ingredients for the frosting.

Frosting

  • 8 ounces 1/3 less Fat “Neufchâtel” cream cheese [husband loves to say “Neufchâtel!”], softened
  • 1/2 cup butter, softened
  • 2 cups confectioners sugar
  • 1/2 cup cocoa

In the bowl of an electric mixer or food processor, beat the cream cheese and butter until fluffy. In a separate bowl, mix the sugar and cocoa and then add in 1/3 cup increments to the butter and cream cheese, beating until creamy.

After cake is cooled, place one layer of the cake on a cake stand or serving platter or plate. Frost the top only, then place the second layer on top of the frosting, forming a cake sandwich. Continue to frost the cake, working from top to bottom until cake is frosted. Garnish with butterscotch and chocolate chips on top.

Serve to a hungry birthday husband [or wife or friend or mom or dad or sister or brother or cat… just kiddin’!], and be the hero of the night!

And if you have to transport the cake across town, then rig up a super cool contraption using blankets, a seatbelt, and a Captain Morgan box in your car to protect the yummyness!

Cake in the car

Or use something practical, like oh, a cake carrier. I’d like one… [hint hint!]

Cake carrier

Okay, off to dream of cake…and cake carriers…