
Sweet potato fries are all the rage lately [but is the phrase “all the rage” really all the rage? Or is it way outdated?]. We eat these as a side dish or a snack, and I even eat them as a meal sometimes [just like one of my roomies used to!]. But Ben prefers some meat with his meals… oh boys, whatcha gonna do with them! 🙂 I have seen them on the menu at so many restaurants, chains and local places alike. I’ve ordered them a few places only to be disappointed that they are actual fries–fried in a fryer–not the baked, soft, crispy, sweet potato goodness of these fries. Annnnnd since they are baked, you get all the taste [and health benefits… shhhh!] of sweet potatoes, with the crunchy satisfaction of fries, without all the grease, salt, fat, and other bad stuff. Though traditional fries do taste so good sometimes! Also, for those who are concerned and do not like Thanksgiving sweet potatoes… these bear no resemblance, so have no fear. These are goodies that should make an appearance many times a year!
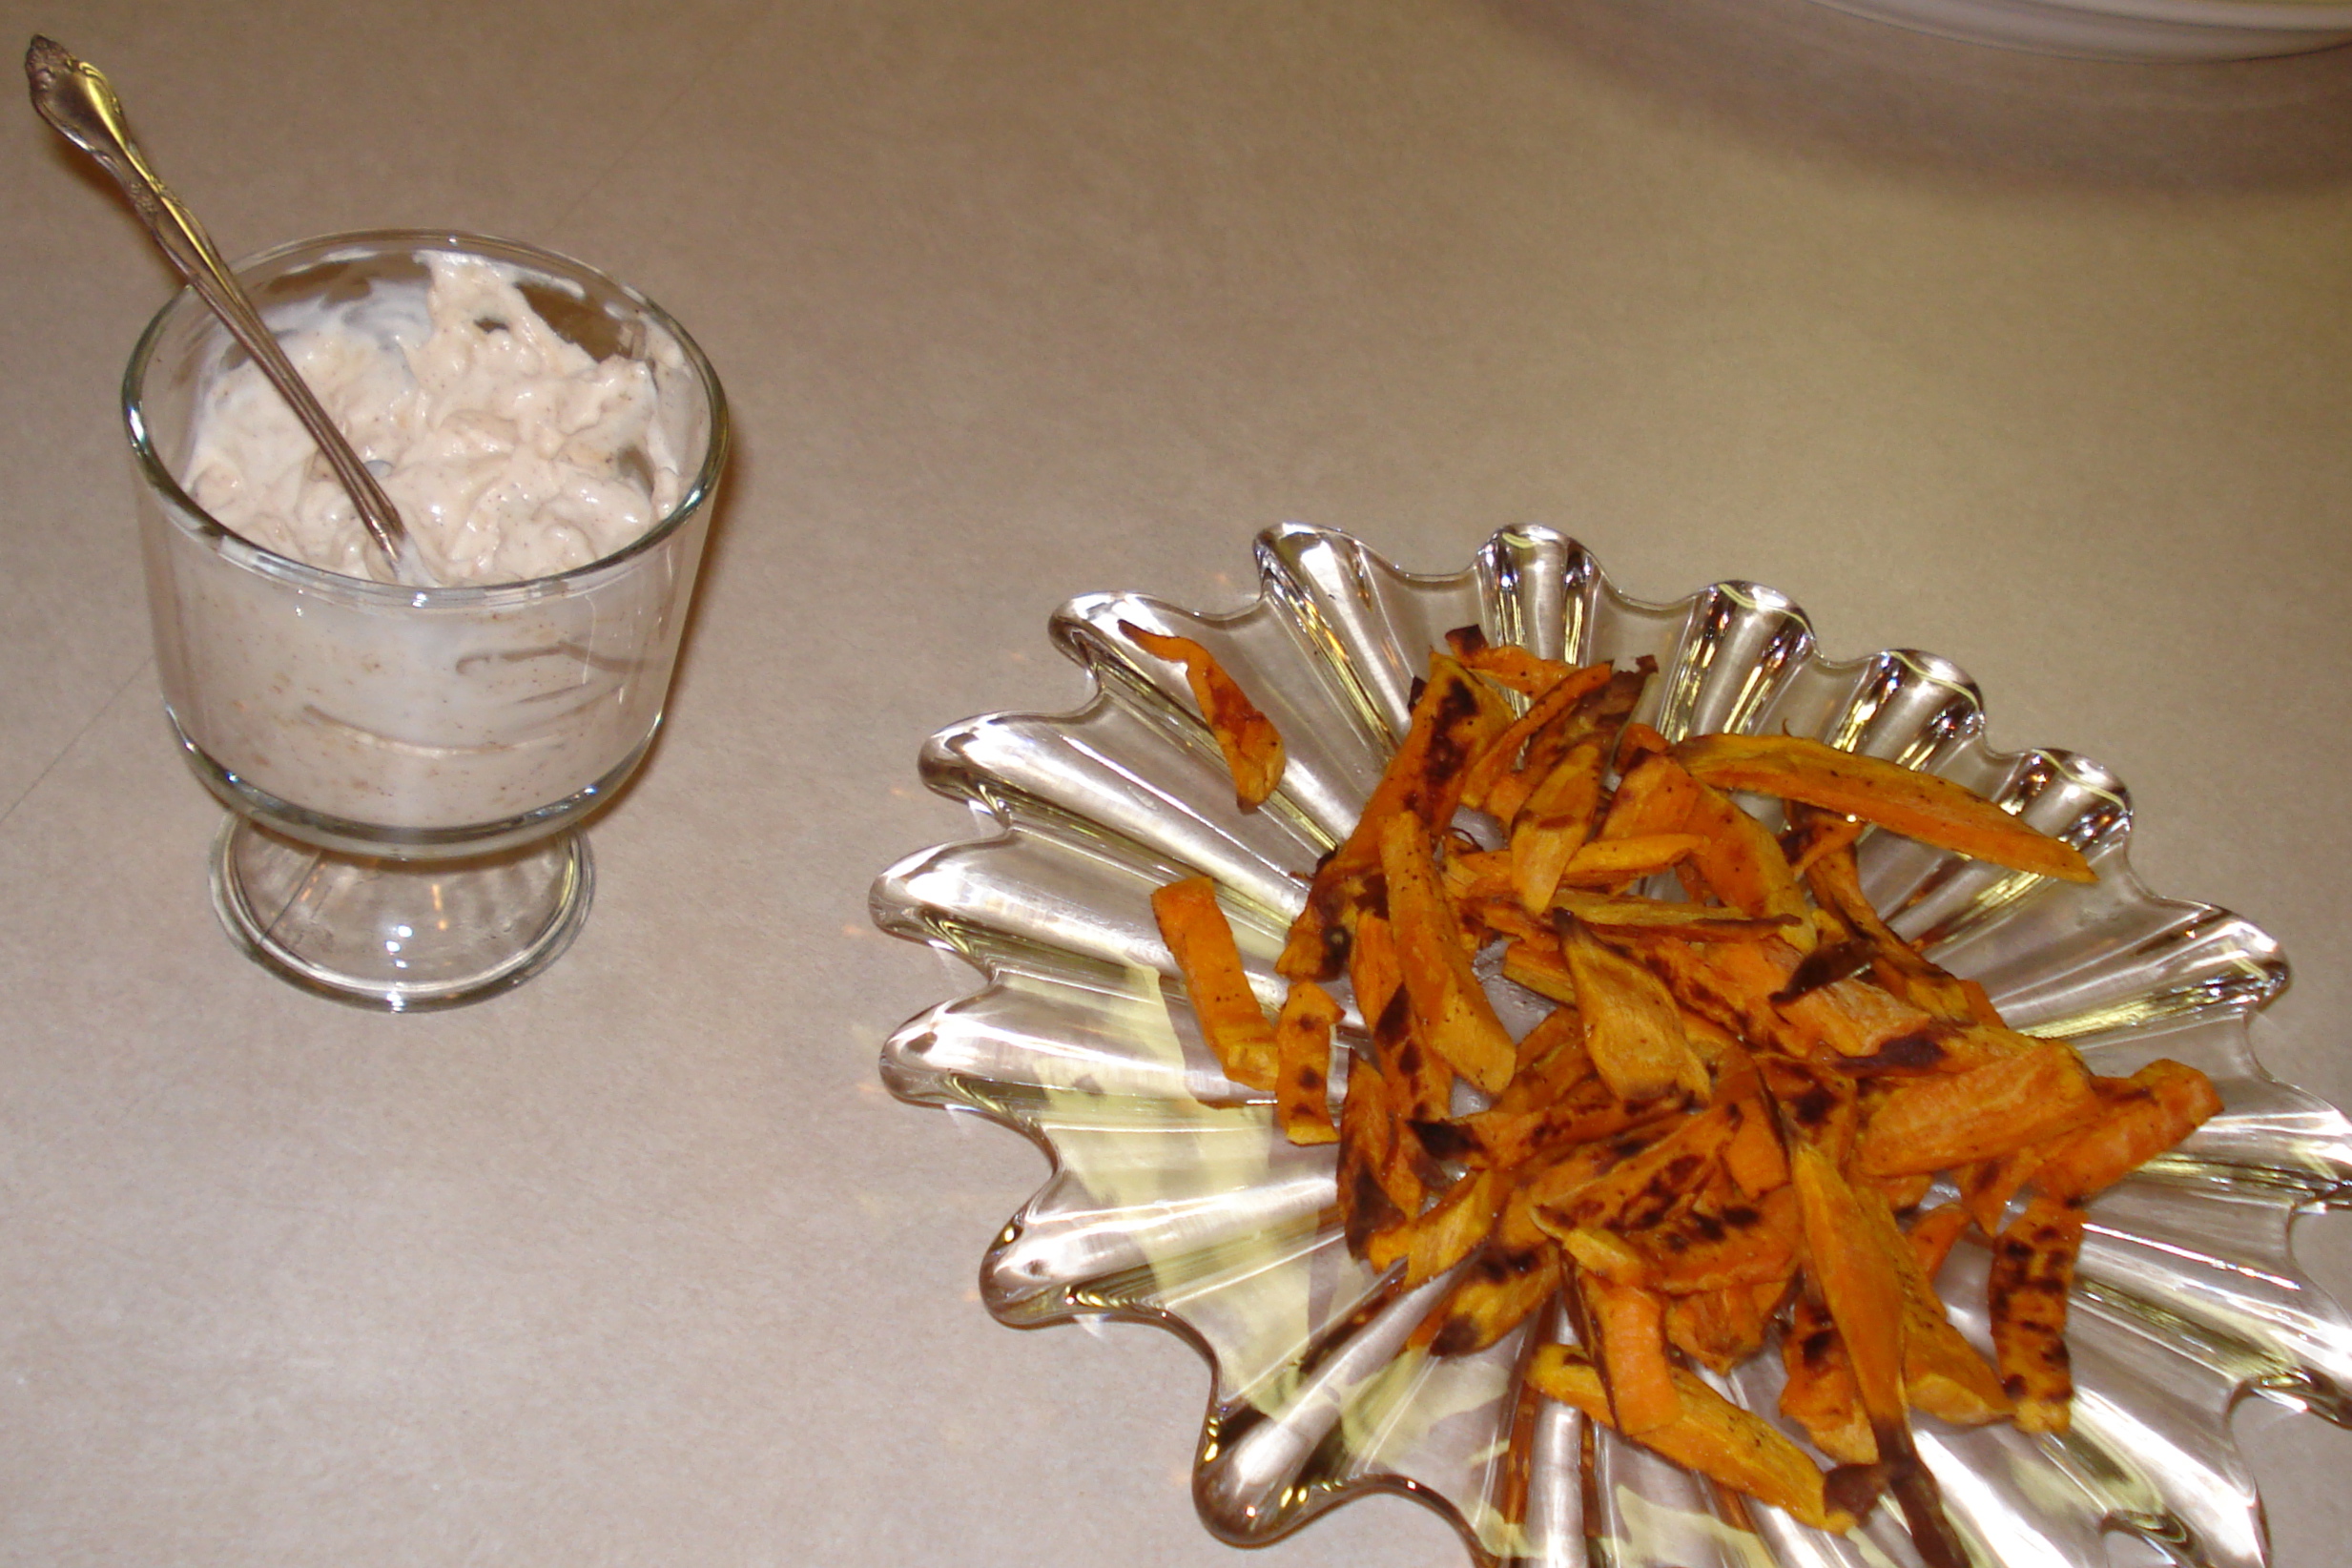
Baked Sweet Potato Fries with Sweet & Spicy Garlic Dip
for sweet potatoes
Ingredients:
- 1/2 pound sweet potatoes, roughly peeled and chopped into 1/4″ sticks or wedges
- 1 tablespoon + 1 teaspoon olive or canola oil
- 1 teaspoon kosher salt
- 1/2 teaspoon ground pepper
- cooking spray
Directions:
Preheat oven to 400 degrees. Place prepared potatoes in a large bowl. Add oil, salt, and pepper and toss to coat. Lightly grease a baking sheet with cooking spray, and then spread potato slices in an even layer across the surface of the pan. Try to keep the slices in a single layer to regulate baking; use a second baking sheet or bake in 2 batches if necessary. Bake potatoes for 30 minutes, using a spatula to flip the fries every 10 minutes. Fries will be done when light brown and crisp to the touch.
Notes:
I often am impatient while cutting the potatoes and end up making the fries larger than 1/4″, so I have to cook them longer, for a total of about 40-50 minutes, so feel free to experiment with your oven and personal preferences. Also, this is just a basic recipe. Sometimes I will add 1/2 teaspoon of basil and 1/2 teaspoon of oregano, or other herbs and/or spices to the fries. Feel free to experiment with your favorite flavors! I do find that I prefer plainer fries with the following dip.
for dip
Ingredients:
- 1/2 cup fat free sour cream
- 1/2 cup Miracle Whip [I have never tried this with mayonnaise, but imagine the taste would be similar.]
- 2 cloves garlic, chopped
- 1 teaspoon cinnamon
- 1/2 teaspoon Mexican-style chili powder [I prefer this one but any should work.]
Directions:
In a small bowl, mix all ingredients. Adjust spices to taste. Refrigerate for at least 30 minutes for best taste. Keeps up to one week in the fridge.
Note:
If you are sensitive to spicy foods, use a milder chili powder or reduce amount. This sauce is also excellent in a panini, and I bet it would be good with pita or bagel chips, though I have yet to try it.


