Beef, Main Dishes, Recipes

Taco Casserole

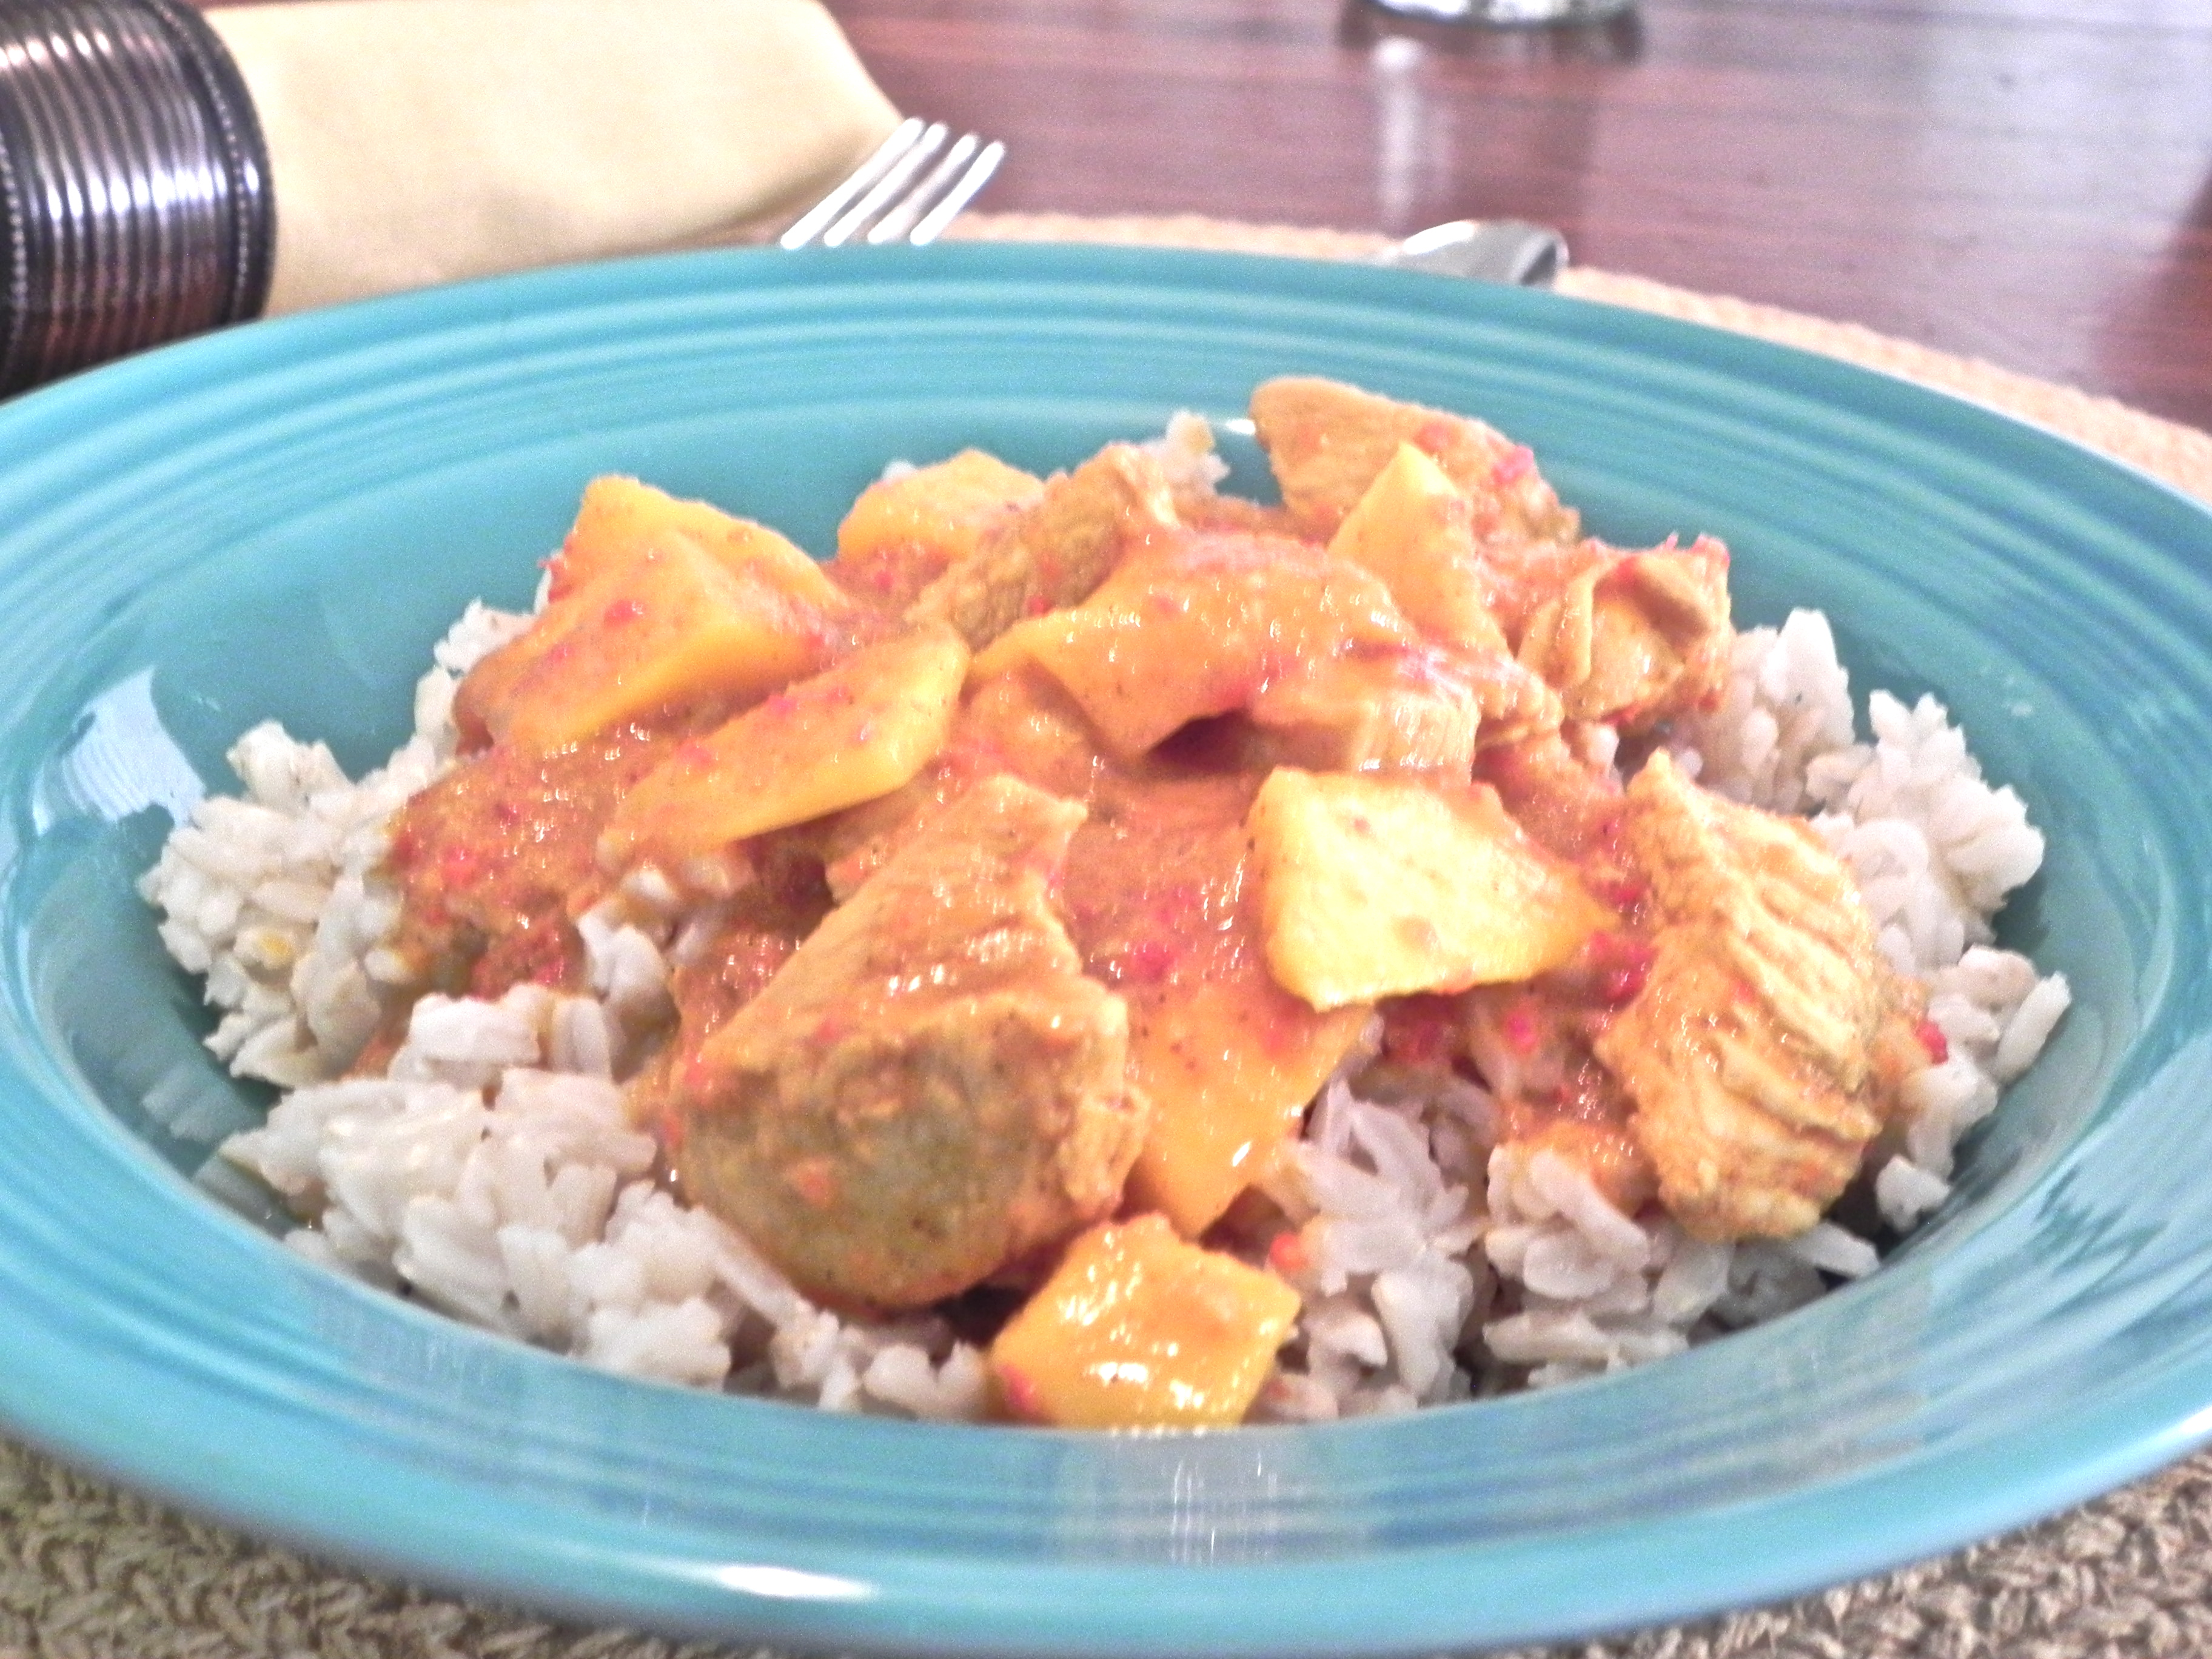
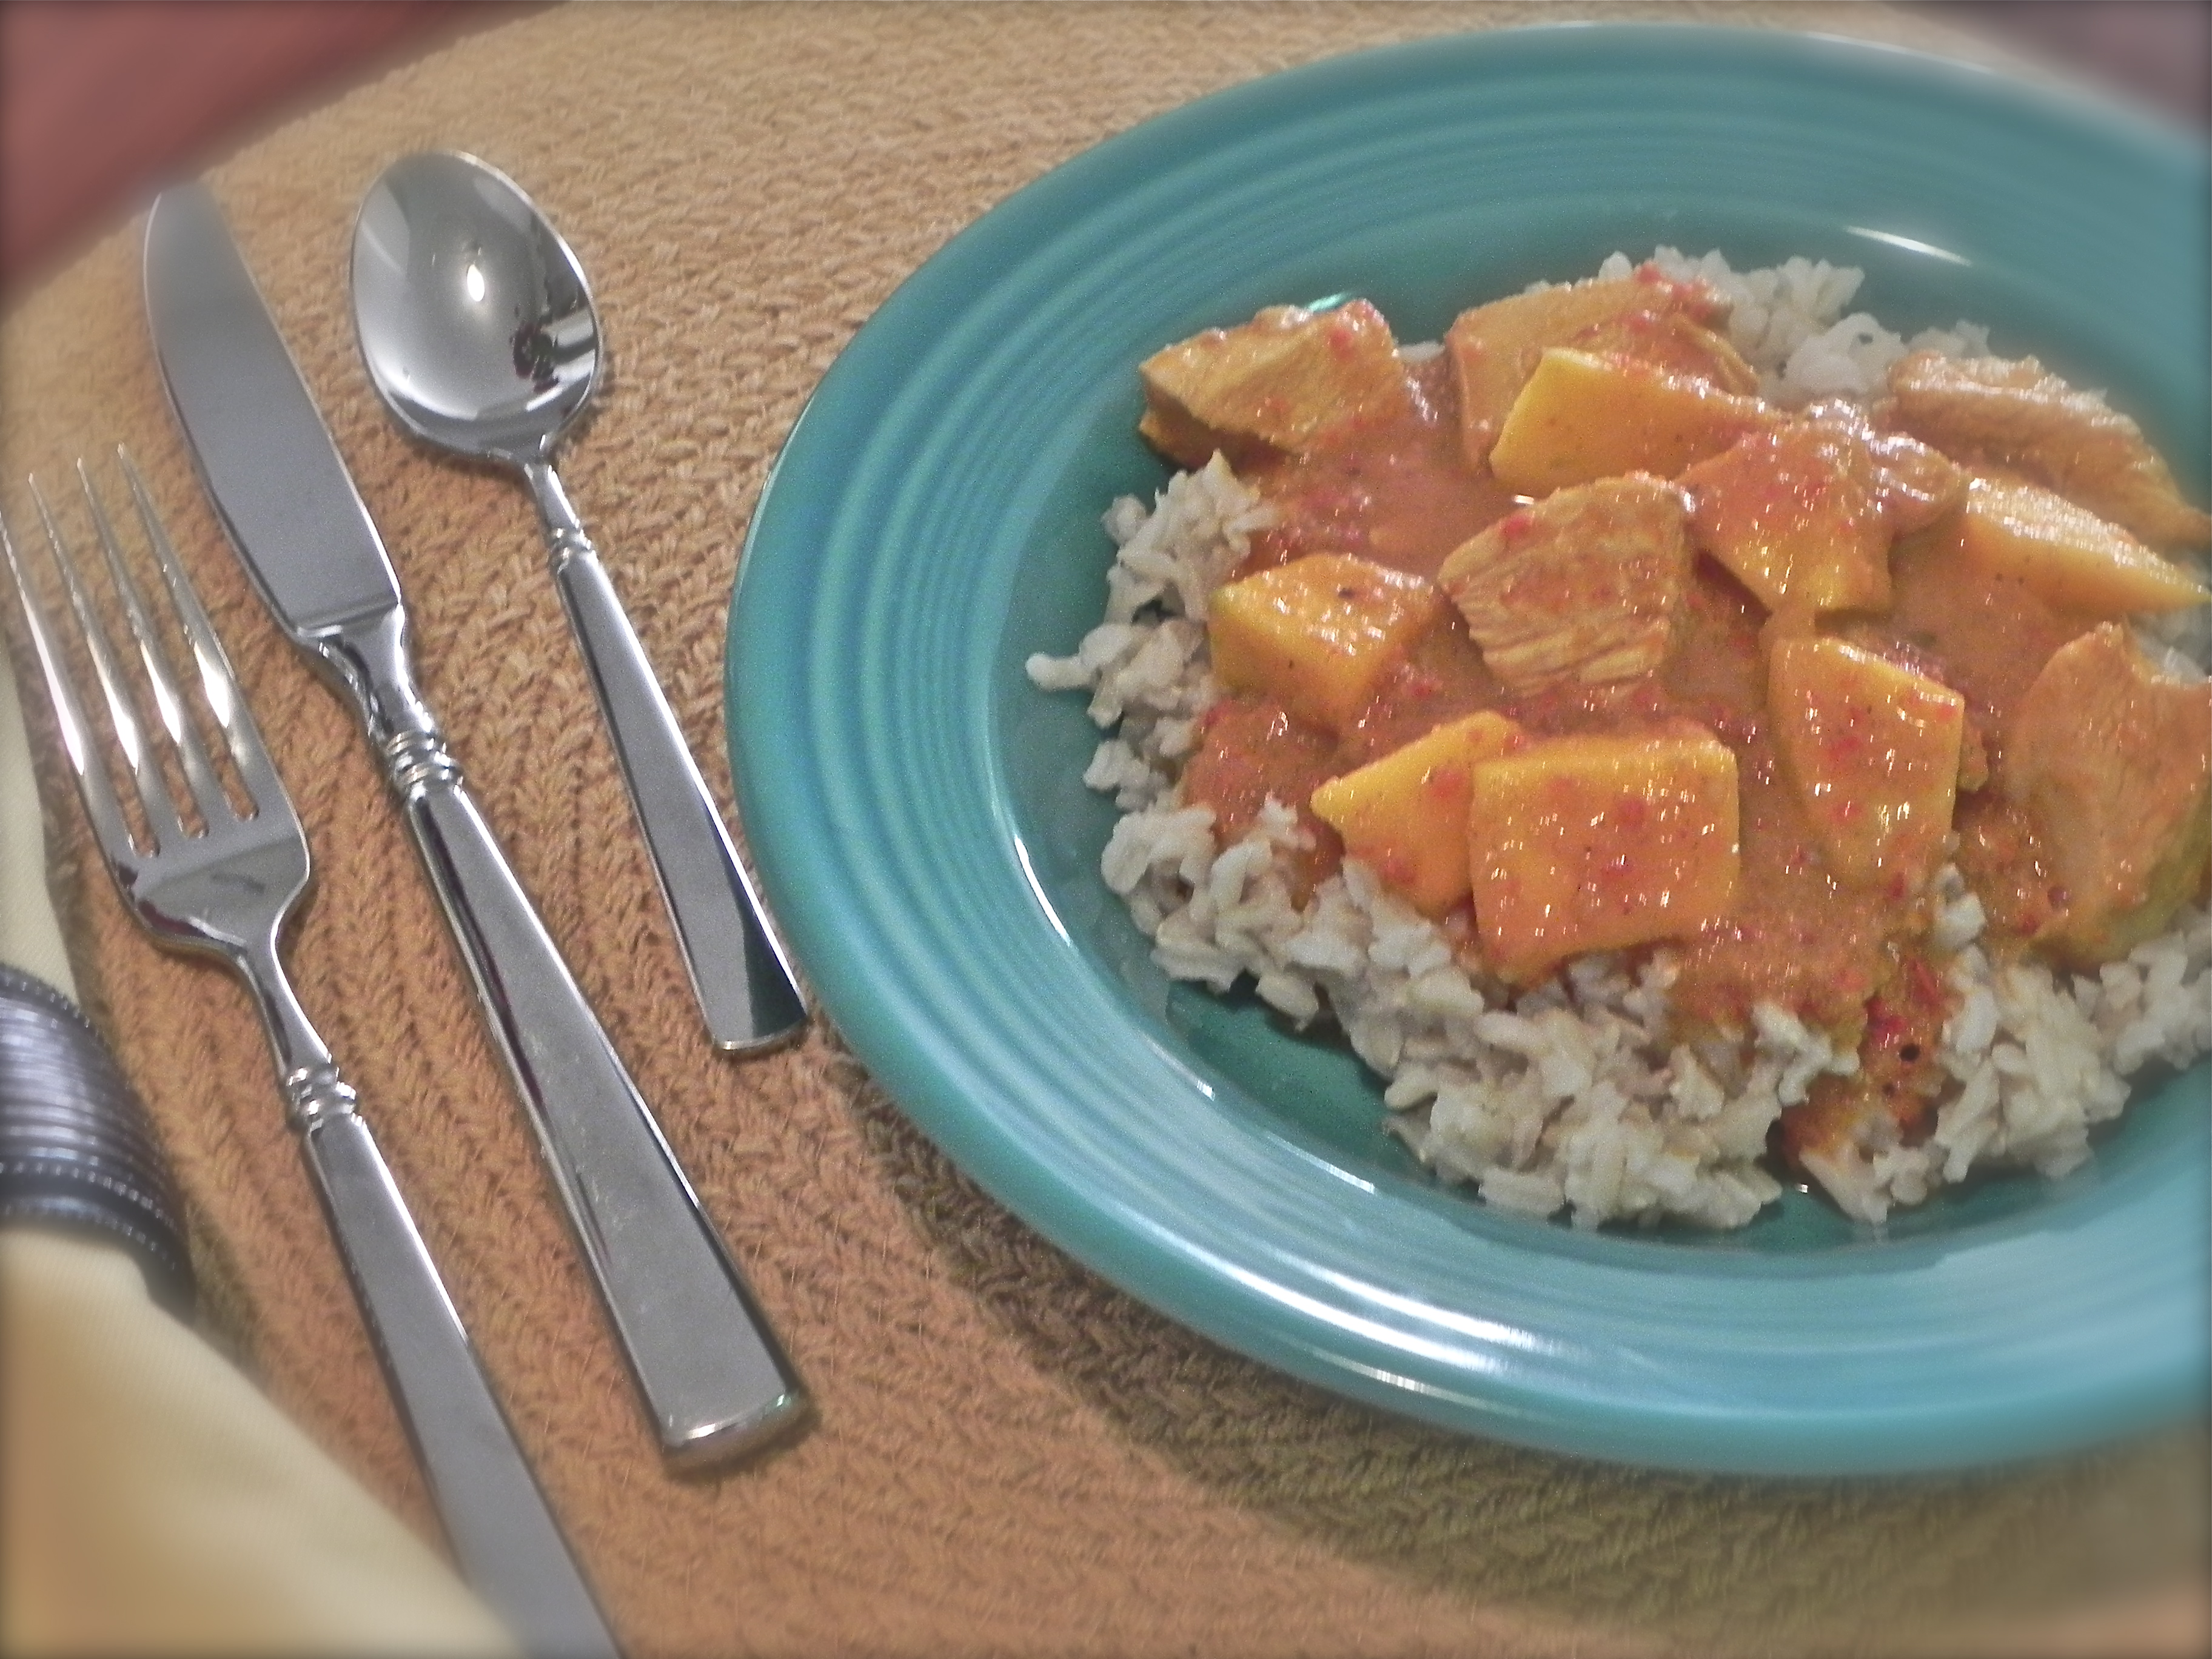
Last night for dinner I made taco casserole. I don’t really like the word casserole (though I do like casseroles… what can I say, I’m from the Midwest), but I don’t have a better name for this dish. Anyway… it’s not so pretty but it is pretty tasty. It kinda looks like a mash of dough and meat and sauce on a plate. Appetizing, huh?

Taco Casserole: a delicious dinner! {thepajamachef.com}
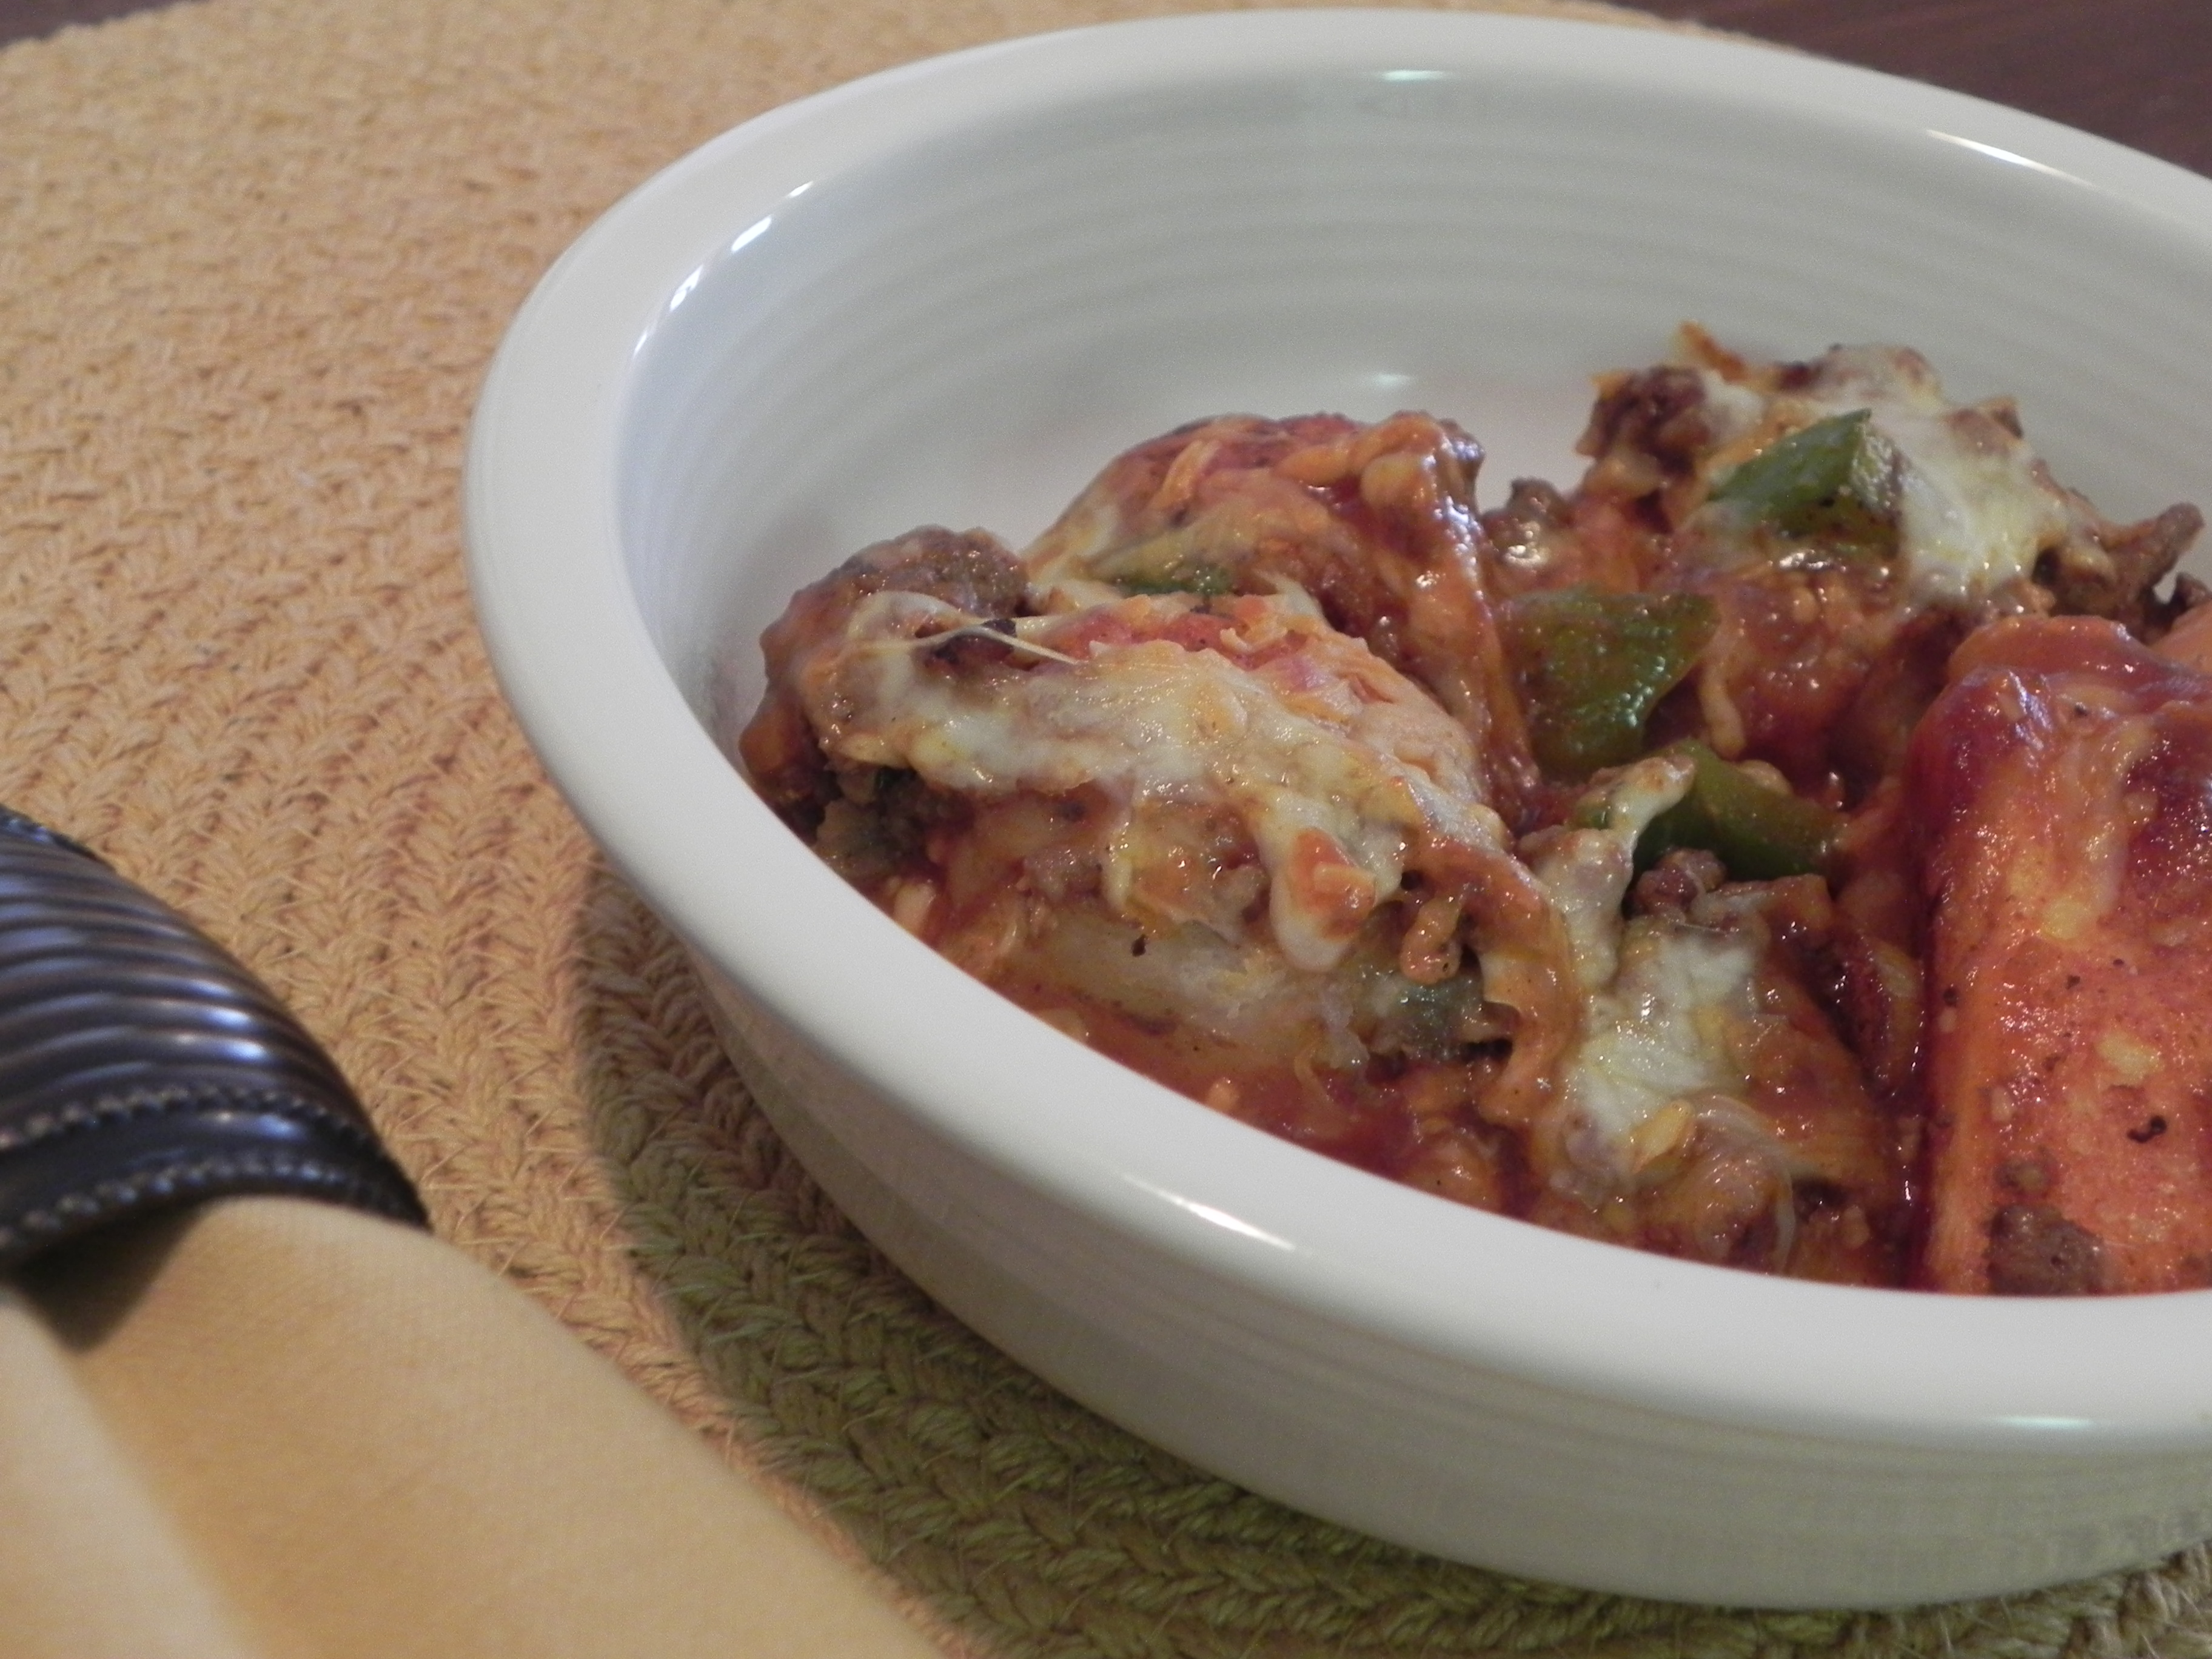
My husband says it was good in his tum tum. He likes the flavor of it, especially the crust of biscuits and spicy taco sauce. The taco sauce gave it a distinct Mexican flavor, since we don’t use it in normal tacos. It would also give Sheba distinct Mexican flavor too. [Note: we don’t give our kitty taco sauce, but we’re considering getting her a kitty-sized sombrero. Any ideas where one could get one of those?] And on the kitty front, she just bit Ben in the stomach… maybe because it was filled with taco goodness?

On that note… the recipe.

Sheba the kitty
sweet kitty…

Taco Casserole

  • Servings: 8
  • Print

from Taste and Tell

Ingredients:

  • 16 ounces taco sauce
  • 12 ounce can buttermilk biscuits [10], uncooked
  • about 8 ounces shredded cheese [I used remains from the fridge… Colby, Monterrey Jack, and Mozzarella]
  • 1 pound ground beef
  • 1 tablespoon chili powder
  • 1 teaspoon cumin
  • 1 green pepper, chopped
  • 2 cloves garlic, chopped
  • 1 tablespoon canola oil
  • 1/4 cup water
  • cooking spray

Directions:

Grease a 9×13 pan with cooking spray. Preheat oven to 400 degrees. Spread taco sauce out over bottom of the pan. Cut each biscuit into 4 pieces, then place biscuits in sauce. Toss biscuit pieces to coat. Top with half of the cheese. Bake for 15-18 minutes, until biscuits are cooked through.

Meanwhile, in a skillet, brown ground beef. Meanwhile, heat canola oil in another skillet over medium heat. Add garlic and green pepper and cook until soft. Once ground beef is cooked through, drain and return to pan. Stir in water, chili powder, and cumin, then add green pepper/garlic mixture.

After biscuits have cooked, top with ground beef mixture and the rest of the cheese. Return to oven and bake for 5-7 minutes or until cheese melts. Serve with sour cream and hot sauce.

Chicken, Main Dishes, Recipes

Mango Chicken Curry

Mango Chicken Curry | thepajamachef.com

My little sister, Kathleen, [who is not so little anymore… she’s a junior in college!] just got home from a study abroad trip this summer to India. I love traveling, so I was so jealous she got to go there! But I’ve loved looking at her pictures and I can’t wait to see all the cool clothes and souvenirs she brought back.

Kathleen
Isn’t she so cute? I love this outfit!

In honor of Kathleen’s return home, I made us some at home Indian food this week. I’m sure this isn’t authentic at all, but it sure was good! Spicy yet sweet, smooth and creamy. We loved the various textures and tastes of the chicken, sweet mango and sauce. It did take a little time to make, but it is so worth it!

Mango Chicken Curry

  • Servings: 4
  • Print

very very slight adaptations from Simply Recipes

Ingredients:

  • 3 tablespoons+ canola oil
  • 1/2 cup chopped onion
  • 2/3 red bell pepper, chopped
  • 2 garlic cloves, minced
  • 1 tablespoon ginger
  • 2 tablespoons yellow curry powder
  • 1/2 teaspoon ground cumin
  • 2 mangoes, peeled & diced
  • 2 tablespoons white vinegar
  • 1 1/4 cup water
  • 1 pound skinless boneless chicken breasts, cut into 1-inch pieces
  • 1/2 cup coconut milk

Directions

Heat 2 tablespoons oil in a large saucepan over medium heat, then cook onions in pan until soft and browned, about 5-6 minutes. Add a dash more oil along with the red bell pepper and sauté for 2-3 minutes. Add curry powder, cumin, and ginger, and cook for 2 minutes more. The oil will be absorbed by the spices, so add a dash more oil as needed. Throw garlic in the pan and cook for an additional minute or two, until the garlic begins to cook through. Then, add 3/4 cup mango, vinegar, and water to the pan. Bring to a boil, and then simmer for 15 minutes, constantly stirring. Remove pan from heat and allow to cool for about 15 minutes.

[The recipe can be made until this point the night before, or earlier in the day before you plan to serve this dish. Be sure to do this if you don’t have time to wait for the sauce to cool- a hot liquid in a blender/food processor can be disastrous, not to mention dangerous!]

Once sauce has cooled substantially, spoon into a food processor and blend until smooth, about 2 minutes. Return to pan.

Add chicken to sauce, and simmer, covered, until cooked. This should take between 10-15 minutes. Be sure to check the largest piece of chicken for doneness.

Add the rest of the mango to the pan, along with the coconut milk. Cook until heated through, and serve with rice.

Notes:

There are additional suggestions with the original recipe that I did not try, such as adding extra vinegar at the end if it is too sweet, or adding sugar if it is not sweet enough. I did add about 1/8 cup of extra coconut milk to make it creamier. Feel free to adjust the seasonings depending on the level of spice or garnish with cilantro, salt, and pepper to taste. I think this could have been even better if I had marinated the chicken beforehand, but it was still good.

Mango Chicken Curry | thepajamachef.com
Dinner is served!
Main Dishes, Recipes

Tomato Pie

Fresh tomatoes are one of the best foods of summer. Many recipes add tomatoes as side dish, but this one makes them the star! This was my first experience with tomato pie [which, apparently is an old Southern favorite], and it was absolutely delicious. The combination of tomato, pesto, and a little bit of cheese reminds me of pizza, and coupled with a unique rice crust [instead of a traditional pie shell], makes for a filling and tasty meal. Add a little bacon for some crunch and you have one savory pie… perfect for a luncheon buffet, a brunch, or a light dinner.

Tomato Pie via thepajamachef.com // a celebration of summer

Tomato Pie

  • Servings: 4
  • Print

basically The Front Burner Blog‘s recipe, with a few tweaks

Ingredients:

  • A couple big tomatoes
  • 1 cup cooked brown rice
  • 2 tablespoons pesto + more for layering [I used this recipe]
  • 1 tablespoon + 1/4 cup Parmesan cheese, grated & separated
  • 1/4 cup mozzarella
  • 1 egg
  • 1/3 cup onion
  • A big bunch fresh basil, mostly used to make the pesto [above] + some for layering
  • 3 tablespoons mayonnaise
  • 2 strips bacon
  • salt
  • cooking spray

Directions:

Preheat oven to 350 degrees. Use cooking spray to grease a 9″ pie pan. In a large bowl, mix cooked rice, pesto, 1 tablespoon Parmesan cheese, and egg to make crust. Once combined, press mixture into bottom and sides of the pie pan. Bake for 15 minutes, then cool for 5 minutes.

Meanwhile, slice tomatoes into thin slices, and lay in between two paper towels to dry off some of the excess moisture so pie is not soggy. In a skillet, cook bacon until crispy; remove to paper towels to drain grease. Use grease in skillet to saute onions until soft. Then, mix 1/4 cup Parmesan cheese, mozzarella cheese, and mayonnaise in a small bowl and set aside. Once bacon is cool, crumble or chop into small pieces.

Once crust has cooled, begin assembling pie. First, layer all of the onions and half the tomatoes on top of the crust. Then add fresh basil, pesto [as much as you want–I used approximately 1/4-1/3 cup], the other half of the tomatoes, and bacon. Top pie with the cheese mixture, as well as extra pesto and some salt if desired. [I didn’t add salt.]

Bake for 20 minutes or until heated through.

Notes:

The original recipe used 1 whole onion instead of 1/3 cup, Gruyere instead of mozzarella, and an additional tomato or two. I added the bacon for my husband. Our 9″ pan was almost overflowing, so I am glad I decreased those other quantities but feel free to adjust recipe to your pan size and tastes. 🙂

Tomato Pie via thepajamachef.com // a celebration of summer

Do me a favor and take a trip to your local Farmer’s Market today to get the ingredients for this tasty dish! The tomatoes, basil, and the beautiful flowers [a gift from my husband] made this dish extra tasty and special. Yumalicious!

Chicken, Main Dishes, Recipes

(Not So) Authentic Jambalaya?

I met my husband when we were both interns for Campus Crusade for Christ at Ohio University. We started dating in February 2008, and one of the first meals I found out that he loved was jambalaya. Problem was though that Ben liked a recipe made by a husband and wife who are really great cooks. So naturally, I was intimidated to make jambalaya for him. I didn’t want to fail, and I didn’t even really have a good recipe. The only other time I had had it was on a mission trip nine years ago in New Orleans, and that jambalaya was excellent! [In retrospect, I could have asked for the “good” recipe… but I make things complicated, so I didn’t. :)]

Fast forward to the present day. I finally got over my fear of not living up to his expectations, and made jambalaya. It may be authentic, it may be not-so-authentic. However, it was well received and tasty, so that’s all that counts, right?!?

Not So Authentic Jambalaya... but still delicious! thepajamachef.com
The finished product in all its glory!


Benny eating jambalaya.
Eating is serious business, apparently.
Benny waving
Taking a break to say hello!

Without further ado…

(Not So) Authentic Jambalaya?

  • Servings: 8
  • Print

à la Eat, Live, Run

Ingredients:

  • 1 1/2 cups cooked chicken, cubed
  • 3 Italian sausages [I used turkey sausage–2 sweet & 1 spicy], cooked & chopped
  • 1 tablespoon canola oil
  • 1 1/2 tablespoons flour
  • 1 large onion, chopped
  • 2 tablespoons fresh parsley, minced
  • 2 cloves garlic, minced
  • 1 cup brown jasmine rice
  • 2 cups water
  • 14 1/2 ounce can diced tomatoes in juice
  • 1 c yellow squash, chopped <– This added such a great summery flavor and crunch to the dish.
  • 1/2 teaspoon black pepper
  • 1/2 teaspoon chili powder
  • 1/2 teaspoon double concentrated tomato paste <—I love this stuff!!! It’s so worth the price, and sometimes Kroger has it on sale. Score!

Directions:

In a large, deep pot, heat oil over medium-high heat and then add flour, stirring constantly to make a roux. Add the onions, squash, garlic, and parsley and toss to coat. Reduce heat to medium. Cook until the onions are soft. Add water, tomatoes [diced and paste], rice, pepper, and chili powder and stir to combine. Bring to a boil, then reduce heat to low. Cover and simmer for one hour or until rice is cooked. Add chicken and sausage and heat thoroughly.

Notes:

The original recipe called for andouille sausage, celery, cayenne pepper, and long grain brown rice; I substituted a chicken/Italian sausage mixture, squash, chili powder, and brown jasmine rice because its what I had on hand. I also had to cook it a lot longer than the recipe called for, likely because I added additional rice and meat to satisfy my husband’s palate. 🙂 All in all, I ended up adding approximately an extra 1/2 cup of water and 20-30 minutes of cook time for the rice to fully cook. But boy, was it worth it! 😉 Oh, and this makes a ton. So be ready to eat, serve a crowd, or freeze some leftovers.

Not So Authentic Jambalaya... but still delicious! thepajamachef.com
Sausage + Chicken + Rice + Tomatoes + Squash = Delicious
Main Dishes, Recipes, Soups

Summer Mexican Soup

A second soup recipe in a row?!? What is happening with Sarah? I don’t even really like most kinds of soup! Crazy.

Since my husband likes lists, I thought I’d make a list of the top ten reasons why I love this Summer Mexican Soup.

  1. I forgot I was eating soup while eating this soup. That never happens!
  2. SMS has texture. No smooth soups for me, thank you!
  3. SMS is not oily or salty [which is why I don’t like broth-based soups. We determined this last night.]
  4. SMS is definitely a veggie soup without having soggy veggies. Yuck!
  5. SMS has protein so it’s filling without being heavy. Husband even thought so, and the meat was MIA. *gasp*
  6. This recipe is quick to make… about 30 minutes, tops.
  7. The corn makes this soup sweet.
  8. The beans and tomatoes and spices make it savory.
  9. This recipe made a ton, so be ready to feed a crowd, freeze a bunch of lunches, or cut the recipe down to fit your needs. Love the cook once eat many times strategy! 🙂
  10. SMS is summery, fresh, and reminds me of a good Mexican meal! Delish!

Summer Mexican Soup... a delightful blend of corn, black beans, and tomatoes. Perfect for summer! Find the recipe on thepajamachef.com

Summer Mexican Soup

  • Servings: 4
  • Print

utilizing the base recipe from Lynn’s Kitchen Adventures

Ingredients:

  • 8 ears of corn on the cob [I used raw; Lynn used a combination]
  • 3 tablespoons margarine
  • 3 cups of water, divided
  • 1 cup skim milk
  • 1 cup black beans, drained
  • 1/2 cup diced tomatoes, drained [I used a canned Mexican-style blend]
  • 1/4 teaspoon red chili pepper flakes
  • 1/8 teaspoon garlic salt
  • 1/4 teaspoon chili powder
  • 1/8 teaspoon pepper

Directions:

Slice the kernels off the cob.  I found it was easiest to do this while standing the ear of corn up in a shallow bowl so the kernels don’t fly everywhere… that didn’t happen to me or anything ;). In a food processor, puree the corn kernels with 1 1/2 cups water. I left the kernels a little rough and somewhat textured, without completely smoothing them over.  Add the corn to a saucepan along with the rest of the water, milk, and margarine. Heat for 2-3 minutes, then add beans, tomatoes, red chili pepper flakes, garlic salt, chili powder, and pepper. Cook mixture for about 10 minutes over medium heat and adjust seasonings if desired.

Notes:

I served this soup plain with a side salad. I think it could be jazzed up tortilla soup-style with tortilla chips for crunch and/or dipping, some shredded cheese, grilled chicken, chili peppers for additional spice, and sour cream. However, I thought it was great as is but everyone’s tastes are different. Enjoy! 🙂

After posting this recipe I am hungry! In fact, I’m going to have some for lunch with a black bean quesadilla! Yum!