Breakfast, Meat, One Tablespoon Testosterone, Recipes

OTT: Brown Sugar Bacon Twists

This is a guest post from my husband, Ben. Periodically, he has agreed to share some of his favorite recipes with you–and this is his first. He has entitled his guest post column, One Tablespoon Testosterone, or OTT for short. Enjoy!

———-

Hello all.  I’m here to add a slightly more masculine variation to this blog.  While I don’t claim to have the cooking experience my wife does, I’m not an incompetent bumbling oaf in the kitchen either.  But I do like man food.  Like bacon.  Mmmm…nothing makes me happier food-wise than bacon.  So today I’ll share a recipe I made with bacon as the main ingredient… too bad they didn’t use my recipe last night when bacon was the featured ingredient on The Next Food Network Star.

Brown Sugar Bacon Twists | thepajamachef.com

Brown Sugar Bacon Twists

  • Servings: 8+
  • Print

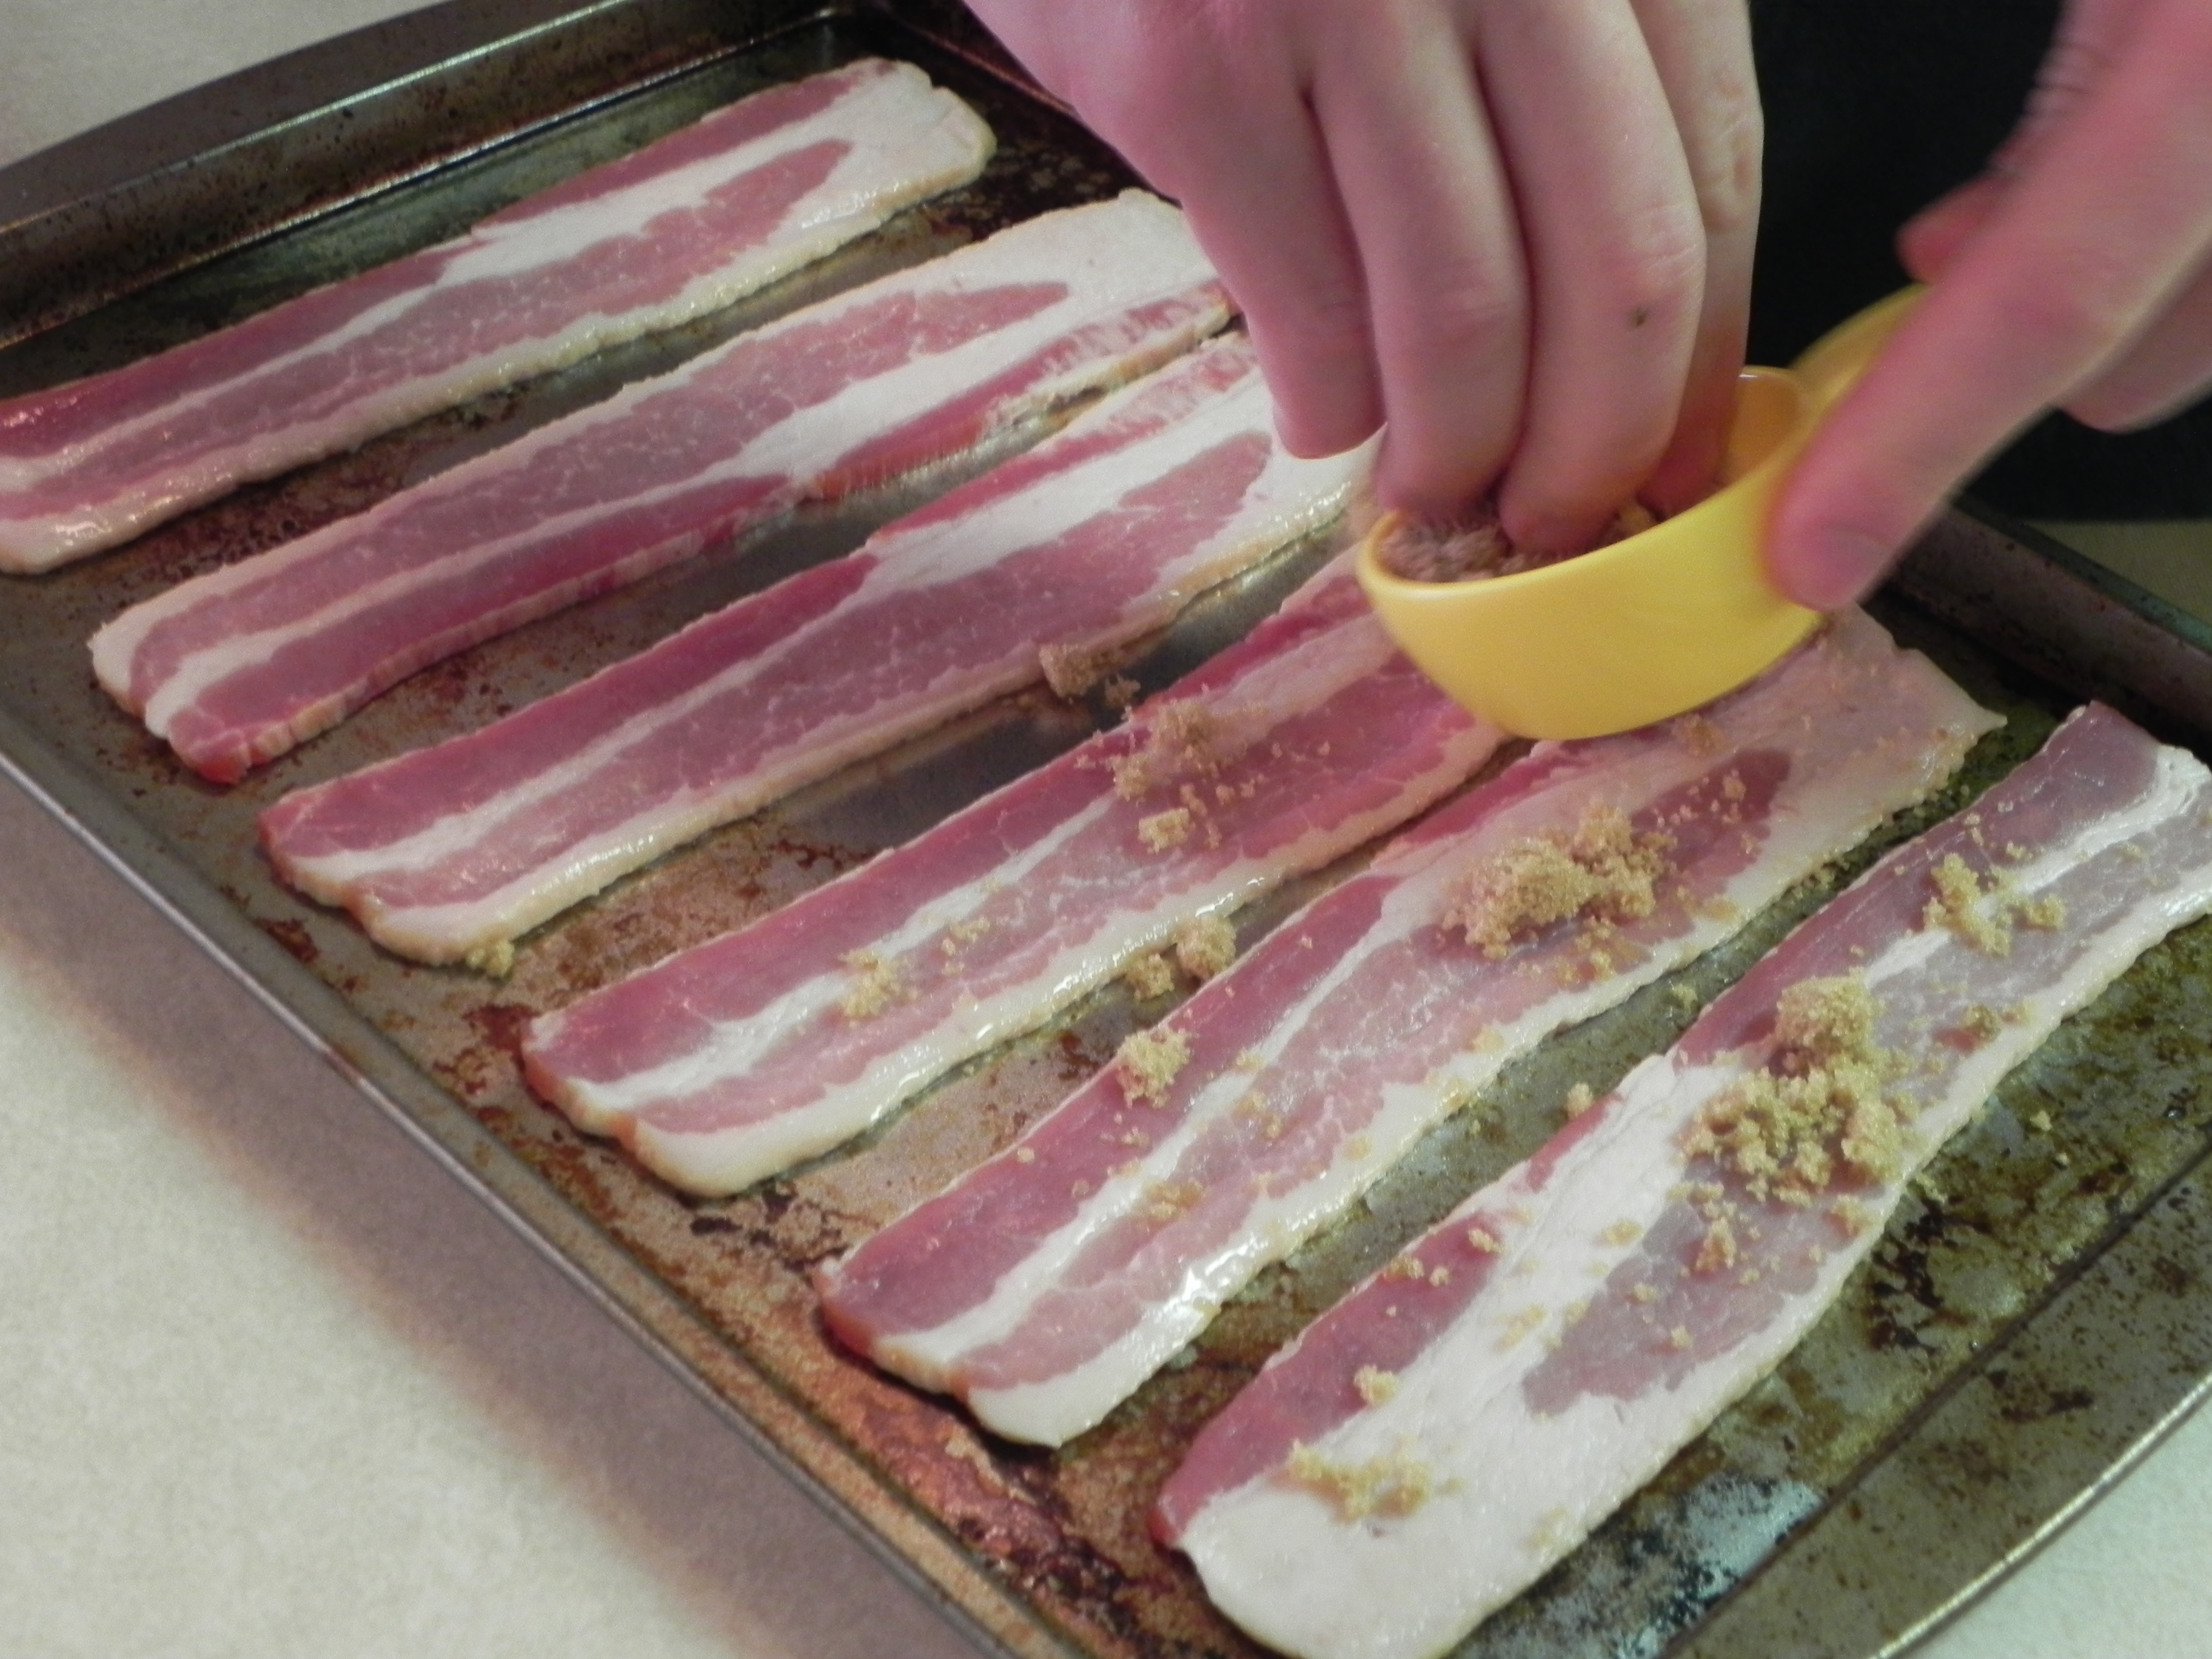
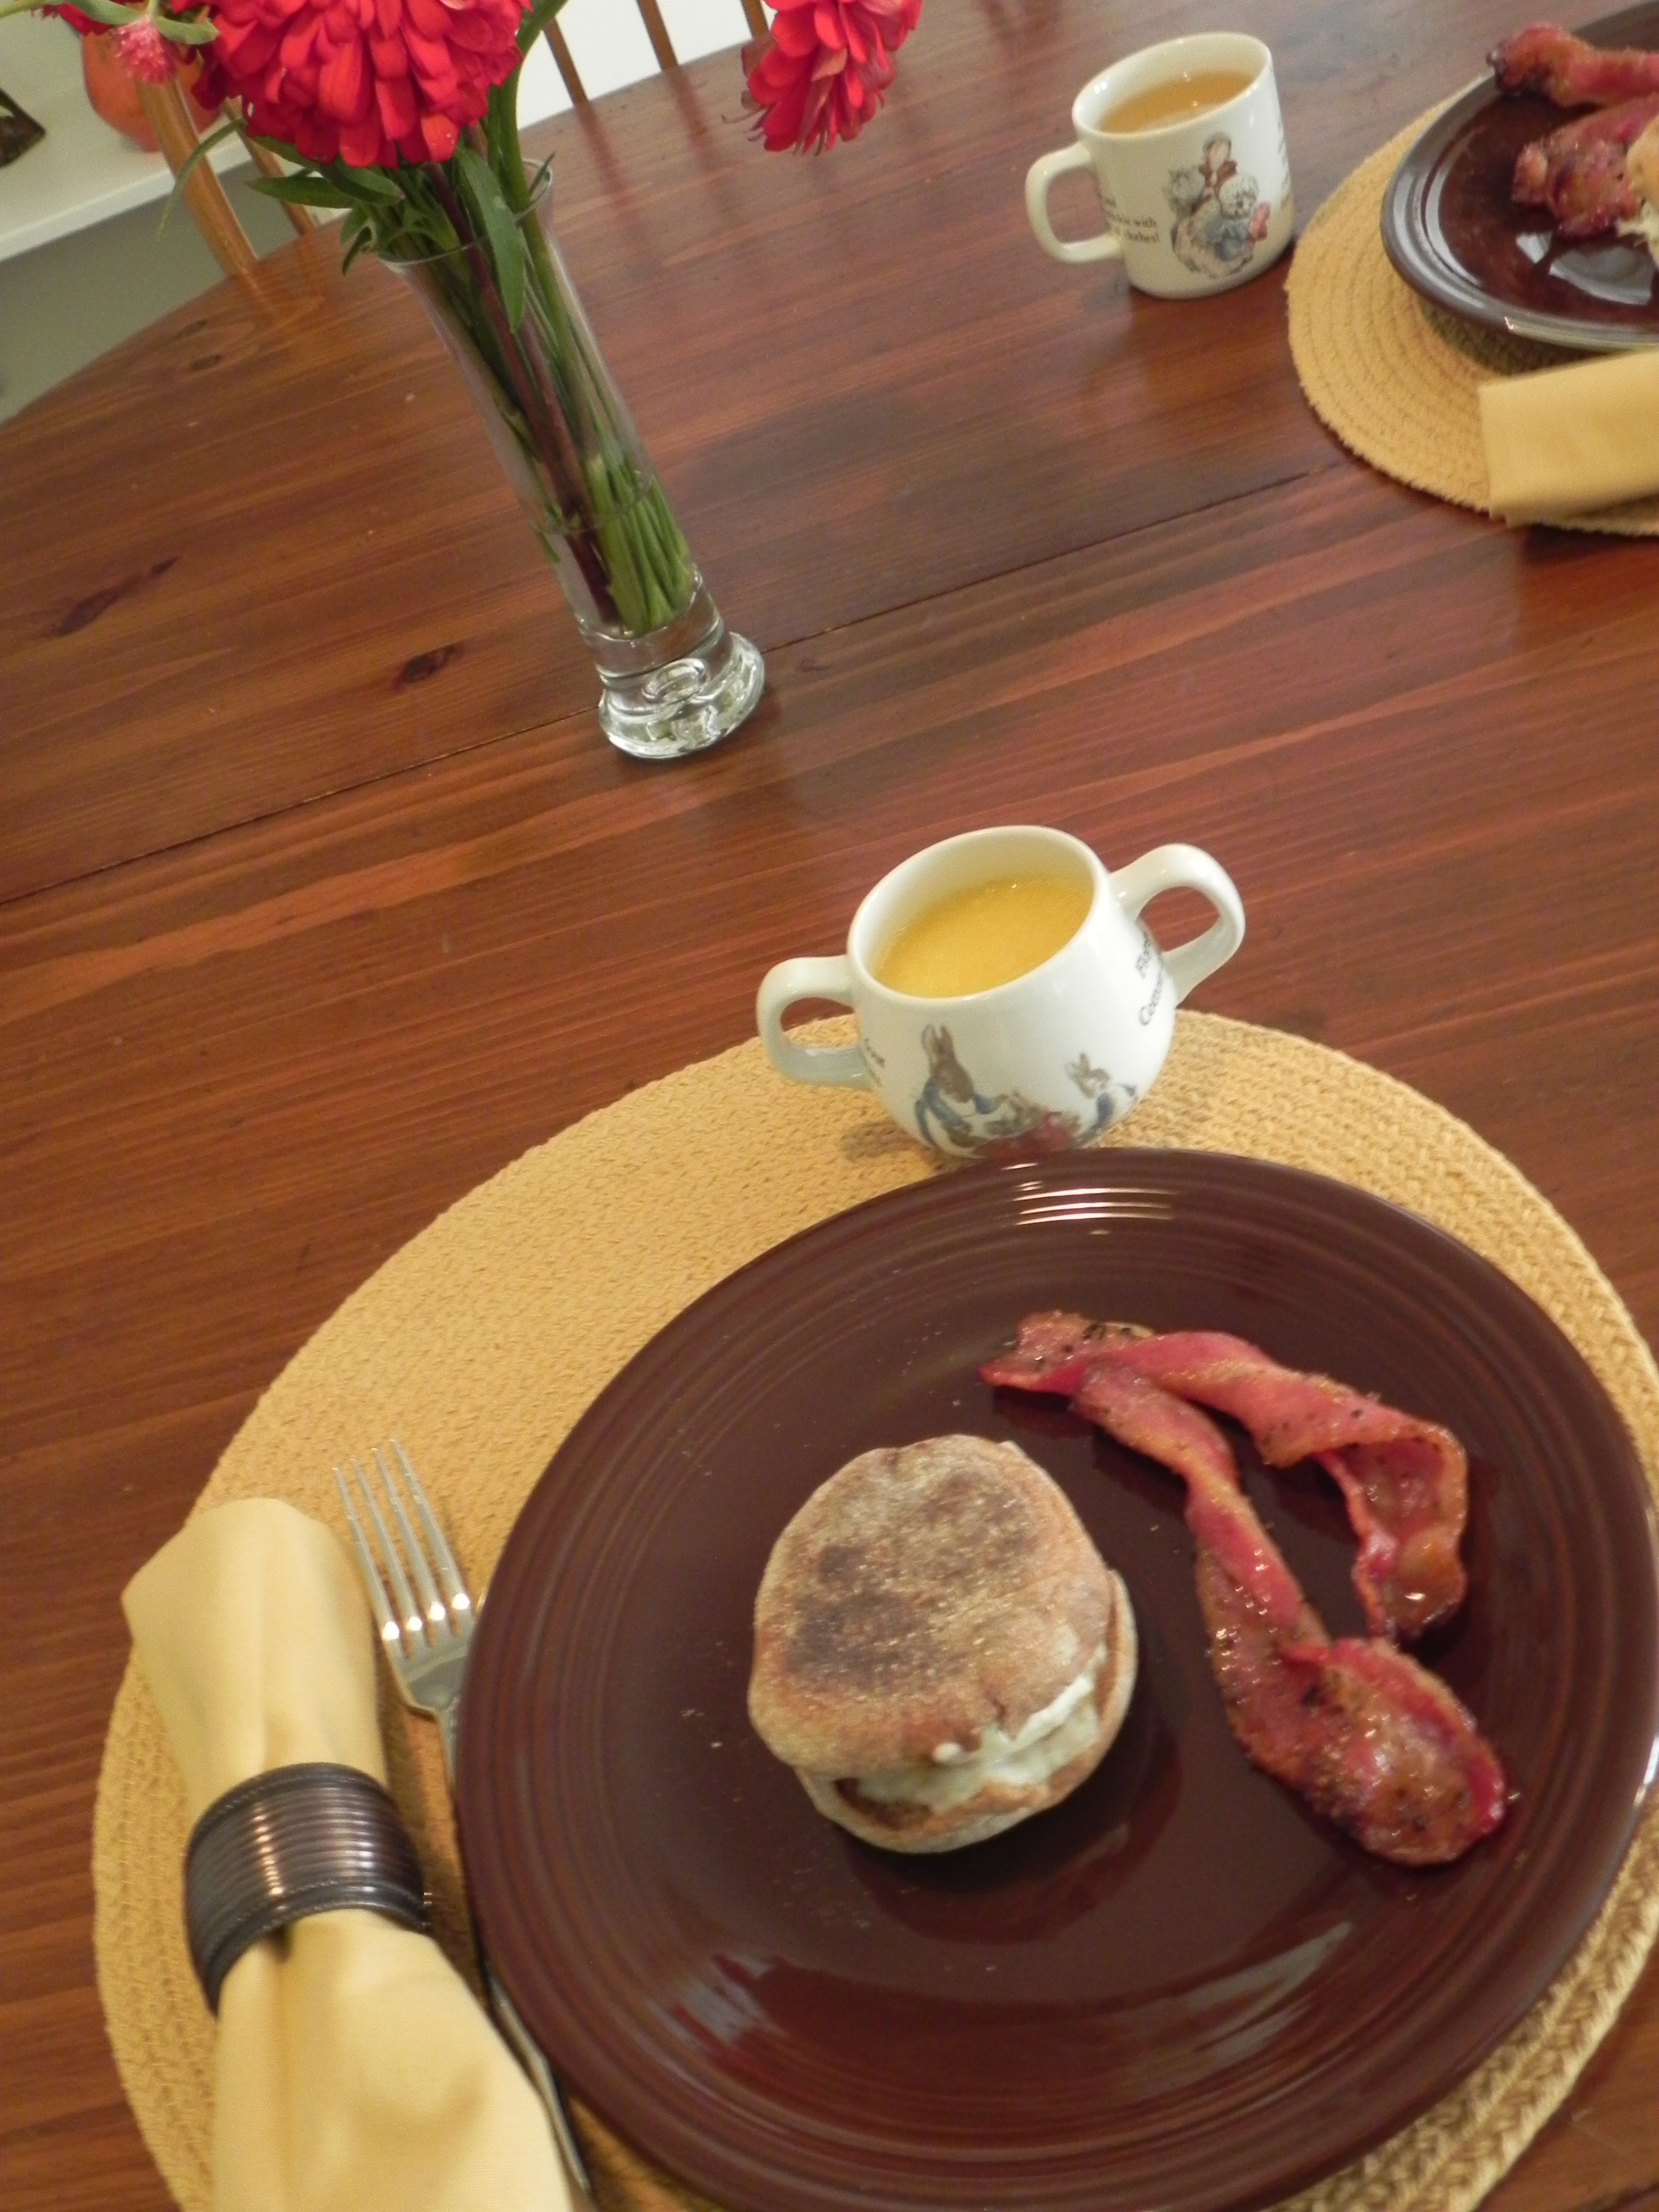
from the Peace Meals cookbook by the Junior League of Houston

Ingredients:

  • 1 pound bacon (16 slices [the amount, of course, can be adjusted to fit the number of people you’re serving…this amount serves 1 bacon fanatic such as myself…actually my wife would have a heart attack if she found out I ate a whole pound of bacon, then I would have a heart attack because I ate a whole pound of bacon])
  • 1/3 cup firmly packed light brown sugar
  • 2 teaspoons freshly ground pepper
  • 1 cup awesome

Directions:  Preheat the oven to 350 degrees.  Line a rimmed baking sheet with aluminum foil; place a wire rack on top of the sheet.  I don’t have a wire baking rack (or at least one that my wife would let me place in the oven), so I just use one of the oven racks, and place the rimmed baking sheet on the bottom oven rack to catch the grease.  Sprinkle the bacon evenly with the sugar and pepper.  The amounts for this are really subjective to your personal tastes.  More brown sugar and less pepper make it sweeter, more pepper gives it a little more kick (which I like).  You can also add cinnamon.  Tightly twist each slice to form a spiral.  Bake until the bacon is crisp and browned, about 30-35 minutes.

How long you cook them is also subjective to your tastes.  The first time I made these I cooked them almost 35 minutes and they were crispier than I would have liked.  This time, it wasn’t even 25 minutes and they were still soft, but perfectly cooked as far as bacon goes (in my opinion).  So you just have to decide how crispy you want them.

Brown Sugar Bacon Twists | thepajamachef.com

Brown Sugar Bacon Twists | thepajamachef.com

Brown Sugar Bacon Twists | thepajamachef.com

Brown Sugar Bacon Twists | thepajamachef.com

Okay, I think this about wraps up my first guest post.  I don’t have much else to say about this recipe…or anything else for that matter.  I’ll be back (if my wife lets me) in the future with more man-approved recipes (mancipes?) or just random other things I find amusing for which I’ll use my wife’s blog as an outlet.  In conclusion, bacon makes everything better.  Everything.

Chicken, Main Dishes, Recipes

(Not So) Authentic Jambalaya?

I met my husband when we were both interns for Campus Crusade for Christ at Ohio University. We started dating in February 2008, and one of the first meals I found out that he loved was jambalaya. Problem was though that Ben liked a recipe made by a husband and wife who are really great cooks. So naturally, I was intimidated to make jambalaya for him. I didn’t want to fail, and I didn’t even really have a good recipe. The only other time I had had it was on a mission trip nine years ago in New Orleans, and that jambalaya was excellent! [In retrospect, I could have asked for the “good” recipe… but I make things complicated, so I didn’t. :)]

Fast forward to the present day. I finally got over my fear of not living up to his expectations, and made jambalaya. It may be authentic, it may be not-so-authentic. However, it was well received and tasty, so that’s all that counts, right?!?

Not So Authentic Jambalaya... but still delicious! thepajamachef.com
The finished product in all its glory!


Benny eating jambalaya.
Eating is serious business, apparently.
Benny waving
Taking a break to say hello!

Without further ado…

(Not So) Authentic Jambalaya?

  • Servings: 8
  • Print

à la Eat, Live, Run

Ingredients:

  • 1 1/2 cups cooked chicken, cubed
  • 3 Italian sausages [I used turkey sausage–2 sweet & 1 spicy], cooked & chopped
  • 1 tablespoon canola oil
  • 1 1/2 tablespoons flour
  • 1 large onion, chopped
  • 2 tablespoons fresh parsley, minced
  • 2 cloves garlic, minced
  • 1 cup brown jasmine rice
  • 2 cups water
  • 14 1/2 ounce can diced tomatoes in juice
  • 1 c yellow squash, chopped <– This added such a great summery flavor and crunch to the dish.
  • 1/2 teaspoon black pepper
  • 1/2 teaspoon chili powder
  • 1/2 teaspoon double concentrated tomato paste <—I love this stuff!!! It’s so worth the price, and sometimes Kroger has it on sale. Score!

Directions:

In a large, deep pot, heat oil over medium-high heat and then add flour, stirring constantly to make a roux. Add the onions, squash, garlic, and parsley and toss to coat. Reduce heat to medium. Cook until the onions are soft. Add water, tomatoes [diced and paste], rice, pepper, and chili powder and stir to combine. Bring to a boil, then reduce heat to low. Cover and simmer for one hour or until rice is cooked. Add chicken and sausage and heat thoroughly.

Notes:

The original recipe called for andouille sausage, celery, cayenne pepper, and long grain brown rice; I substituted a chicken/Italian sausage mixture, squash, chili powder, and brown jasmine rice because its what I had on hand. I also had to cook it a lot longer than the recipe called for, likely because I added additional rice and meat to satisfy my husband’s palate. 🙂 All in all, I ended up adding approximately an extra 1/2 cup of water and 20-30 minutes of cook time for the rice to fully cook. But boy, was it worth it! 😉 Oh, and this makes a ton. So be ready to eat, serve a crowd, or freeze some leftovers.

Not So Authentic Jambalaya... but still delicious! thepajamachef.com
Sausage + Chicken + Rice + Tomatoes + Squash = Delicious
Main Dishes, Recipes, Soups

Summer Mexican Soup

A second soup recipe in a row?!? What is happening with Sarah? I don’t even really like most kinds of soup! Crazy.

Since my husband likes lists, I thought I’d make a list of the top ten reasons why I love this Summer Mexican Soup.

  1. I forgot I was eating soup while eating this soup. That never happens!
  2. SMS has texture. No smooth soups for me, thank you!
  3. SMS is not oily or salty [which is why I don’t like broth-based soups. We determined this last night.]
  4. SMS is definitely a veggie soup without having soggy veggies. Yuck!
  5. SMS has protein so it’s filling without being heavy. Husband even thought so, and the meat was MIA. *gasp*
  6. This recipe is quick to make… about 30 minutes, tops.
  7. The corn makes this soup sweet.
  8. The beans and tomatoes and spices make it savory.
  9. This recipe made a ton, so be ready to feed a crowd, freeze a bunch of lunches, or cut the recipe down to fit your needs. Love the cook once eat many times strategy! 🙂
  10. SMS is summery, fresh, and reminds me of a good Mexican meal! Delish!

Summer Mexican Soup... a delightful blend of corn, black beans, and tomatoes. Perfect for summer! Find the recipe on thepajamachef.com

Summer Mexican Soup

  • Servings: 4
  • Print

utilizing the base recipe from Lynn’s Kitchen Adventures

Ingredients:

  • 8 ears of corn on the cob [I used raw; Lynn used a combination]
  • 3 tablespoons margarine
  • 3 cups of water, divided
  • 1 cup skim milk
  • 1 cup black beans, drained
  • 1/2 cup diced tomatoes, drained [I used a canned Mexican-style blend]
  • 1/4 teaspoon red chili pepper flakes
  • 1/8 teaspoon garlic salt
  • 1/4 teaspoon chili powder
  • 1/8 teaspoon pepper

Directions:

Slice the kernels off the cob.  I found it was easiest to do this while standing the ear of corn up in a shallow bowl so the kernels don’t fly everywhere… that didn’t happen to me or anything ;). In a food processor, puree the corn kernels with 1 1/2 cups water. I left the kernels a little rough and somewhat textured, without completely smoothing them over.  Add the corn to a saucepan along with the rest of the water, milk, and margarine. Heat for 2-3 minutes, then add beans, tomatoes, red chili pepper flakes, garlic salt, chili powder, and pepper. Cook mixture for about 10 minutes over medium heat and adjust seasonings if desired.

Notes:

I served this soup plain with a side salad. I think it could be jazzed up tortilla soup-style with tortilla chips for crunch and/or dipping, some shredded cheese, grilled chicken, chili peppers for additional spice, and sour cream. However, I thought it was great as is but everyone’s tastes are different. Enjoy! 🙂

After posting this recipe I am hungry! In fact, I’m going to have some for lunch with a black bean quesadilla! Yum!

Main Dishes, Recipes, Soups

Potato Soup

Soup in the summer? I admit that it doesn’t make a ton of sense, but it sounded good so I went with it. This is an old recipe of my mom’s and it is really easy and really tasty… even in the heat of summer!

Potato soup and bread.

Potato Soup

Ingredients:

  • 6 medium potatoes
  • 3 medium carrots [or 2 large carrots]
  • 1 medium onion
  • 2 tablespoons margarine
  • 2 tablespoons flour
  • 2 cup water
  • 2 cups skim milk
  • 1/4 teaspoon celery salt

Directions:

Scrub and roughly peel potatoes, then dice into small to medium sized pieces [the smaller the cut, the faster they cook!]. Scrub and chop carrots [no need to peel–that’s just more nutrients… and they are hidden. Bonus! :)] and dice onion. Add all vegetables to a large pot along with the water, and cook over medium heat until soft, stirring occasionally to prevent sticking.

After vegetables are softened to the consistency of mashed potatoes, make the rue by melting the margarine in the microwave and whisking in the flour gently [or be lazy like me and add them both directly to the pot]. Add rue to pot, then add milk and celery salt. Bring to a boil and then simmer for at least 5 minutes or until heated through.

Serve with freshly ground pepper and/or shredded cheese, and some tasty bread and a salad on the side.

Main Dishes, Recipes, Sandwiches and Wraps

Southwest Chicken Panini

Southwest Chicken Panini | thepajamachef.com
Dinner on our new cute kids’ plates from Target!

Ages ago, I found a recipe for Southwest Chicken Salad Panini. It sounded good, so I filed it away in my recipe box–which is actually a 12″x12″ crate with a bunch of binders and folders… there are so many recipes I want to try. Let’s not even mention my GoogleReader and Firefox bookmarks… Oh. My. Goodness. But what can I say? I learned from my mom! She has a ton of recipes too! 🙂 Anyway, I finally got around to making the sandwiches. It was super easy and made for a good, quick weeknight dinner, perfect for sitting around and watching TV. The panini had a ton of flavor, a little bit of spice, and was very filling. On the side, steamed green beans and rutabaga fries were great too… we just couldn’t get enough!

Southwest Chicken Panini

  • Servings: 2
  • Print

adapted from Kraft

Ingredients:

  • 4 slices whole wheat bread
  • 2 slices cheese [I used havarti]
  • 1 tablespoon mayo or Miracle Whip
  • 1 tablespoon ranch dressing
  • 1 teaspoon paprika
  • 1 cup cooked chicken, cut into chunks
  • black pepper
  • cooking spray

Directions:

Heat panini grill, George Foreman grill, or a medium sized skillet to medium heat. I used a panini grill, but any of the other options would probably work just as well. In a medium sized bowl, mix chicken, Miracle Whip, and ranch to combine. Then season with paprika and a dash of pepper. Spray one side of each piece of bread with cooking spray, then fill the bread with a slice of cheese and chicken salad. Place on grill/skillet when hot and cook until cheese has melted and bread is toasted. This should take anywhere from 4-8 minutes, depending on your grill/skillet.

Note:

Veggies–especially tomatoes–would be a great addition to this panini! I just didn’t have any when I made it. 😦  The original recipe did call for it though.