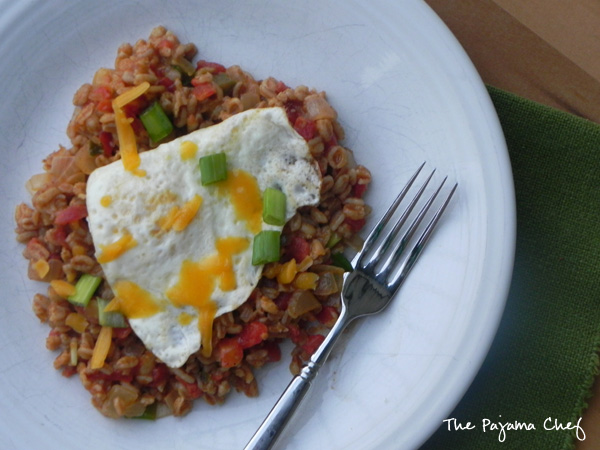
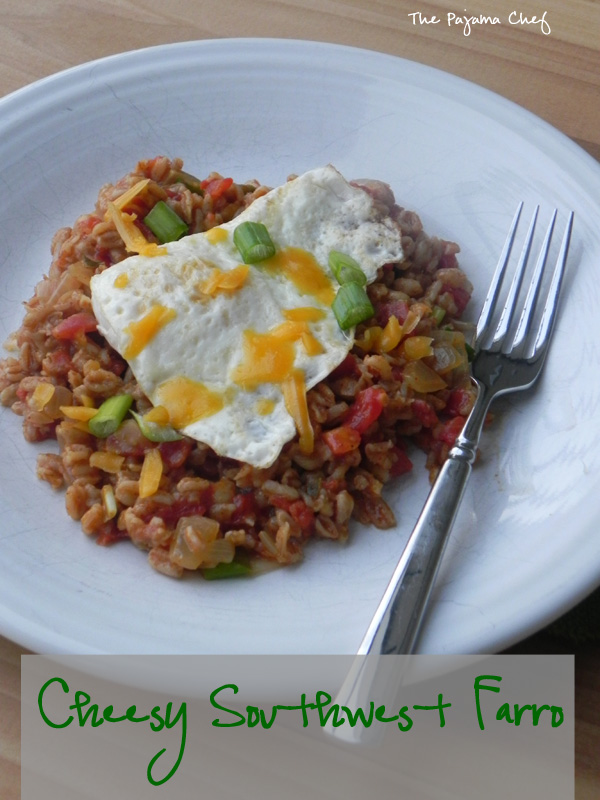
Cheesy Southwest Farro: a healthy, delicious dish good any time of the day! Plus you can make it in less than 30 minutes, so it’s perfect for busy schedules. 🙂
Before you disappear in the depths of heavy Christmas food later this week, I wanted to share a delicious, easy, and healthy recipe that we’ve been enjoying lately. It’s always a struggle in the midst of parties and Christmas baking [see my list of Christmas cookie ideas if you still need inspiration!] to eat real meals and still maintain a fairly healthy diet, I think. There’s lots of reasons and this is a busy time of year so I won’t go into all the details… you probably know and experience them already. But this dish can rescue you over the next couple weeks of merriment when you need something that’s quick to make, fairly healthy, and still tastes amazing. The best part is that you can eat it for ANY meal. That’s right… Cheesy Southwest Farro is good ANY time of the day. 🙂
Ashley originally created this dish as breakfast fare, but let’s face it: I don’t have 30 minutes to whip up breakfast before work. So I decided to make it for dinner one night…and serve the leftovers for breakfast. Perfect! I can make a fried egg and operate the microwave in the morning. 🙂 We loved the cheesiness and the Southwestern flair… and who can say no to avocados [though they didn’t make it into the photo]? To speed the preparation of this meal up, I used 10-minute farro from Trader Joe’s, but you can use whatever kind of farro you can find, or sub quinoa, rice, or another quick cooking grain. Enjoy!
one year ago: Spiced Biscotti with Eggnog Glaze
four years ago: Pfeffernusse
five years ago: Cranberry Sauce Face/Off: Cranberry Relish vs. Gingered Cranberry-Apricot Sauce
Cheesy Southwest Farro
from Greens & Chocolate
Ingredients:
- 1 tablespoon extra virgin olive oil
- 1 small onion, diced
- 1 cup 10-minute farro from Trader Joe’s*
- 2 cups low-sodium vegetable or chicken broth
- 1 – 10 ounce can diced tomatoes with green chiles
- 1/2 cup grated pepper jack cheese [or use jack or more cheddar cheese for less spice]
- 1/2 cup grated sharp cheddar cheese
- freshly ground black pepper
- 4 fried or poached eggs, for serving
- diced avocado, for serving
- green onions, for serving
Directions:
Add olive oil to a medium skillet over medium heat. When hot, saute onion until softened, about 5-6 minutes. Add farro and cook for 1 minute to saute before adding broth and tomatoes. Bring to a boil then cover and reduce to a simmer. Cook until liquid is mostly absorbed, stirring occasionally, about 10 minutes, and farro is soft and chewy.
At the end of the cooking time, start preparing eggs as desired–fried is my preference!
When farro is done, stir in cheese then remove from heat. Cover and let rest for a few minutes to allow cheese to melt.
Serve a fried egg, avocado, and green onions on top of a spoonful of farro. Enjoy!
Note: *You can also used pearled farro or semi-pearled or whole farro in place of the 10 minute farro from Trader Joe’s. It’ll take longer, about 30-40 minutes for the pearled variety.