Recipes, Sides, Vegetables

Whipped Sweet Potatoes

I have another recipe to share with the Healthy Holidays series, hosted by Carly at Createlive. I’ve been so inspired by her series to cook up delicious but healthful treats for the holiday season. I just can’t wait for Christmastime when I can do this apart from a school schedule!

whipped sweet potatoes

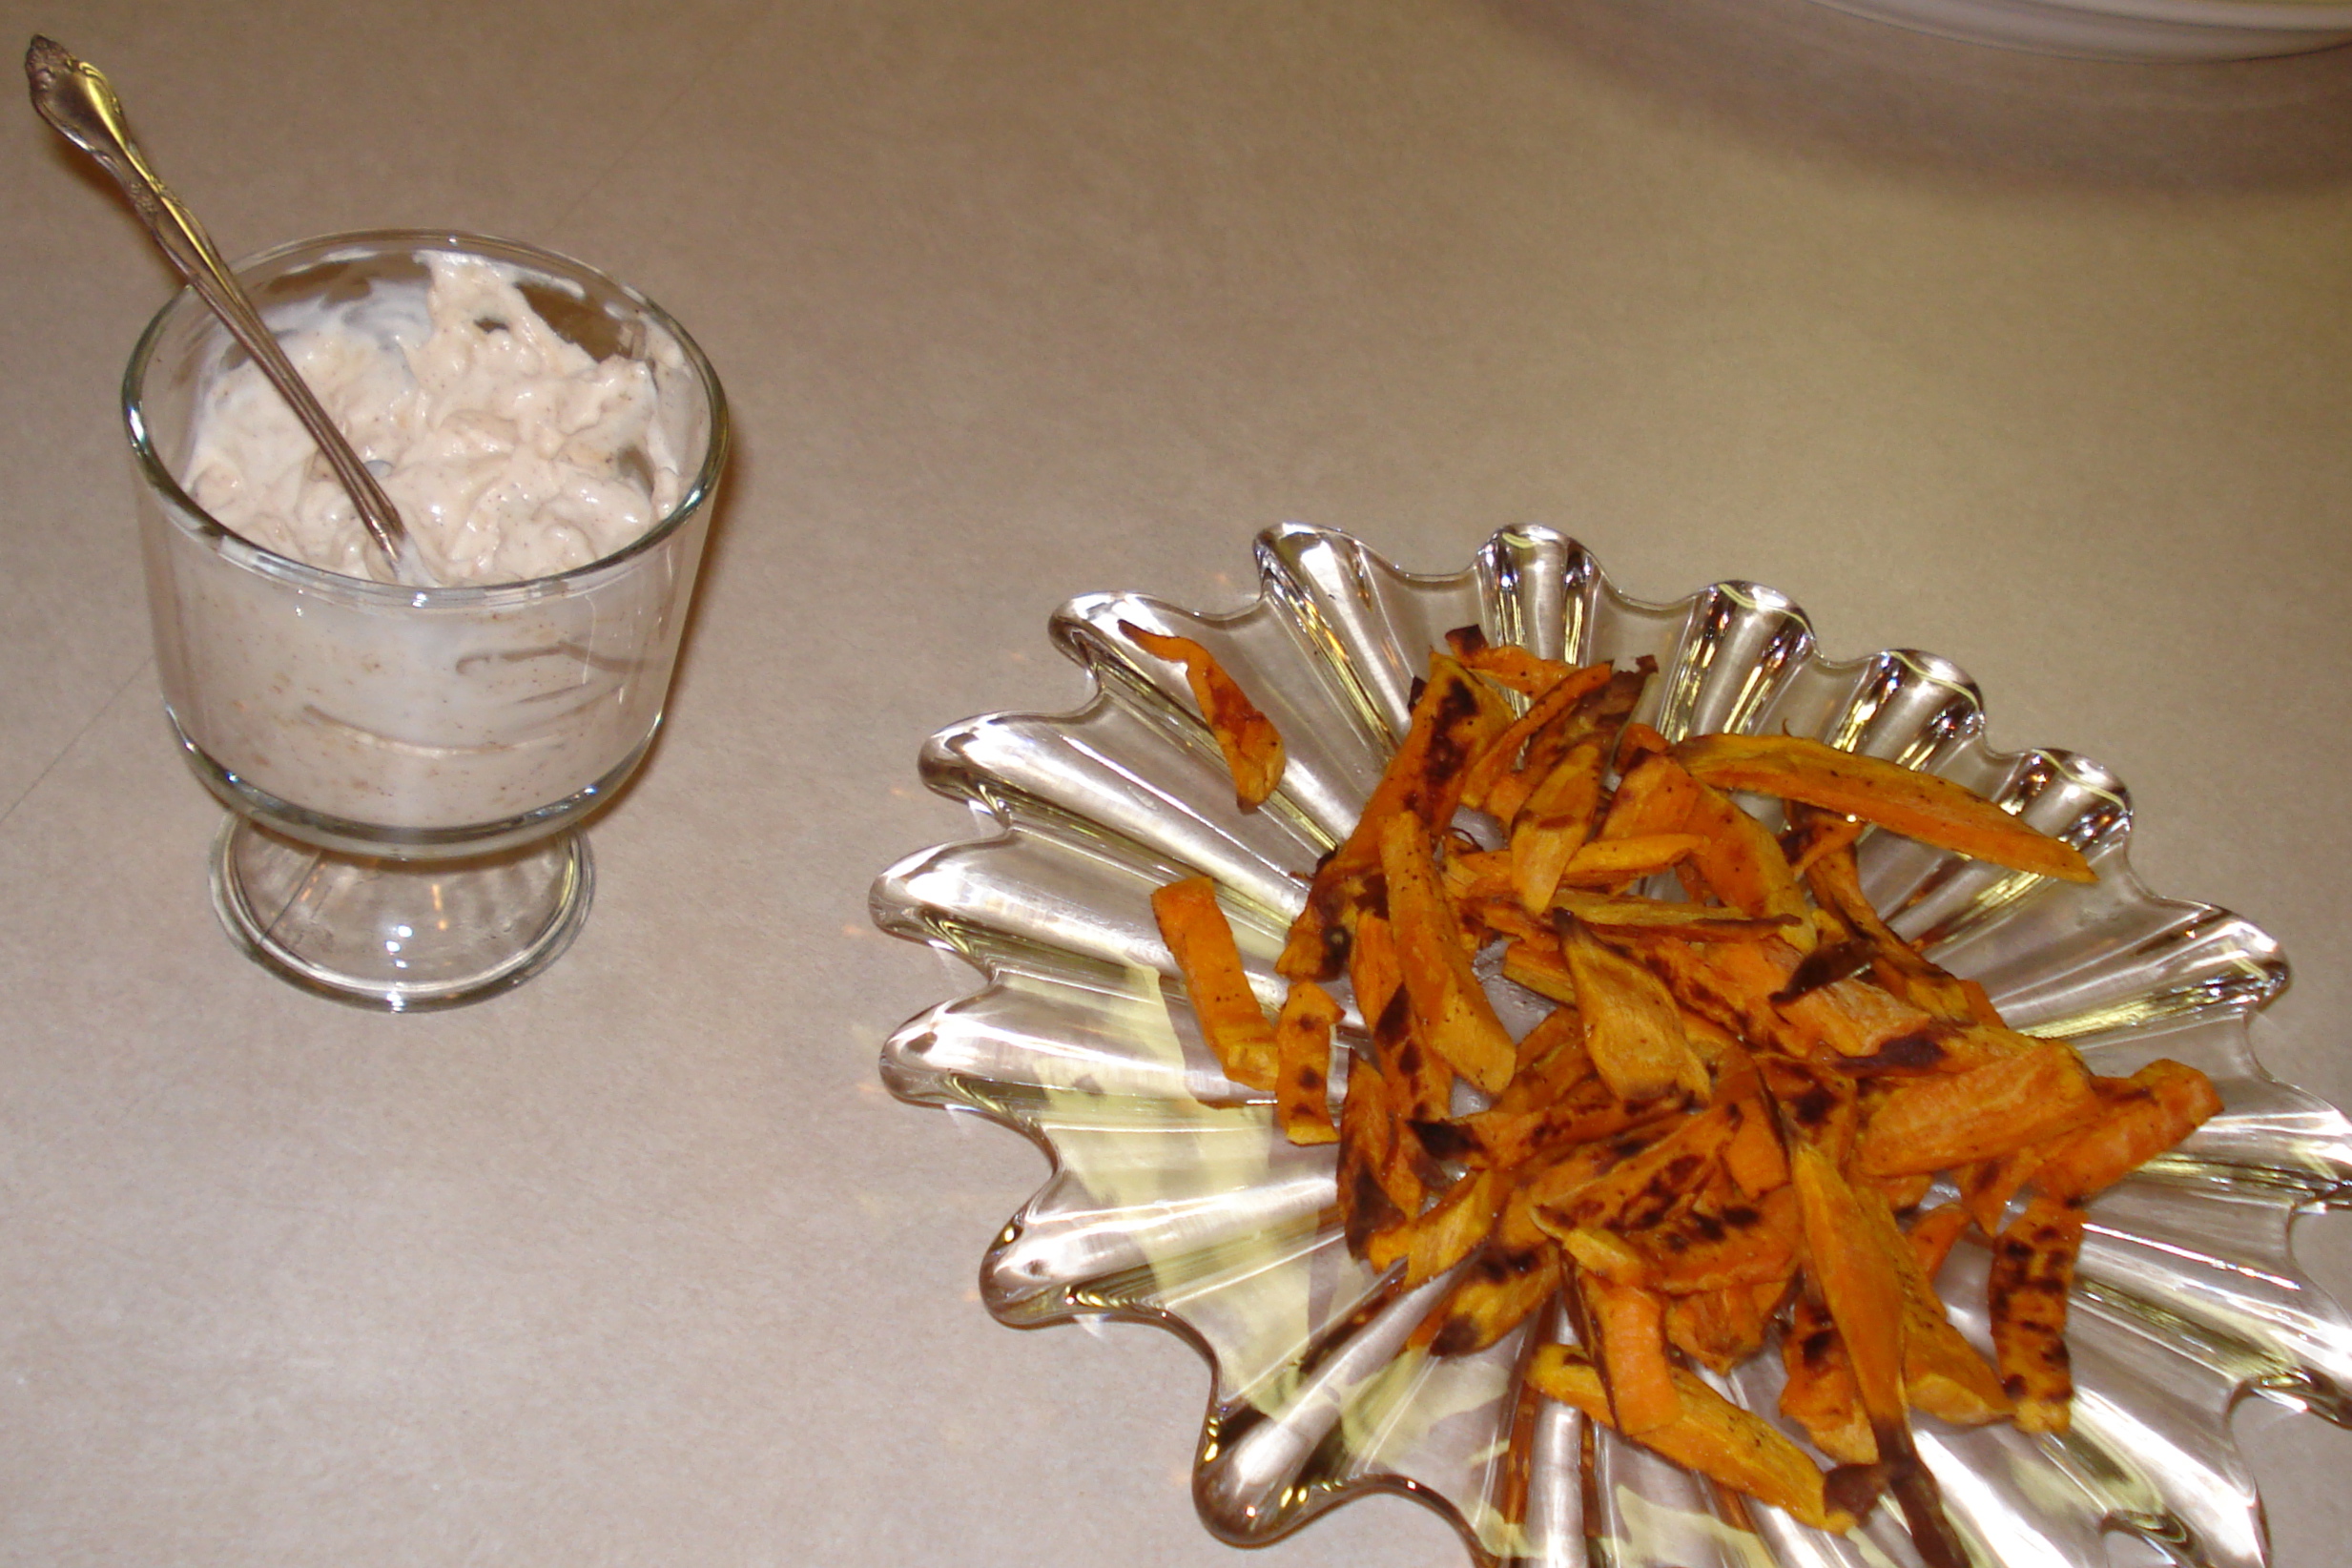
Sweet potatoes are one of my favorite foods of all time. While working at home during the day, it’s not uncommon for me to whip up a batch of baked sweet potato fries for a quick lunch [that was one of the first recipes I posted here on the blog! haha!] and I often incorporate them into random, thrown-together leftover dinners, to the chagrin of my husband. While family tradition often finds this root vegetable to be served in a delicious brown-sugar and nut topped casserole, last year we tried a new dish: Whipped Sweet Potatoes.

Whipped Sweet Potatoes are sweetened with apple, spiced with cinnamon and allspice, and made richer with butter. Don’t leave that out for health reasons–studies have shown that the addition of some fat to sweet potato dishes increase the amount of beta-carotene that our bodies can absorb. Pretty cool, huh? Regardless of the nutritional benefits of sweet potatoes over their white counterparts, I’m happy to munch away on them instead because to me, the taste is far superior. Hope you enjoy them as much as I do!

whipped sweet potatoes with pomegranate

They are also delicious sprinkled with pomegranate arils for a little crunch of sweetness!

Whipped Sweet Potatoes
printable version

Ingredients:

  • 2 large sweet potatoes, peeled and chopped into 1″ cubes [about 7-8 cups]
  • 1 large Granny Smith apple, cut into 1″ cubes
  • 2 tablespoons butter
  • 1 teaspoon cinnamon
  • dash allspice

Directions:

In a Dutch oven or large saucepan, combine sweet potatoes and apples. Cover mixture with cold water by 1 inch. Bring to a boil over medium-high heat and then reduce for a simmer, cooking for 20-25 minutes or until soft. Remove from heat. Reserve about 1 cup of cooking liquid, then drain well. Return mixture to pan and add butter, cinnamon, and allspice. Stir and then blend with an immersion blender until smooth, adding reserved liquid by the tablespoon as necessary. [I added about 2 tablespoons.] Alternatively, you can mash with a potato masher or blend in a blender/food processor. Enjoy!

Time: 45 minutes [20 minutes active].

Yield: 6 servings [can be doubled].

healthy holidays series button
[Click here for more Healthy Holiday recipes for a guilt-free holiday season!]

Recipes, Sides, Vegetables

KC’s Dilled Carrots

I am so excited to be participating today in the Healthy Holidays series, hosted by Carly at Createlive. I love going to Carly’s blog for her great photography, creative ideas, and amazing recipes, so when I saw this series, I knew I wanted to join in.

Today, I’ll be sharing one of my favorite vegetable side dishes of all time: KC’s Dilled Carrots. Normally, I’m not a fan of cooked vegetables [at my house, we eat a. lot. of salads, cut up raw veggies, etc. instead], but I make an exception for this one. I think one of the reasons I’m not a fan of cooked vegetables is because they are either a) mushy [I like the CRUNCH!], b) slathered in a lot of other ingredients that change the flavor from fresh and light to heavy, or c) all of the above. My mom got this recipe from a family friend, whose initials happen to be KC, after eating at their house one year over spring break about four and a half years ago, and it has made an appearance on our table many times since then.

Dilled Carrots... an easy & healthy holiday dish sure to please!

Oftentimes, cooked carrots are served with buttery, sugary, bacon-y glaze that is, of course, delicious, but also high in fat and calories. For a vegetable dish, this is problematic. KC’s Dilled Carrots solves the problem by significantly cutting down on the butter and sugar, adding a ton of flavor with a generous amount of dill, and incorporating just a bit of creaminess via sour cream or yogurt for a rich taste with more of the good stuff and less of the bad. Note, this of course translates to more pie, stuffing, or whatever is your cup of tea. I mean, in the name of health you could just cook up some carrots and call it a day–but wouldn’t you rather add a bit of pizzazz in a healthier way? I know I do. Enjoy, and be sure to check out the rest of the series here. It will be continuing for the next three weeks so there’s still time to contribute if you want!

Dilled Carrots... an easy & healthy holiday dish sure to please!

KC's Dilled Carrots

  • Servings: 6-8
  • Print

Ingredients:

  • 3 tablespoons butter
  • 2 pounds carrots, cut in coins or julienned
  • 2 teaspoons dill
  • 1/2 cup chicken stock
  • 1 teaspoon honey
  • 3 tablespoons sour cream or plain Greek yogurt

Directions:

Melt butter in a deep skillet over medium heat. Add carrots and stir to coat, sauteing and constantly stirring for about 3 minutes. Stir together dill, chicken stock, and honey in a measuring cup. Pour over carrots and stir to coat. Cover and cook for 4-7 minutes, until carrots are just barely tender. Remove from heat. Take carrots from the pan with a slotted spoon and place into a serving dish. Return skillet to the stove and cook over high heat for 1-2 minutes, reducing liquid until syrupy. Stir in sour cream or yogurt, pour over carrots, stir together, and serve.

[Click here for more Healthy Holiday recipes for a guilt-free holiday season!]


Recipes, Sides, Vegetables

Aunt Charlotte’s Tex Mex Corn

Side dishes are one of those things that I am always unprepared for during meal planning. Sides are hard because I’m not the most skillful at coordinating the timing of meal components. Consequently, our sides are pretty boring–salad, maybe some bread or fruit and I’ll call it a day. I’m a fan of one-dish meals too that combine protein, veggies, and carbs–the less coordination required, the better. The exception to meals with boring sides are when we have company over. Then things can get interesting, and I spend more time planning, shopping, cooking, and experimenting. The following recipe is perfect for company. It can be [mostly] prepared in advance and baked right before mealtime.

My family first had this delectable Tex-Mex Corn on a family vacation. We were visiting my Great Aunt Charlotte and Uncle Cal and were served this dish at dinner one night at their then-home in San Francisco. Though it was made with the unfamiliar ingredients of chilies [probably my first experience with them, ever] and canned corn [I never eat canned veggies], it soon became an often-requested family favorite, and is still going strong, 12 years later.

I made this last weekend during a cooking spree with my mom and sister when I was visiting my family briefly, and as we made it, we realized it hadn’t been served since my parents moved into their new house more than two years ago! We always baked it in an 8×8 pan, which I inherited during the move. After a brief moment of panic realizing the necessary pan was MIA, we discovered that a 10 inch round pan would work just as well. Crisis averted! Well, except for the fact that the recipe had been abandoned for so long. Oh, the travesty! Alas, it has been rediscovered and is here for you all now.

Aunt Charlotte’s Tex Mex Corn... a family classic that is SO good

This is not your average corn casserole. There’s just something about the creaminess of the cream cheese [imagine that!] with the slight tang and bite of paprika and chilies, and the unexpected taste of white corn [instead of the more common yellow corn] that does me in. Nothing simple, nothing fancy, but a lot of yum. I could eat almost a whole pan of this myself… and I would, except I was taught to share. And so I will. But you don’t have to! I won’t tell. 🙂

Aunt Charlotte's Tex Mex Corn

  • Servings: 8
  • Print

Ingredients:

  • 6 ounces cream cheese
  • 2 15-ounce cans white corn, drained
  • 1 4-ounce can chopped green chilies, drained
  • 1/4 cup milk
  • bread crumbs
  • paprika
  • cooking spray

Directions:

Preheat oven to 350 degrees. Prepare a 8 by 8 inch baking pan [or a 10 inch round casserole dish] by greasing with cooking spray.  In a small pot over medium heat, melt cream cheese and stir in milk until well combined. Mix in corn and chilies. Pour into prepared pan, cover with a thin layer of bread crumbs [if making them from scratch, use about 1-1 1/2 slices of sandwich bread] and a sprinkling of paprika. Bake for 30 minutes or until top is lightly browned and crispy.

Note:

If preparing in advance, wait until baking time to add the bread crumbs and paprika or it will be soggy.

Question of the Day: What are some family recipes that you want to rescue from their poor, neglected state?

Appetizers, Recipes, Sides, Vegetables

Baked Sweet Potato Fries with Sweet & Spicy Garlic Dip

Sweet potato fries are all the rage lately [but is the phrase “all the rage” really all the rage? Or is it way outdated?]. We eat these as a side dish or a snack, and I even eat them as a meal sometimes [just like one of my roomies used to!]. But Ben prefers some meat with his meals… oh boys, whatcha gonna do with them! 🙂 I have seen them on the menu at so many restaurants, chains and local places alike. I’ve ordered them a few places only to be disappointed that they are actual fries–fried in a fryer–not the baked, soft, crispy, sweet potato goodness of these fries. Annnnnd since they are baked, you get all the taste [and health benefits… shhhh!] of sweet potatoes, with the crunchy satisfaction of fries, without all the grease, salt, fat, and other bad stuff. Though traditional fries do taste so good sometimes! Also, for those who are concerned and do not like Thanksgiving sweet potatoes… these bear no resemblance, so have no fear. These are goodies that should make an appearance many times a year!

Baked Sweet Potato Fries with Sweet & Spicy Garlic Dip

  • Servings: 2
  • Print

Sweet potato fries and dipping sauce.

for sweet potatoes

Ingredients:

  • 1/2 pound sweet potatoes, roughly peeled and chopped into 1/4″ sticks or wedges
  • 1 tablespoon + 1 teaspoon olive or canola oil
  • 1 teaspoon kosher salt
  • 1/2 teaspoon ground pepper
  • cooking spray

Directions:

Preheat oven to 400 degrees. Place prepared potatoes in a large bowl. Add oil, salt, and pepper and toss to coat. Lightly grease a baking sheet with cooking spray, and then spread potato slices in an even layer across the surface of the pan. Try to keep the slices in a single layer to regulate baking; use a second baking sheet or bake in 2 batches if necessary. Bake potatoes for 30 minutes, using a spatula to flip the fries every 10 minutes. Fries will be done when light brown and crisp to the touch.

Notes:

I often am impatient while cutting the potatoes and end up making the fries larger than 1/4″, so I have to cook them longer, for a total of about 40-50  minutes, so feel free to experiment with your oven and personal preferences. Also, this is just a basic recipe. Sometimes I will add 1/2 teaspoon of basil and 1/2 teaspoon of oregano, or other herbs and/or spices to the fries. Feel free to experiment with your favorite flavors! I do find that I prefer plainer fries with the following dip.

for dip

Ingredients:

  • 1/2 cup fat free sour cream
  • 1/2 cup Miracle Whip [I have never tried this with mayonnaise, but imagine the taste would be similar.]
  • 2 cloves garlic, chopped
  • 1 teaspoon cinnamon
  • 1/2 teaspoon Mexican-style chili powder [I prefer this one but any should work.]

Directions:

In a small bowl, mix all ingredients. Adjust spices to taste. Refrigerate for at least 30 minutes for best taste. Keeps up to one week in the fridge.

Note:

If you are sensitive to spicy foods, use a milder chili powder or reduce amount. This sauce is also excellent in a panini, and I bet it would be good with pita or bagel chips, though I have yet to try it.

Recipes, Sides, Vegetables

Tasty Corn

Corn on the cob is one of my favorite summer foods. I mean, I live in Indiana soooo it’s only natural right? However, there is more than corn in Indiana. There’s INDIANA BEACH! Okay… enough. Well, I just love summer corn. It’s so fresh, so sweet, so tasty. This is one of the best ways I have found to prepare corn. I’ve made it several times, and have discovered 2 awesome things about this recipe.
Yummy corn.

  1. It is so tasty that butter isn’t even needed on it. Just a little pepper… delish! [Though I clearly did put some on in the photo… the butter just makes it better! But is totally not necessary.]
  2. It is so tasty that it can be eaten hot off the stove… or cold. This versatility makes this a great side for cookouts, picnics, school/work lunches, and more.

Tasty Corn

  • Servings: 2
  • Print

source unknown

Ingredients:

  • 2 ears fresh shucked corn
  • 1/3 cup skim milk
  • 1 tablespoon + 2 1/2 teaspoons sugar
  • 2 tablespoons butter or margarine [I’ve used both. Use what is on hand!]

Directions:

Place corn in a large pot and add enough water to completely cover corn. Remove corn from pot. Bring to a boil over medium-high heat. Once water is boiling, add corn, milk, sugar, and butter/margarine. Do NOT add salt. Salt will make this corn bitter, not sweet. Cover the pot and let simmer over low heat for 10-12 minutes, depending on how tender you like your corn. Remove from pot and eat immediately or let cool and refrigerate for later. Corn can be prepared up to a day in advance.

Note:

I usually only make 2-4 ears of corn at a time for us. However, recipe can easily be doubled, tripled, etc. Just adjust ingredients accordingly! 🙂