30 Before 30, Main Dishes, Pizza, Recipes

Best Ever Homemade Pizza

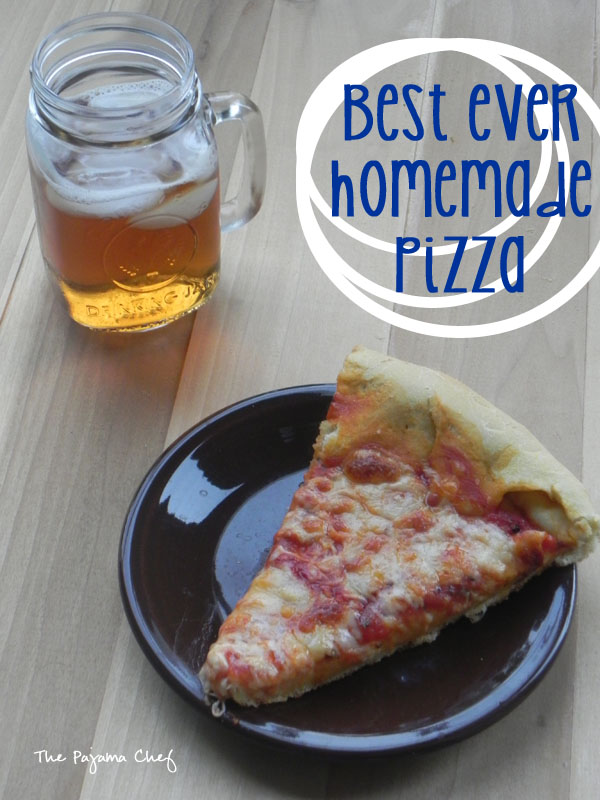
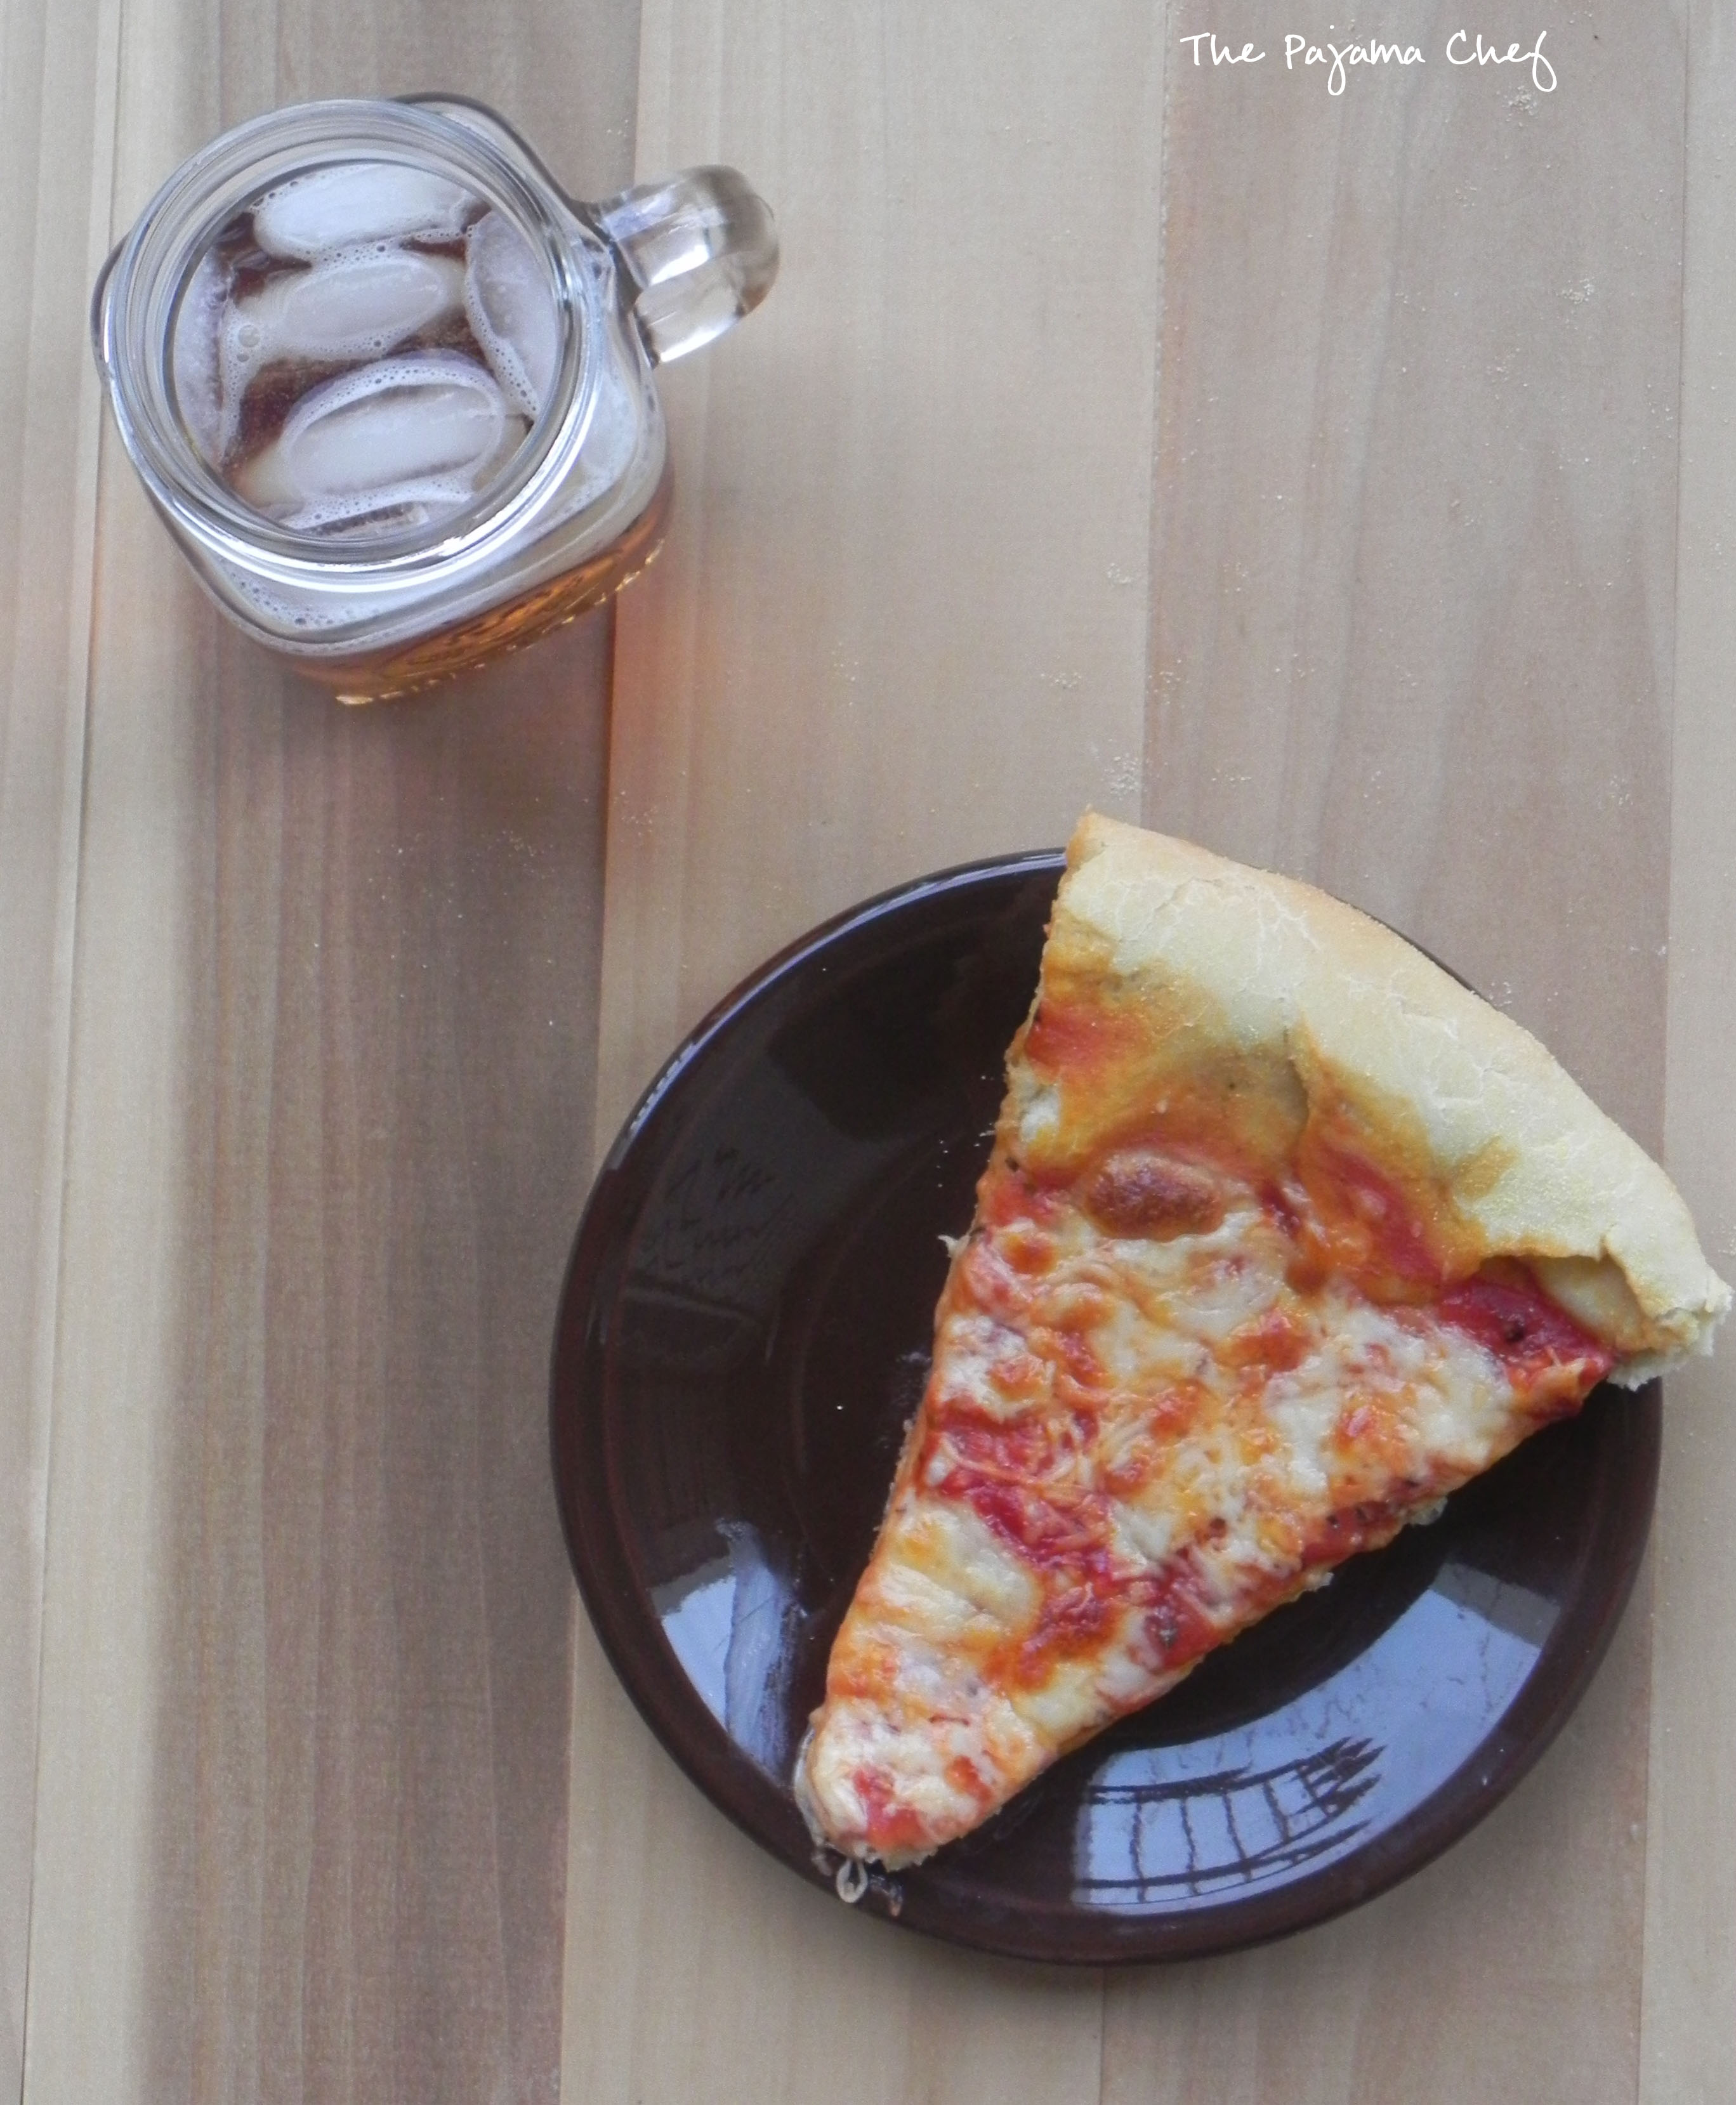
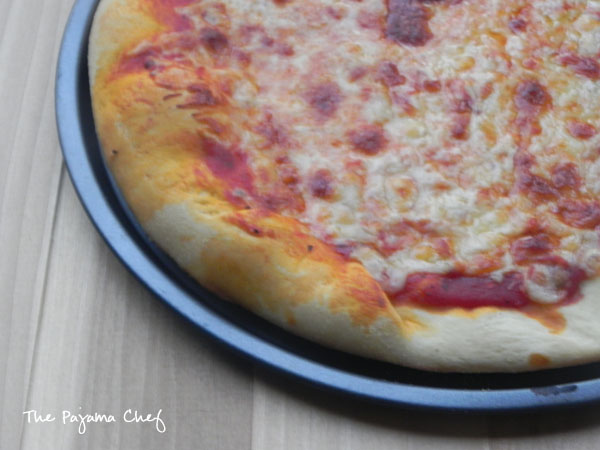
This homemade pizza dough bakes up golden brown, soft, and chewy, and is the perfect base for your favorite pizza toppings!

Best Ever Homemade Pizza | thepajamachef.com

I used to think homemade pizza was lame. When I made it, it just never seemed as good as delivery or pizza shop pizza. Even though I shared recipes for pizza here on my blog I kinda thought homemade pizza was a frugal substitute for the real deal. But then I had GOOD homemade pizza, made by several different friends, and realized I was just doing it wrong. C’est la vie, right?

Best Ever Homemade Pizza | thepajamachef.com

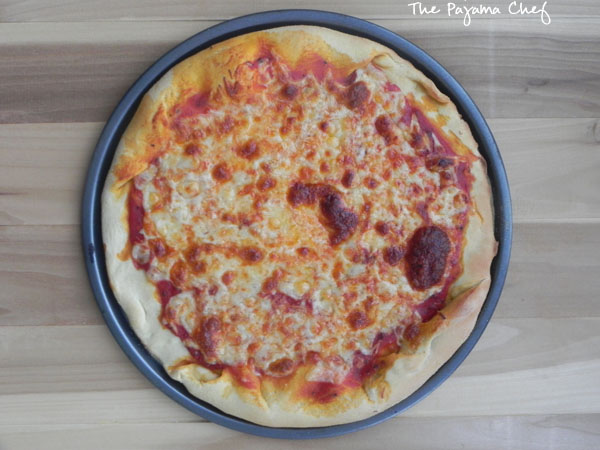
That’s what prompted me to do something about it and put “homemade pizza dough” on my 30 before 30 list. I was determined to find the BEST homemade pizza dough. I tried several recipes… and you guys… I think this it it! [And not because of those delicious brown cheese bubbles there. :)]

Best Ever Homemade Pizza | thepajamachef.com

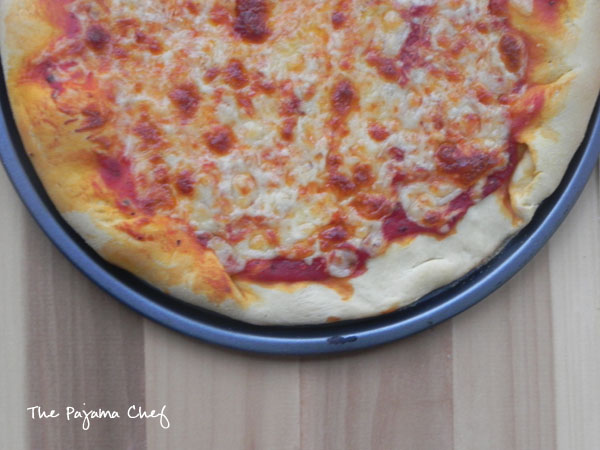
This dough is chewy, flavorful, and the perfect palate for any pizza topping. I haven’t added any seasoning to the dough because I don’t think it needs it, but feel free to doctor it up if it’s your thing… especially if that helps your pizza toppings succeed. Prefer something traditional? Great. Perfect a taco pizza? Awesome. Anything goes–really! This is dough bakes into a beautiful golden brown crust reminiscent of Pizza Hut pan pizza–not too thick or too thin, just right.

Best Ever Homemade Pizza | thepajamachef.com

Though this recipe is yeast based, it’s really easy. Seriously–it’s hard to mess up since it just has one rise. The dough is so soft and smooth after it rises that you can easily press or roll  it into the pizza pan. Some doughs are sticky–this isn’t one of them! Definitely try it and see what you think. I’m going to use it for calzones next! YUM!

Best Ever Homemade Pizza4

P.S. I did some work on my blog this week–what do you think? Let me know if anything looks funky and I’ll check it out. Thanks!

one year ago: Mango Quick Cake Squares
two years ago: Cookie Dough Dip
three years ago: Rhubarb Muffins

Best Ever Homemade Pizza

  • Servings: 4
  • Print

from Creative Savings
Ingredients:

for pizza dough

  • 1/2 cup warm water
  • 1 package [2 1/4 teaspoons] active dry yeast
  • 3/4 cup warm milk
  • 2 tablespoons olive oil
  • 1 1/2 teaspoons salt
  • 1 teaspoon sugar
  • 3 to 3 1/4 cups all-purpose flour

for rest of pizza

  • cornmeal for sprinkling
  • 1/2 cup pizza sauce – I like this recipe from Lynn’s Kitchen Adventures and usually add a drizzle of balsamic vinegar
  • 2 cups shredded mozzarella cheese
  • toppings as desired – pepperoni, diced peppers, sliced mushrooms, spinach, chopped tomatoes, etc.

Directions:

In a large bowl [I usually use my stand mixer but you don’t have to], whisk together warm water and yeast to dissolve. I heat the water about 15-20 seconds in the microwave so it feels like bathwater–too hot will kill the yeast. Then add warm milk, olive oil, salt, and sugar. Whisk or blend on low to combine. Add in 2 cups flour and stir or blend to incorporate. Gradually add in another cup to 1 1/4 cups of flour in 1/4 cup increments to form a soft dough.

Knead [either in mixer or on a clean, flour-dusted surface] for 6-8 minutes until smooth and elastic. Grease a large bowl and place pizza dough in it, turning once to coat. Cover with a towel and set in a warm place to rise for about an hour or until doubled in size.

Partway through the dough rising process, preheat oven to 400 degrees so it’s nice and hot when it’s time to bake.

When dough is ready, punch down and press or roll onto a pizza pan that has been sprinkled with cornmeal. Top with sauce, cheese, and desired toppings. Bake for 18-20 minutes, broiling the last minute or so to brown the cheese. Let cool for 5-8 minutes before cutting and serving. Enjoy!

We even made a his and hers version of this pizza this weekend… SO GOOD! Make it now! Please. 🙂

http://instagram.com/p/phz8IusCLu/

Pasta, Recipes, Sides

Hawaiian Macaroni Salad

This is not your classic macaroni salad… and in my opinion, that’s okay. It’s even BETTER! This macaroni salad is sweet and creamy and has a nice, satisfying crunch to it. There’s fruit and vegetables and all sorts of yummy things! I know that sounds odd, but don’t turn away!

Hawaiian Macaroni Salad | thepajamachef.com

I’ve never made a “real” macaroni salad before because I don’t really like pickles or relish and it seems like every macaroni salad calls for that. I’m not going to buy a jar for just one recipe [but spices on the other hand…]! So when I saw this recipe, I was sold. I don’t really know what made the original recipe “Hawaiian” because to me, you need pineapple to make a recipe Hawaiian. [BTW I know that is SO NOT TRUE but that’s where my mind goes!] So I added some. Duh.

Hawaiian Macaroni Salad | thepajamachef.com

And I also added some mint for good measure. This addicting salad was just calling for some. Seriously. This is a great dish to make for summer picnics and BBQs, or just an ordinary dinner at home. Ben doesn’t even like mayo-based salads but he willingly ate [and enjoyed] several bowls of this. How’s that for rave reviews? Enjoy!

one year ago: Thai Tofu Ramen
two years ago: Strawberry Coconut Baked Oatmeal
three years ago: Margarita Cupcakes

Hawaiian Macaroni Salad

  • Servings: 8
  • Print

adapted from A Cozy Kitchen
Hawaiian Macaroni Salad | thepajamachef.com
Ingredients:

  • 8 ounces elbow macaroni
  • 3/4 cup mayonnaise
  • 2/3 cup carrots, finely diced
  • 2/3 cup celery, finely diced
  • 1 1/2 teaspoons red wine vinegar
  • 1 teaspoon sugar
  • 1 teaspoon freshly ground black pepper
  • 1/2 teaspoon onion powder
  • 8 ounces crushed pineapple, drained
  • 1 tablespoons chopped fresh mint

Directions:

Bring a large pot of water to boil. Cook and drain macaroni to al dente according to package directions.

Stir together hot macaroni, mayo, carrots, celery, and vinegar. Combine sugar, pepper, and onion powder, add to macaroni, and stir well. Fold in pineapple and mint, then season with pepper to taste. Cover and refrigerate for 3 hours to set, overnight if possible. Add a little more mayo before serving if desired. Enjoy!

Author: Sarah K. @ thepajamachef.com

Linked up with Weekend Potluck.

Main Dishes, Other, Recipes

Homemade Taco Seasoning [Low Sodium]

I like tacos alot. Actually, I love tacos. And all other forms of Mexican food, both traditional and Tex-Mex/Southwest. For a long time I thought you had to buy a packet to make tacos… that the seasoning was some foreign, mysterious substance that you couldn’t possibly replicate at home. Well, turns out that’s not exactly true. There are mystery things in some store-bought versions of taco seasoning but it turns out that I CAN make a version at home that we love, and we are better off for it.

Homemade Taco Seasoning [Low Sodium] | thepajamachef.com

Why? It’s cheaper, healthier, and more convenient. No more do I have to remember to buy taco seasoning at the store when I want to make tacos. I already have it in bulk in my spice cupboard, ready and waiting for when the mood strikes. And let me tell you… the mood strikes often. This taco seasoning has become my multipurpose Mexican seasoning. I use it in quesadillas, in black beans, in chicken salad, in quinoa, in rice. I use it all the time!

Homemade Taco Seasoning [Low Sodium] | thepajamachef.com

I hate having to pay people to do something I can do better myself and I cringe when I think of all the money we’ve spent on fancy low-sodium taco seasoning packets and jars. Neither Ben nor I have been put on a low-sodium diet or anything, but as I’ve mentioned on the blog before I’m not really into salt. I like salty foods of course but am really sensitive to it in restaurant food, processed foods, and the like. I know it ‘enhances’ flavors but for me, it almost ruins them. So I rarely add salt to things. I figure many ingredients naturally have salt in them anyways so what’s the point?

Homemade Taco Seasoning [Low Sodium] | thepajamachef.com

This taco seasoning isn’t a true sodium free spice blend because most commercial chili powders do include salt. That’s something new I learned while writing this blog post… interesting, huh? But I call this low-sodium because it doesn’t have any extra salt. It gets all its flavor from a variety of herbs and spices. Like all homemade spice blends, its totally customizable based on what you like. We like a little kick so I add crushed red pepper or red chili flakes for some heat, but feel free to adjust as you like. I’m so glad I found this recipe. It’s been a staple in my kitchen for about two years and I practically have it memorized. I decided now was the time to share it with y’all! Enjoy!

Homemade Taco Seasoning [Low Sodium] | thepajamachef.com

one year ago: Double Chocolate Strawberry Shortcakes
two years ago: Dark Chocolate Crumb Bars
three years ago: No-Bake Reese’s Bars

Homemade Taco Seasoning [Low Sodium] [adapted from Mel’s Kitchen Cafe]
click to print

Ingredients:

  • 4 tablespoons chili powder*
  • 1 teaspoon garlic powder
  • 1 teaspoon onion powder
  • four pinches of cayenne pepper
  • 1 teaspoon dried oregano
  • 2 teaspoons paprika
  • 2 tablespoons ground cumin
  • 1/2 tablespoon freshly ground black pepper
  • pinch of crushed red pepper or red chili flakes

Directions:

Combine all ingredients in a mason jar or other airtight container. Shake to combine and store in a dark place to use as needed.

To make tacos, add 3-4 tablespoons to a pound of cooked ground beef or turkey along with a 1/2 cup of water. Simmer 4-5 minutes or until liquid is reduced.

Seasoning is also great with chicken or black beans!

Time: 5 minutes.
Yield: roughly 3/4 cup.

Linked up with: Real Food Fridays.

Bars, Desserts, Recipes

Fudgy Fresh Mint Brownies

Every summer, I grow lots of herbs on my balcony. I can’t wait for the day I have a yard so I can have a garden! But until then, I’m content with my low-maintenance substitute. My choice of herbs varies from year to year, but this year I have Thai basil, Greek oregano, catnip, and peppermint growing happily on my balcony. I always grow mint but never really do much with it aside from making copious batches of mint water, mint iced tea, etc. Sometimes I make fruit salad with mint dressing or a vinaigrette with mint, but more often than not, my mint kind of goes to waste. Except for the smell. I just LOVE the smell of fresh mint. Don’t you?

Fudgy Fresh Mint Brownies | thepajamachef.com

One thing I’ve always wanted to do is make a chocolate dessert with fresh mint, and last weekend, I finally got around to it! These brownies are not overwhelmingly minty–nothing like those over the top, ooey gooey Andes Mint Brownies that are super popular. I’m sure you know the ones I’m talking about! Those are good, but these are something extra special. There’s nothing artificial tasting here! Just fudgy, frosted cocoa brownies with a hint of mint. They’re refreshing and super tasty!

Fudgy Fresh Mint Brownies | thepajamachef.com

But enough about the mint… the brownies deserve some love too, right? I’ve tried quite a few homemade brownie recipes. They’ve either been too cakey, too dry, too complicated, too expensive [as in: half a pound of butter, half a pound of chocolate, etc. etc. etc.]. I don’t mind spending money on a recipe if it’s going to be good, but if it’s gonna flop…? Ugh, I might as well buy a box! But these… these brownies are perfect every time! I’ve made these fudgy cocoa brownies with frosting several times and always have been impressed with their chewy texture and consistency. Most people are shocked to hear that they’re just made with cocoa and not chocolate chips or bars… or a box! For the brownie AND the frosting. They’re just the best–and I know I’m not eating a bunch of chemicals! Win win! No one will be able to resist them!

Fudgy Fresh Mint Brownies | thepajamachef.com

For this batch of Fudgy Fresh Mint Brownies, I changed Jen’s base recipe just a tad to use coffee instead of milk in the frosting. I also added some coffee to the brownie batter to add some extra moisture since I threw in a bunch of fresh mint leaves. Speaking of the mint leaves… I chopped them up veryyy finely and baked ’em right in. You can hardly tell, unless you cut into one on the edges. If the thought of that bothers you, you could a) blend the batter with a blender or b) let the mint steep in the melted butter for awhile to infuse it, then drain it out through a fine sieve. I actually tried to do that second option, but made the mistake of also adding the sugar and found it was too thick to efficiently strain out. No matter your method, the end result is fabulous. I think these would make some pretty terrific brownie sundaes! Oh, and btw… these brownies are so fudgy and moist that they aren’t dried out, even a week later, if they’re kept tightly covered. I mean, they probably won’t last that long, but for the record it’s good to know! Enjoy! 🙂

Fudgy Fresh Mint Brownies | thepajamachef.com

Fudgy Fresh Mint Brownies

  • Servings: 12
  • Print

adapted from Yummy Healthy Easy

Ingredients:

for the brownies

  • 1/2 cup butter
  • 1 cup sugar
  • 1/2 cup fresh mint, finely minced
  • 2 eggs
  • 1 teaspoon vanilla extract
  • 1 tablespoon strongly brewed coffee, optional
  • 1/3 cup cocoa powder
  • 1/2 cup all-purpose flour
  • 1/4 teaspoon baking powder

for the frosting

  • 3 tablespoons butter, softened
  • 1 tablespoon honey
  • 1 tablespoon strongly brewed coffee [or milk]
  • 1 teaspoon vanilla extract
  • 1 cup powdered sugar
  • 3 tablespoons cocoa powder

Directions:

Preheat oven to 350 degrees. Grease an 8×8 pan with cooking spray.

Melt butter in a saucepan set over low heat. Add sugar and mint and stir to combine. Remove from heat and let rest for 10 minutes. Mix in eggs, vanilla, and coffee, then add in cocoa powder, flour, and baking powder. Spoon into prepared pan.

Bake for about 25 minutes, then remove to cooling rack to cool. Do not overbake!

Make frosting by stirring together butter, honey, coffee, and vanilla. Slowly whisk in cocoa powder and powdered sugar. Spread on brownies while they are still warm–I like to wait about 10 minutes so they aren’t super hot. Cool completely to set frosting, then cut into bars to serve.

Breakfast, Muffins, Recipes

Mango Coconut Muffins

I love fruit. Love, love, love it. Crisp apples, slightly underripe bananas, juicy peaches, sweet blueberries… I could go on and on. I love them all. Nine times out of ten I’d choose fruit over chocolate–whether on its own or in a dessert. But when you add chocolate to fruit…? Oh man. I’m in heaven. Heaven! Like these muffins, a basic coconut batter filled with juicy chunks of tropical mango, coconut flakes, and white chocolate chips.

Mango Coconut Muffins | thepajamachef.com

These muffins are my dream come true!

You can make these muffins with the regular variety you buy in the grocery store but my favorite kind of mango is the Ataulfo mango, also known as the honey or champagne mango. They are rich and sweet, and in my opinion… easier to cut. They have an intensely sweet flavor, with some peppery or minty notes.

Mango Coconut Muffins | thepajamachef.com

They’re soft and fluffy, perfect for any occasion from book club [that’s what I made them for!] to lunchboxes. Ben’s been taking them in his lunch and people have been asking him what in the world is in that glorious muffin that smells SO SO good. I mean, who can resist these tropical treats, especially during a long day? I know I can’t! And you won’t be able to either! 🙂

Mango Coconut Muffins | thepajamachef.com

Mango Coconut Muffins [adapted from Following in My Shoes]
click to print

Ingredients:

  • 1 cup white whole wheat flour
  • 1 cup all-purpose flour
  • 1 tablespoon baking powder
  • 3/4 cup sugar
  • 2 teaspoons cinnamon
  • 1/2 teaspoon nutmeg
  • 1/2 cup buttermilk
  • 1/2 cup milk
  • 1/4 cup coconut oil, melted + cooled
  • 1 egg
  • 1 teaspoon coconut emulsion/extract [or vanilla extract]
  • 1 cup fresh diced mango
  • 1/4 cup white chocolate chips
  • 1/4 cup dried coconut, divided

Directions:

Preheat oven to 400 degrees. Line muffin tins with paper liners or grease well.

In a large bowl, whisk together flours, baking powder, sugar, cinnamon, and nutmeg. In a separate bowl stir together buttermilk, milk, coconut oil, egg, and coconut emulsion. Fold wet ingredients into the dry ingredients, then gently fold in mango, white chocolate chips, and half [2 tablespoons] of the dried coconut.

Divide batter evenly between prepared muffin tins and then top with remaining coconut.

Bake for 20 minutes or until a toothpick inserted in the center comes out clean. Cool completely. Store in an airtight container for up to 3 days and then freeze leftovers.

Time: 30 minutes.
Yield: 16 muffins.